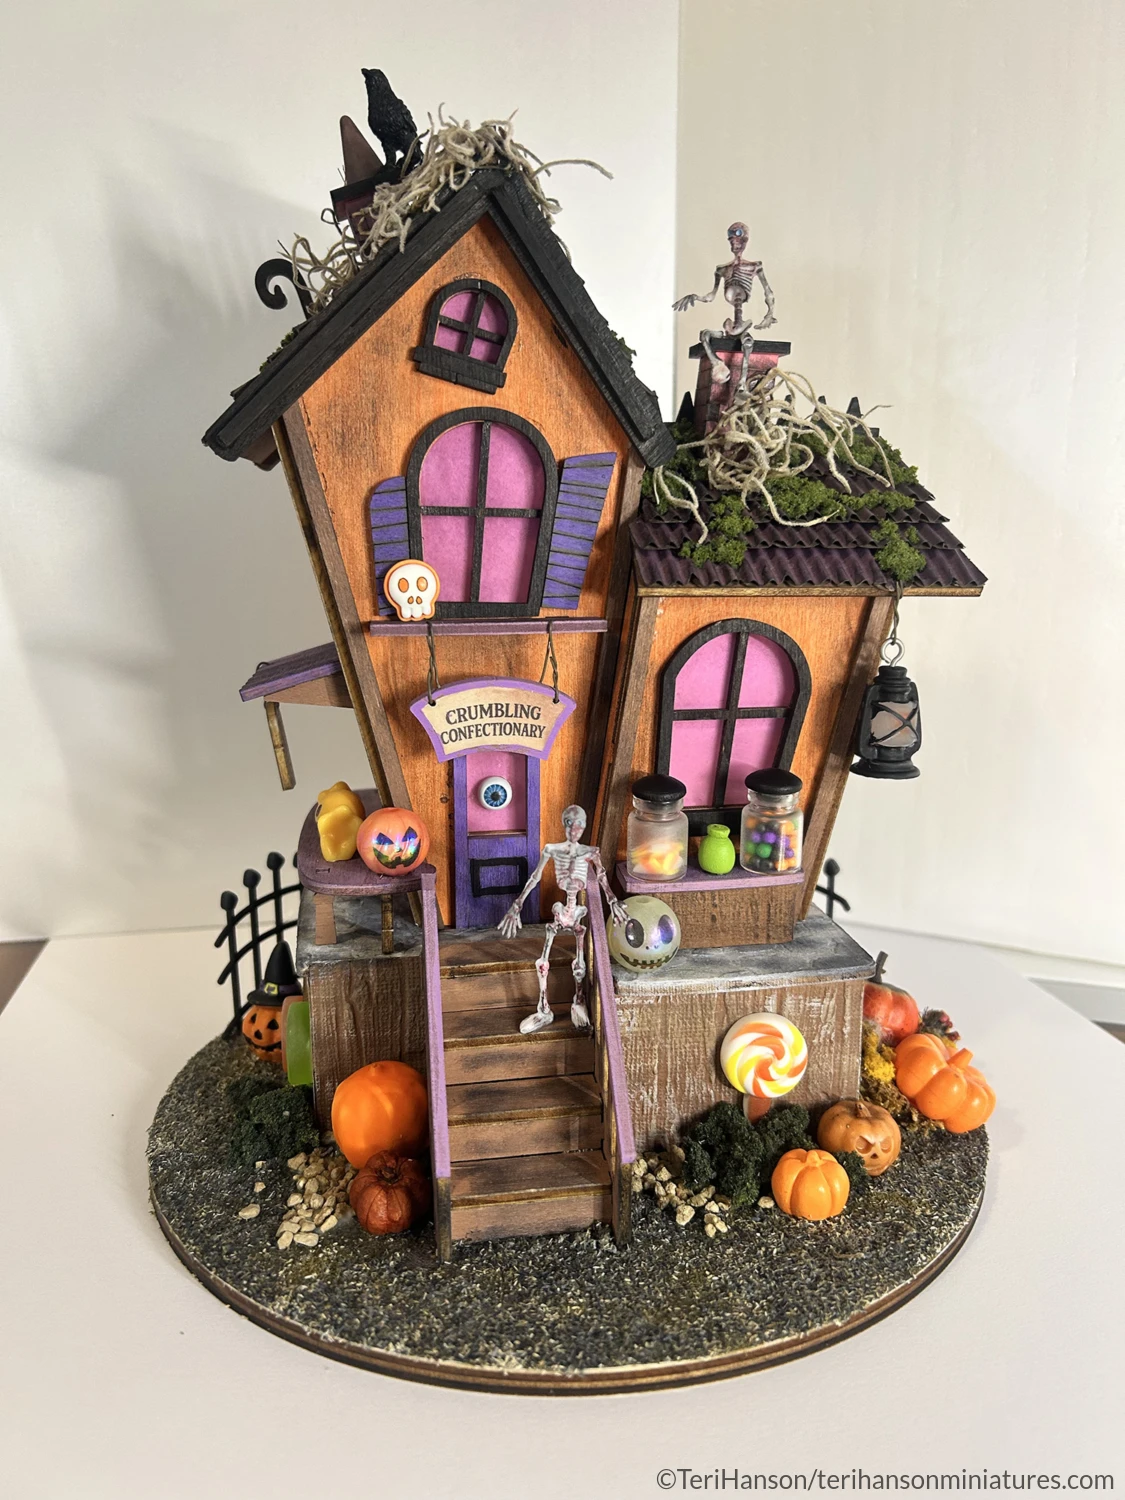
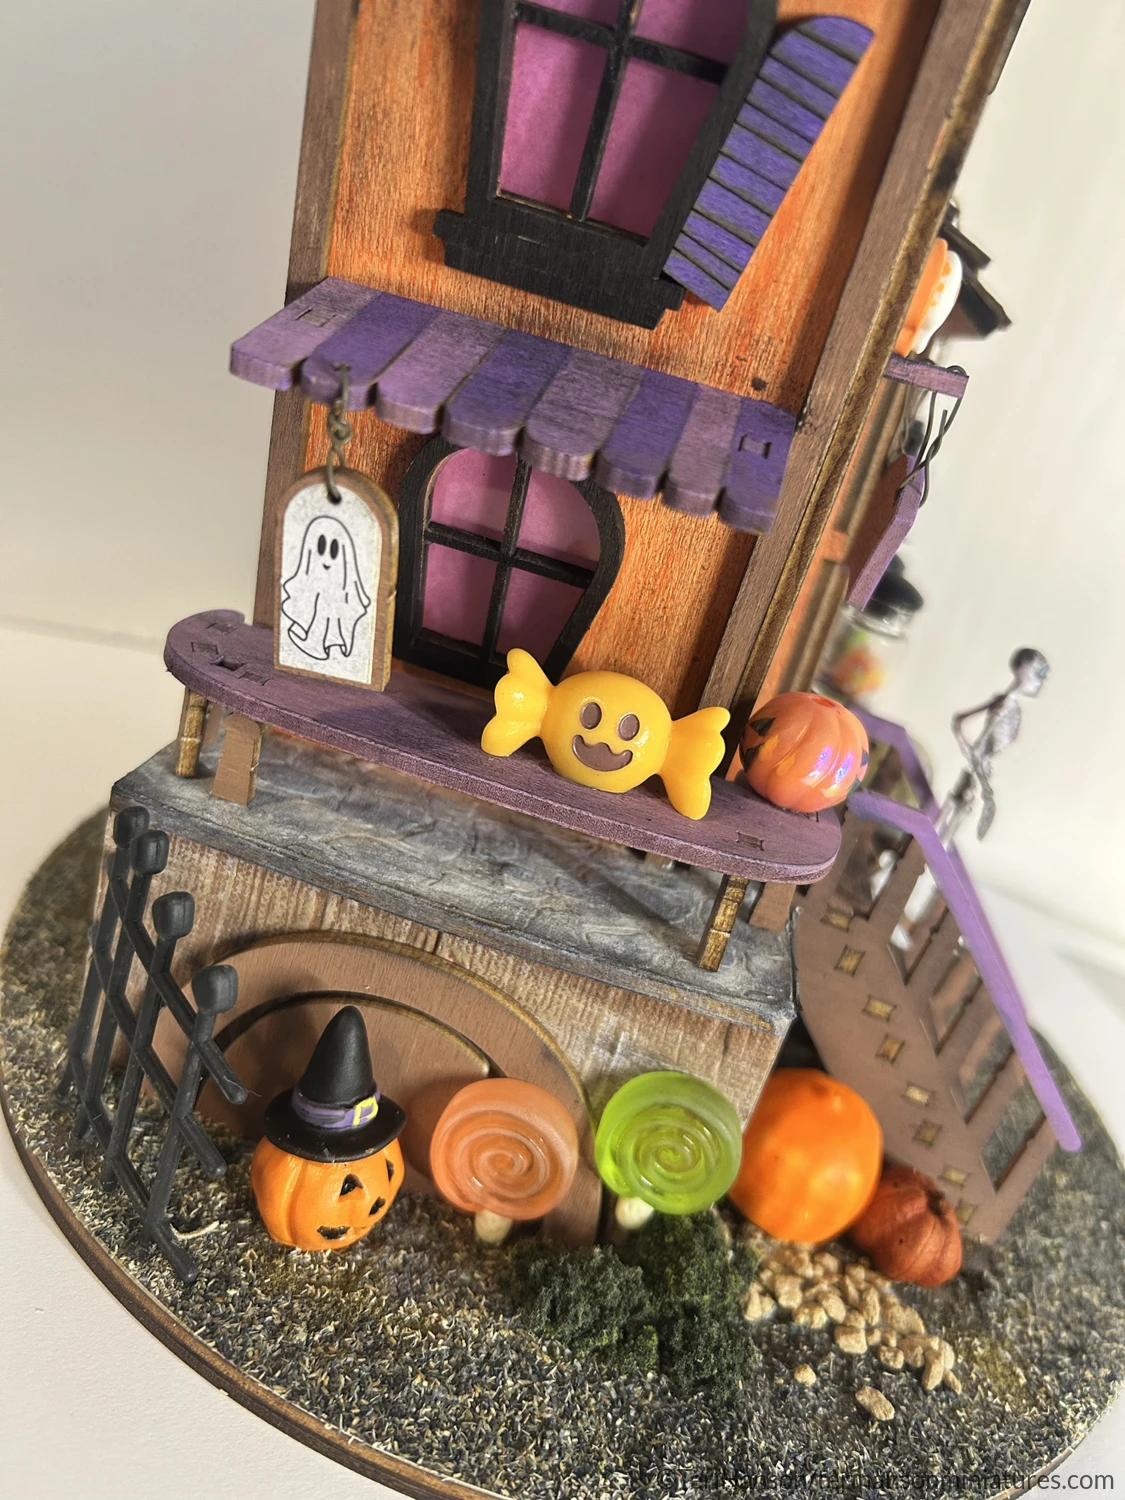
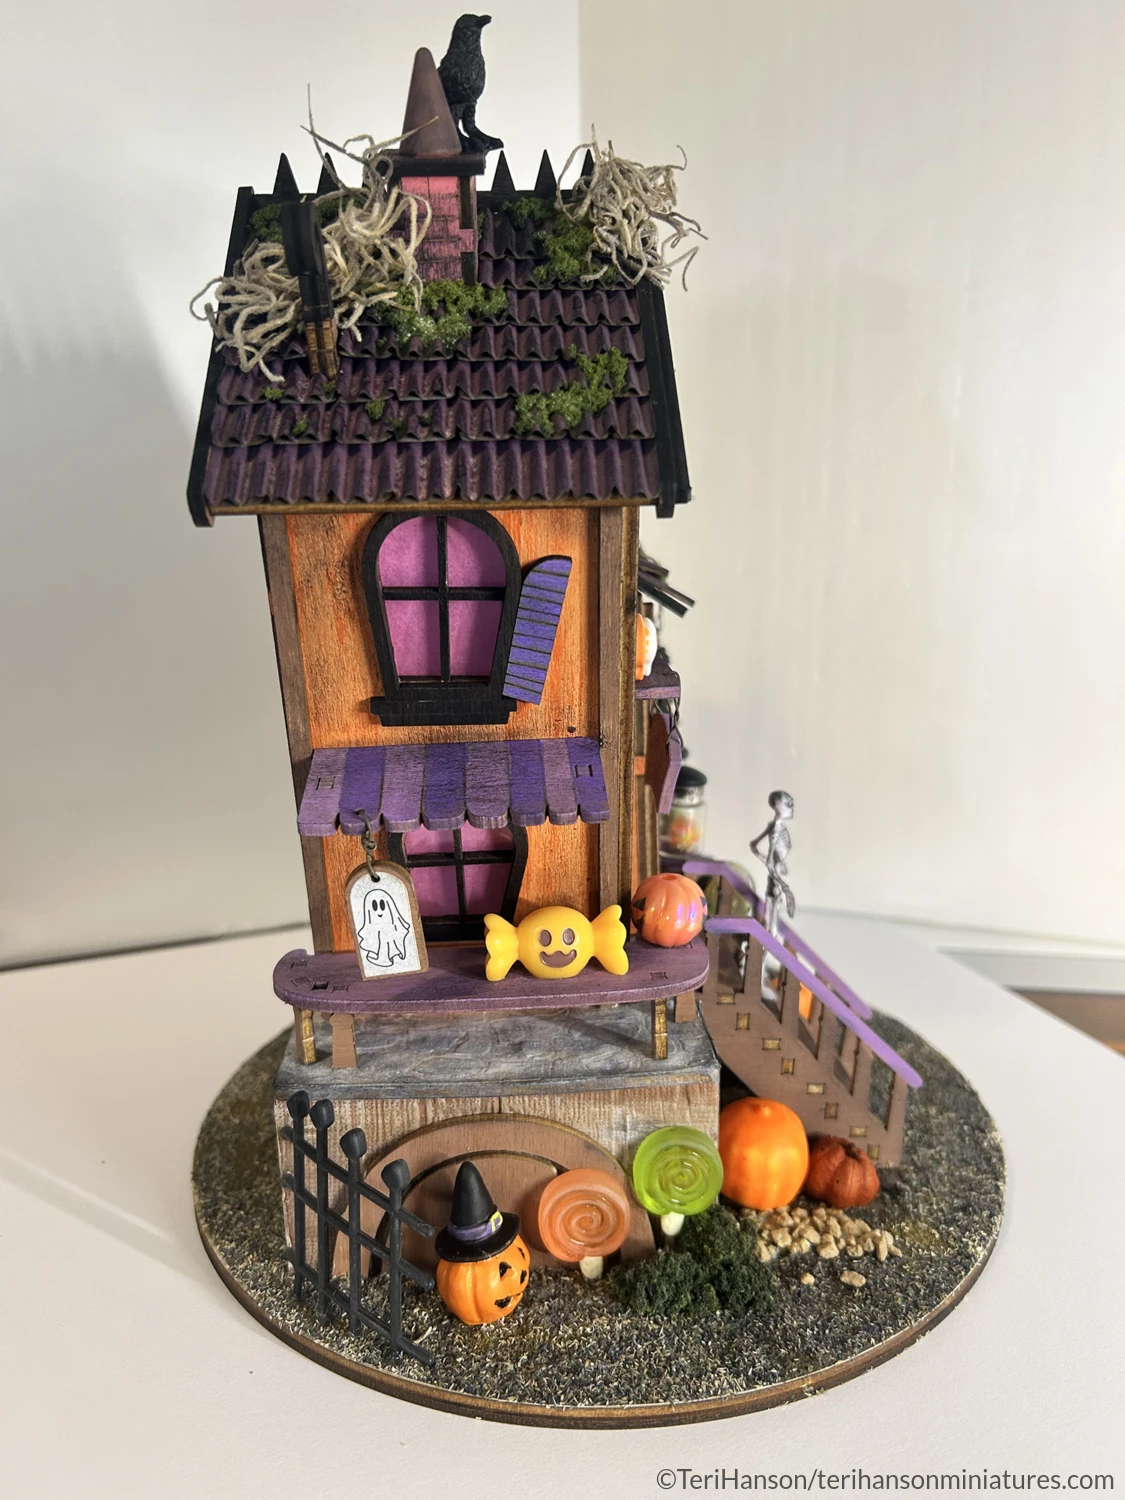
Here is my version of the final project.
We have had so much rain, many flooded areas, tons of evacuations, and the flood warnings along with more rain just keep coming. It’s so sad to see what many families have been going thru and I thank God we have been lucky so far other than the way it affects how I can work.
Both the laser cutter and 3D printer machines I use must be vented out a window due to the size of my office. It’s just not healthy to breath and fumes or particles that are released into the air from these machines and I prefer to be safe than sorry (grin). This means that when the weather is bad, raining, or storming, I can not run these machines and will generally find some other project to work on that doesn’t require the use of the machines.
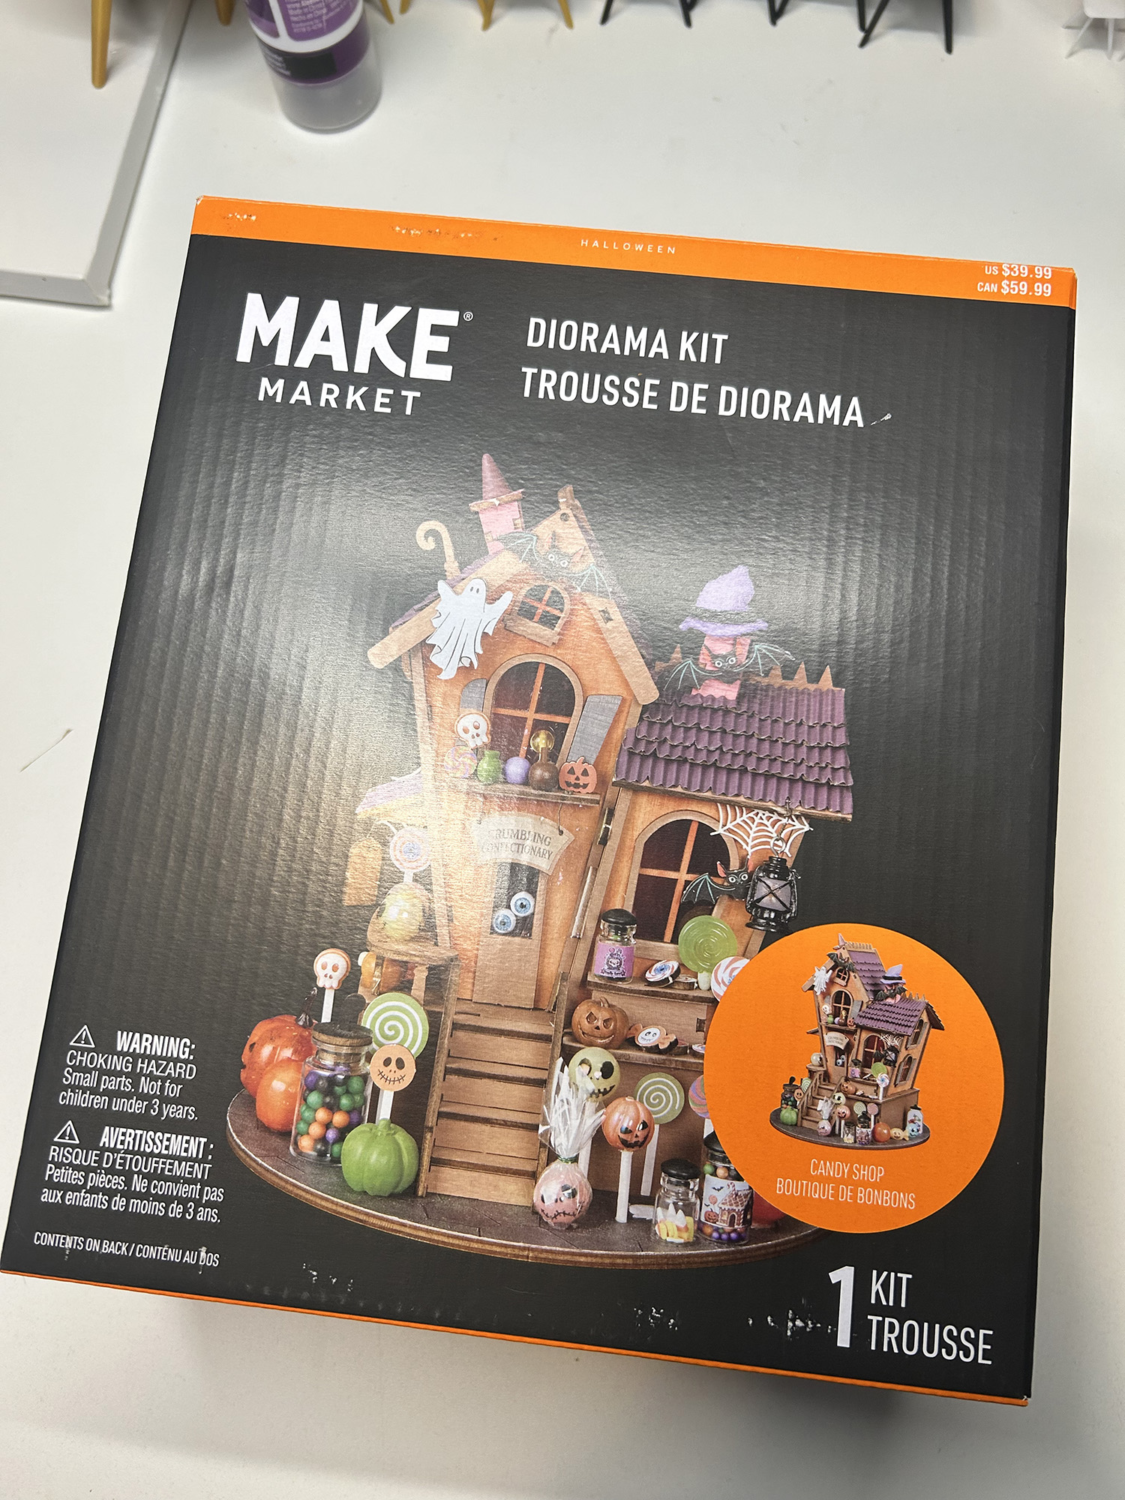
While picking up some filament from Michaels the other day, this little wood kit caught my eye and I decided to give it a try. You will see from the images and info below that I’ve altered it in some ways below to give it more of a miniature build look and I’ve enjoyed the process along the way. I hope that this post inspires some of you to think a bit differently when you see kits like these and will try one while making it your own along the way.
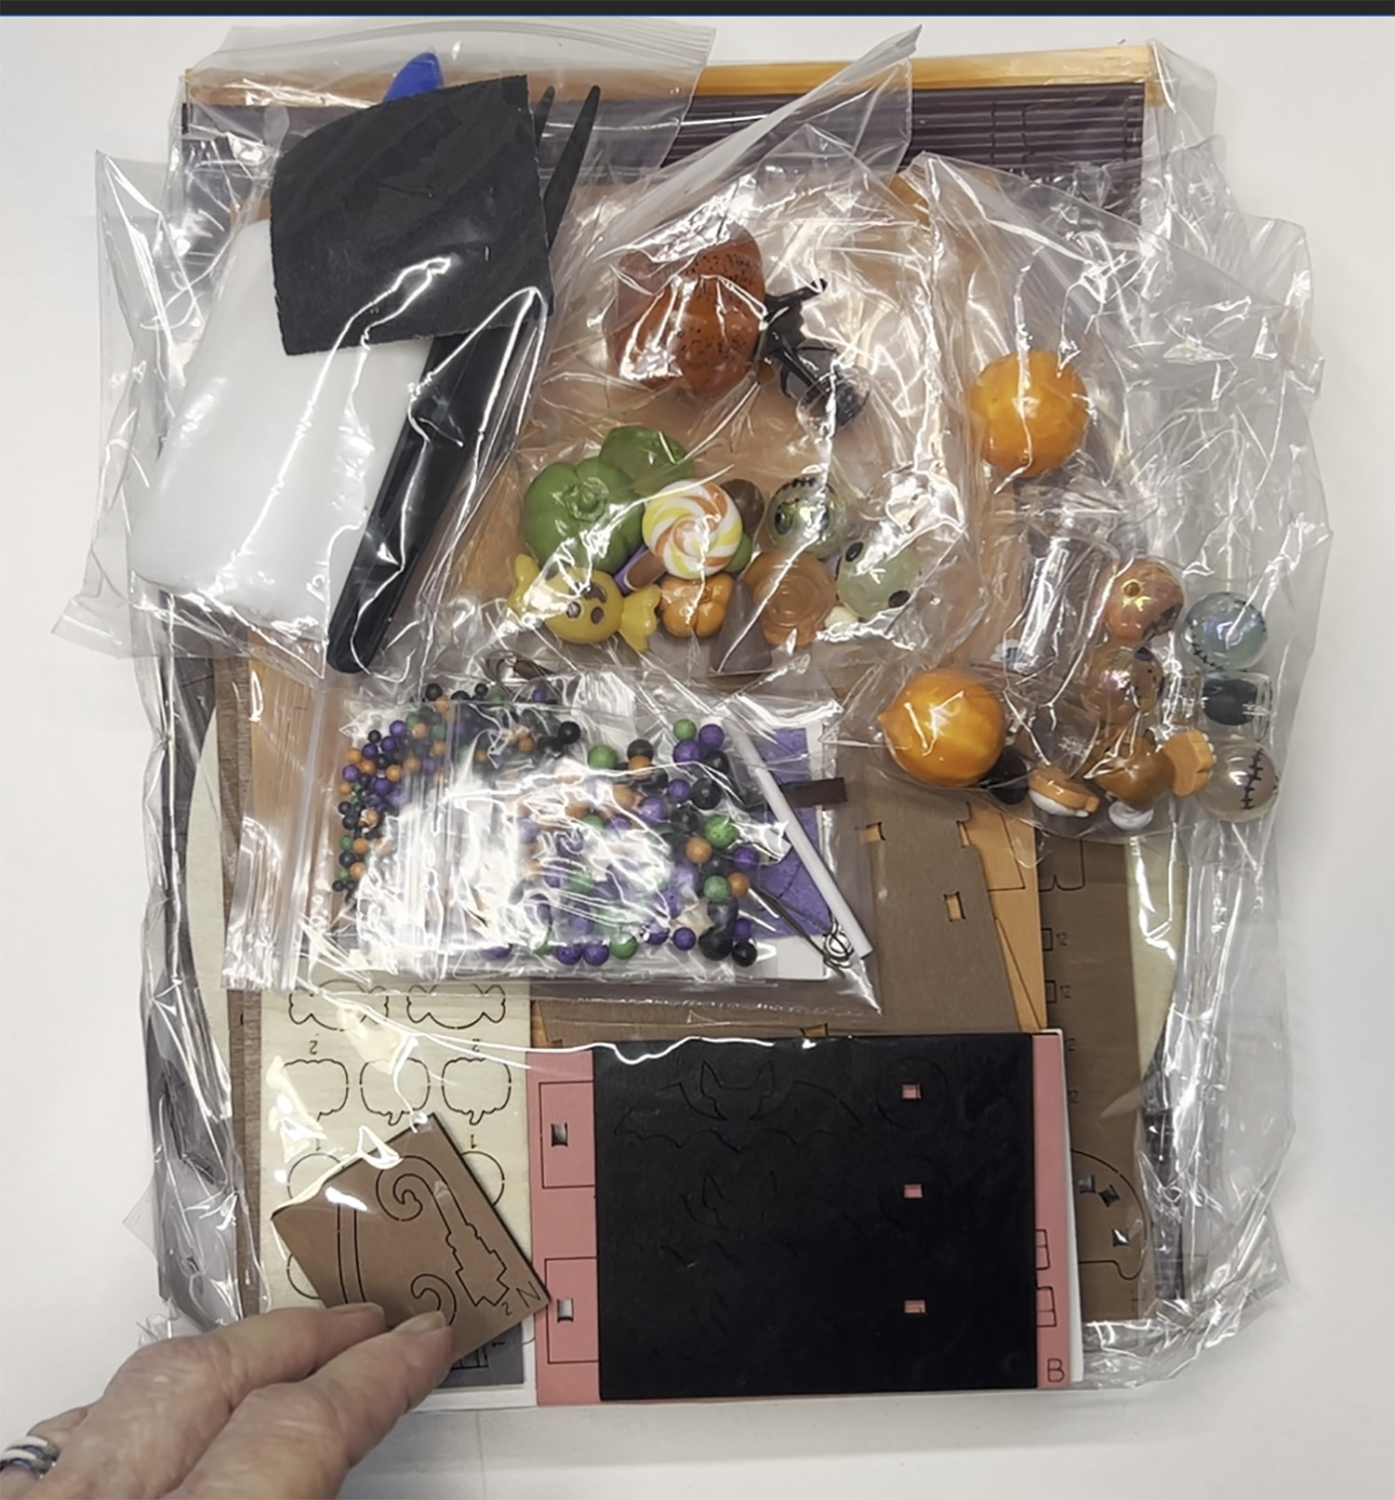
The kit was $39.99, less with a 40% off coupon and includes everything needed to complete the project. The structure is made of decent quality wood parts with plastic for the windows. A very good booklet of clear instructions is also included. They even included glue, tweezers, and a small piece of sandpaper. The kit is close to 1:48 scale in size or smaller.
I began the project by building the structure first on Page 13 of the instructions so that I could see how much I could alter the house. For the most part, the tabs fit but in the base they are a bit tight or do not line up perfectly. I did do a bit of trimming here and there on the tabs.
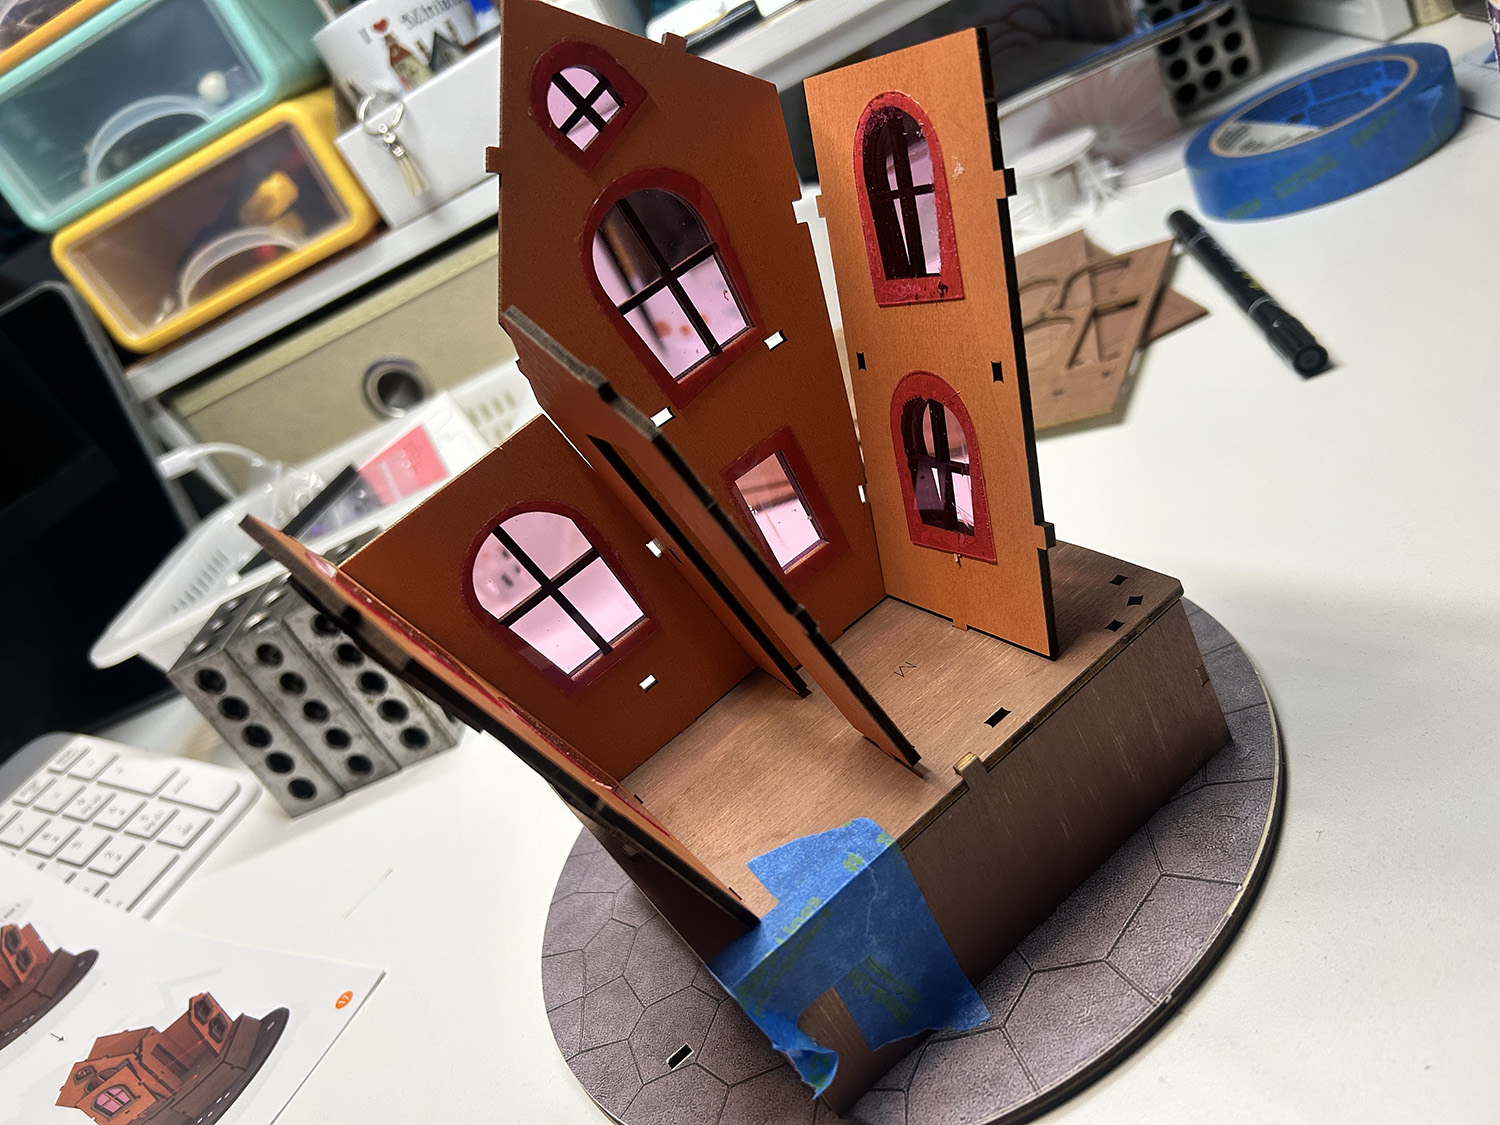
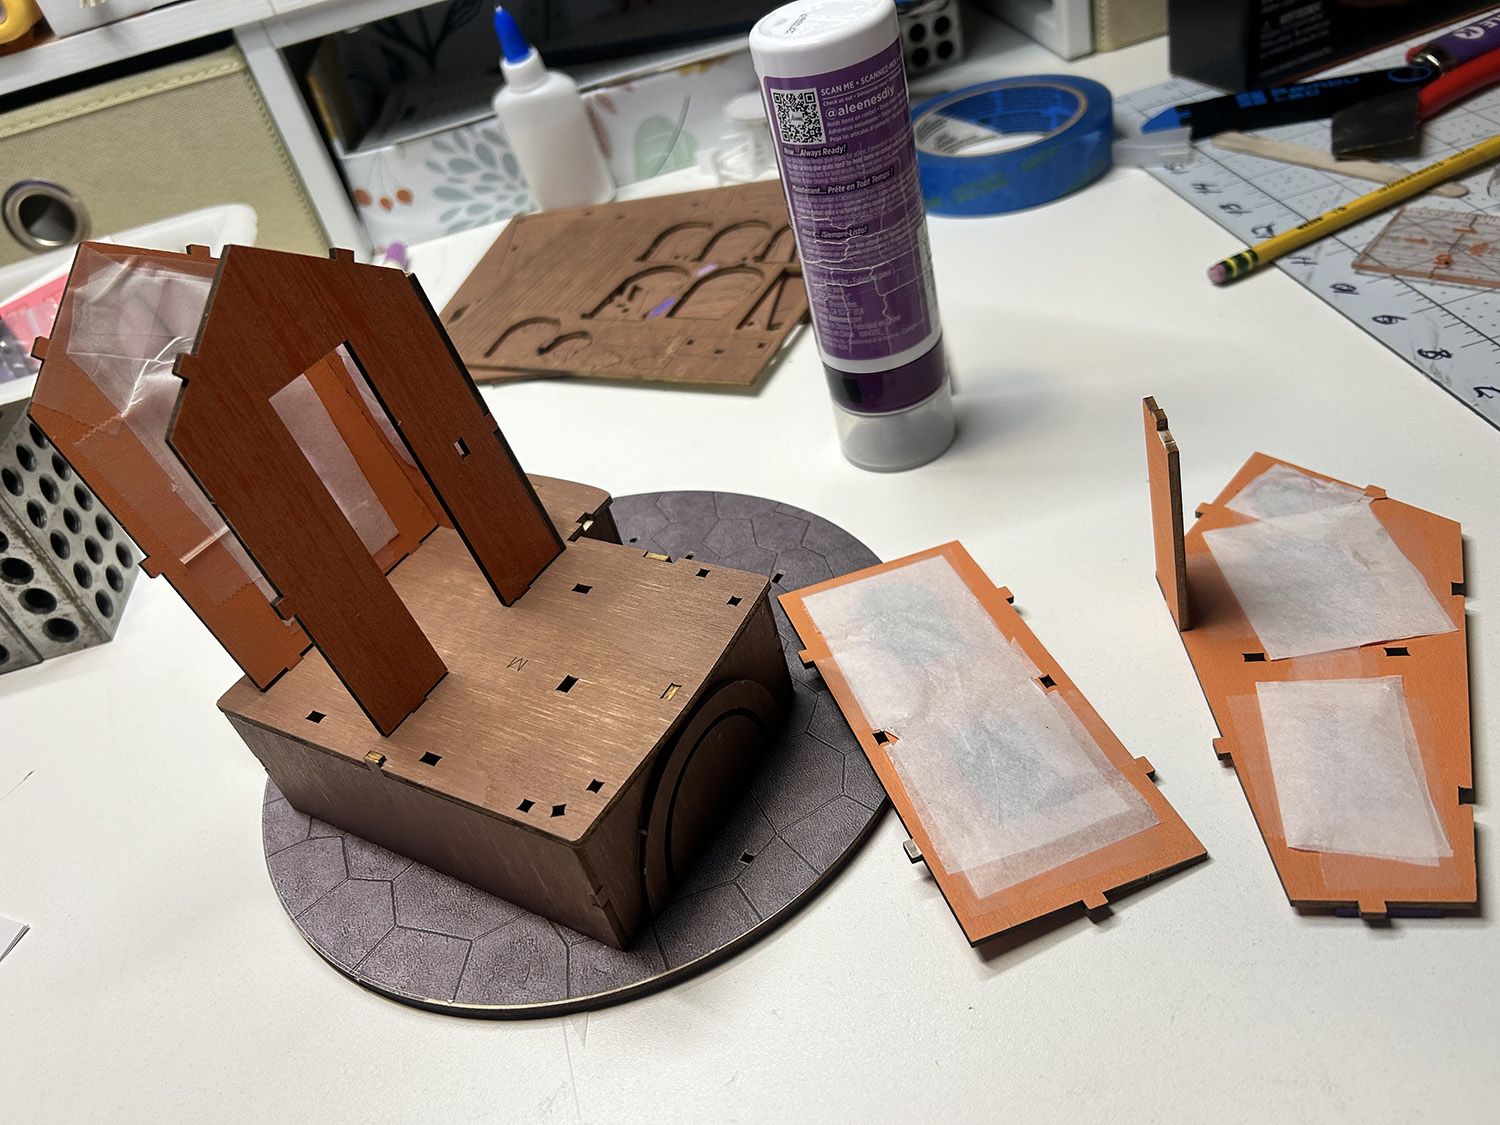
I did however add tissue to the inside of the windows and door so that the viewer will not be able to see inside the house.
Here you can see the base has been built with the walls simply sitting in place as a test. There are to many issues with trying to add a floor in the center of the structure so I have decided to just alter the exterior and the base.
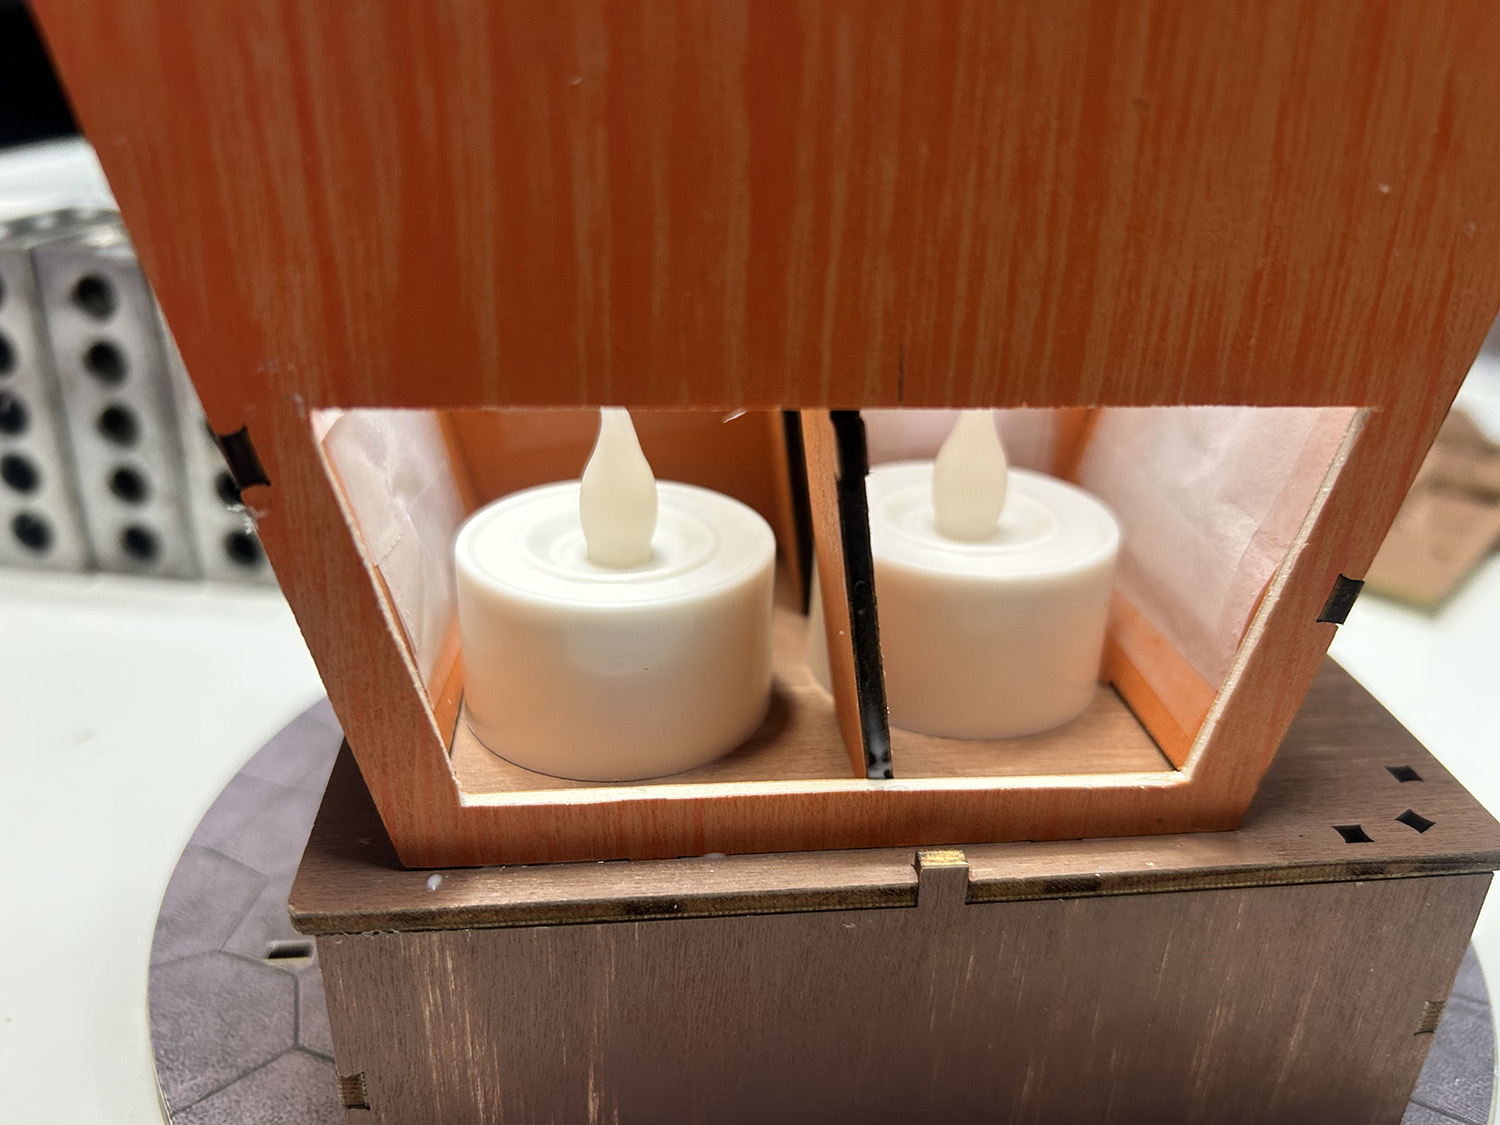
The kit does not have a place where you can install lights so I cut a section of the back wall out and installed two tea lights. I will use a piece of tape to hold the cut-out piece in place when the project is on display.
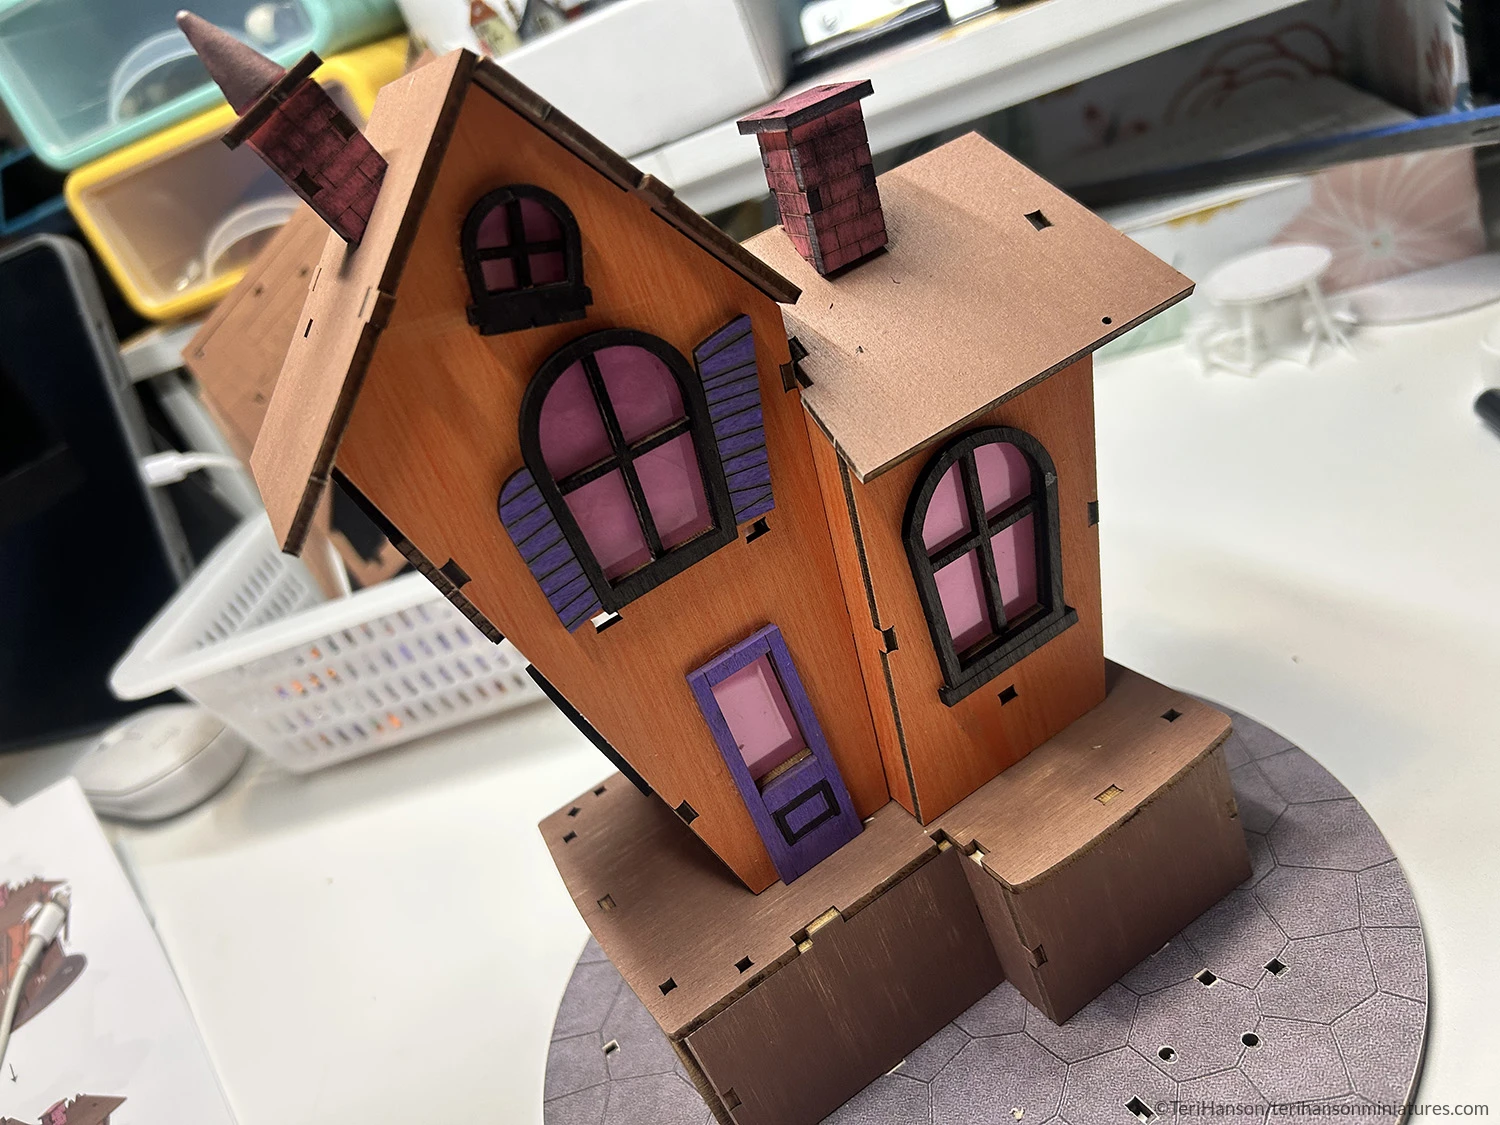
I have found that parts fit together well for the most part. I’ve glued the main structure in place and added some purple paint to the shutters and door. Some black soot distressing ink was applied to the chimneys as well.
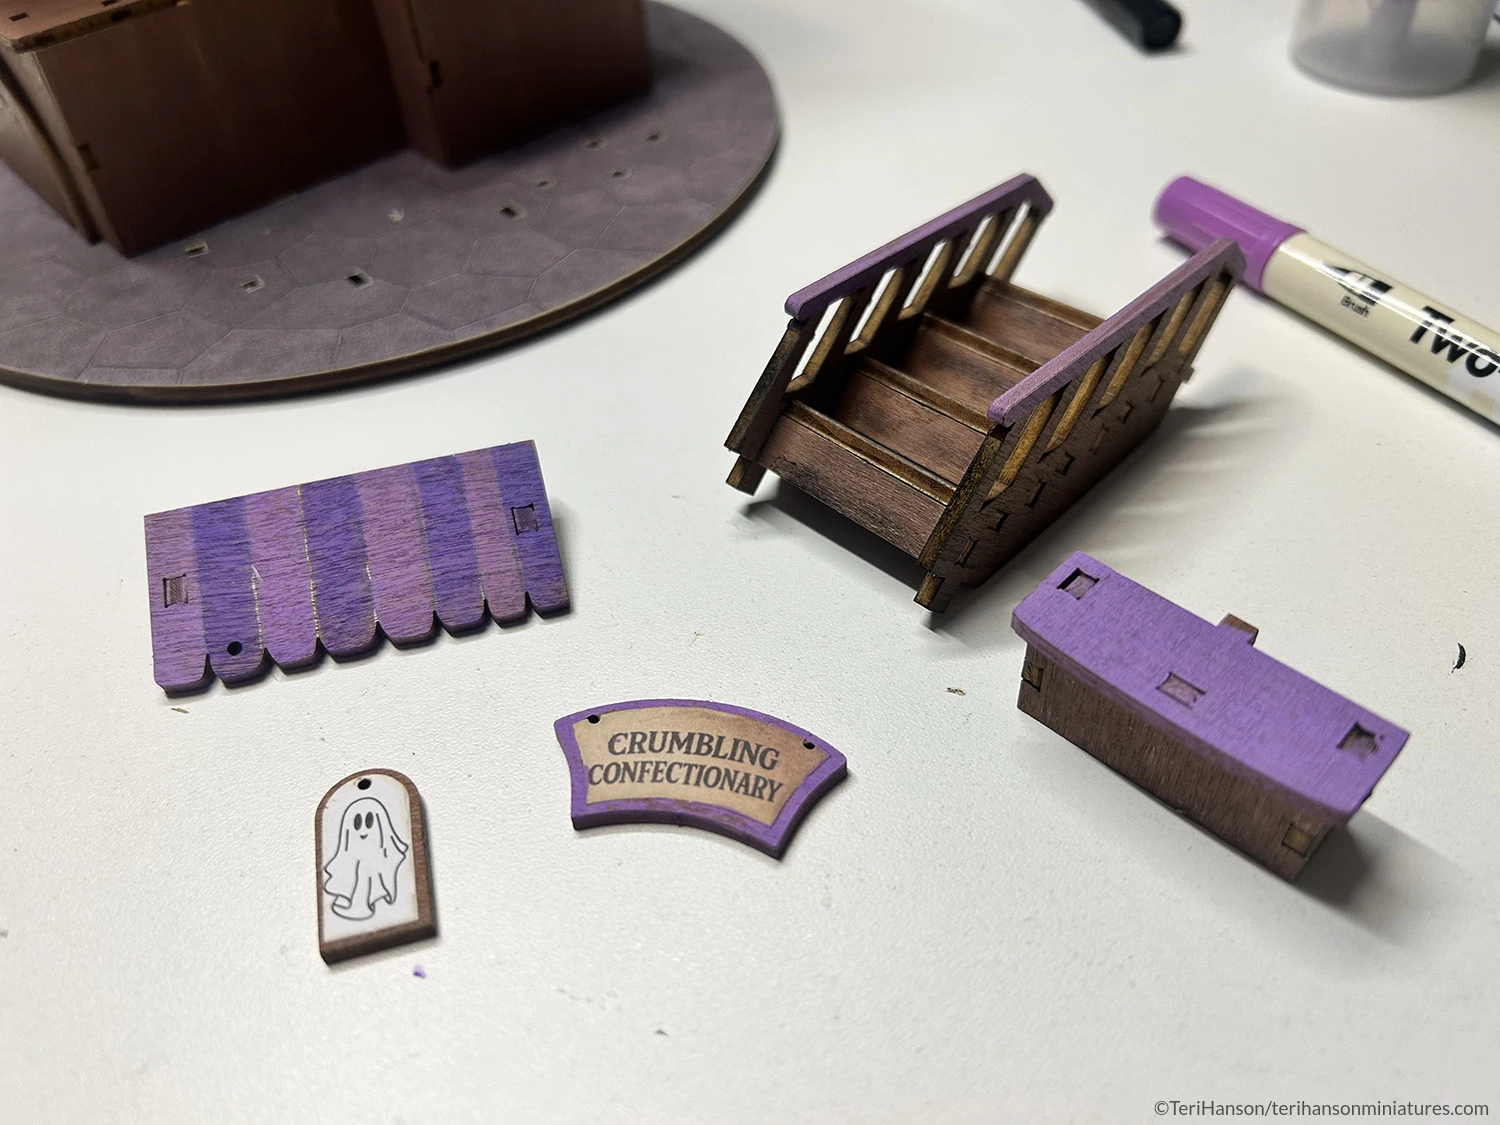
Here are some accents that I’ve made up and painted with the purple paint pen. There was a printed paper to be glued to the top of the awning but I decided to use paint pens instead for a more realistic look.
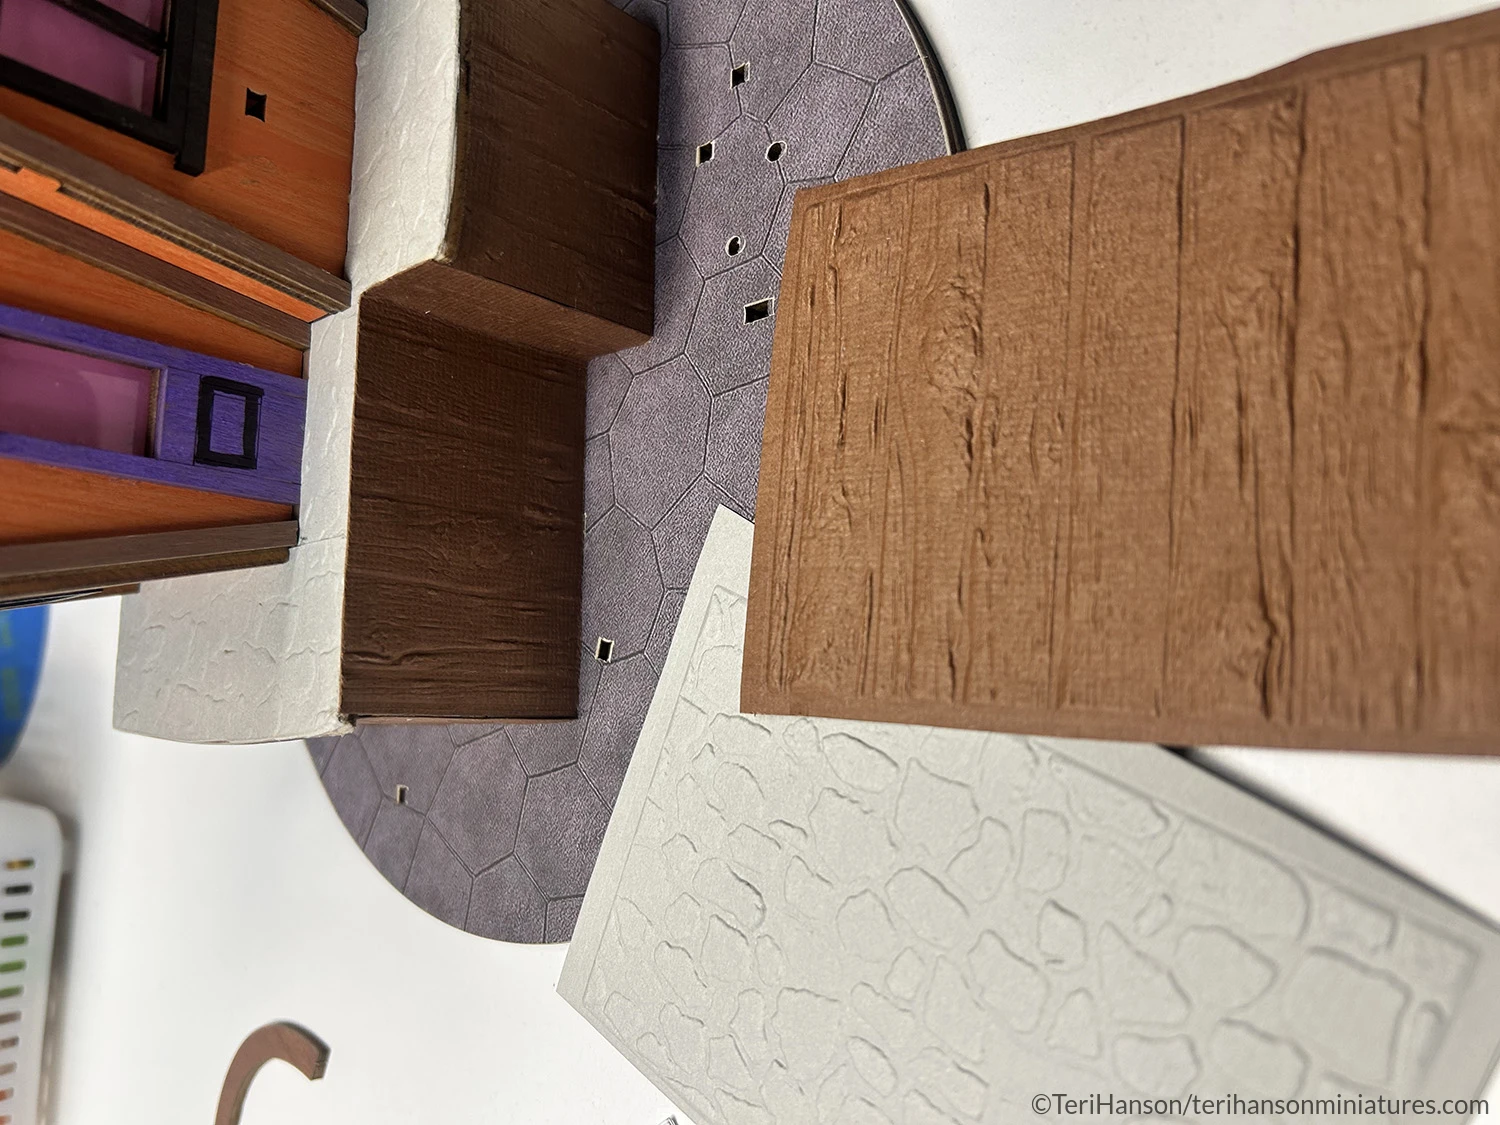
In order to add more realism to the project, I used two Sizzix 3D Texture Plates by Tim Holtz to emboss grey and brown cardstock. These were used to cover the ground at the base of the structure and the wood area below/base. Chalk pastels, paint, or distress inks can be used to add varying color to both of these, creating a stone and wooden board look.
NOTE: You can find a list of additional materials I’ve used on the project listed at the end of this post!
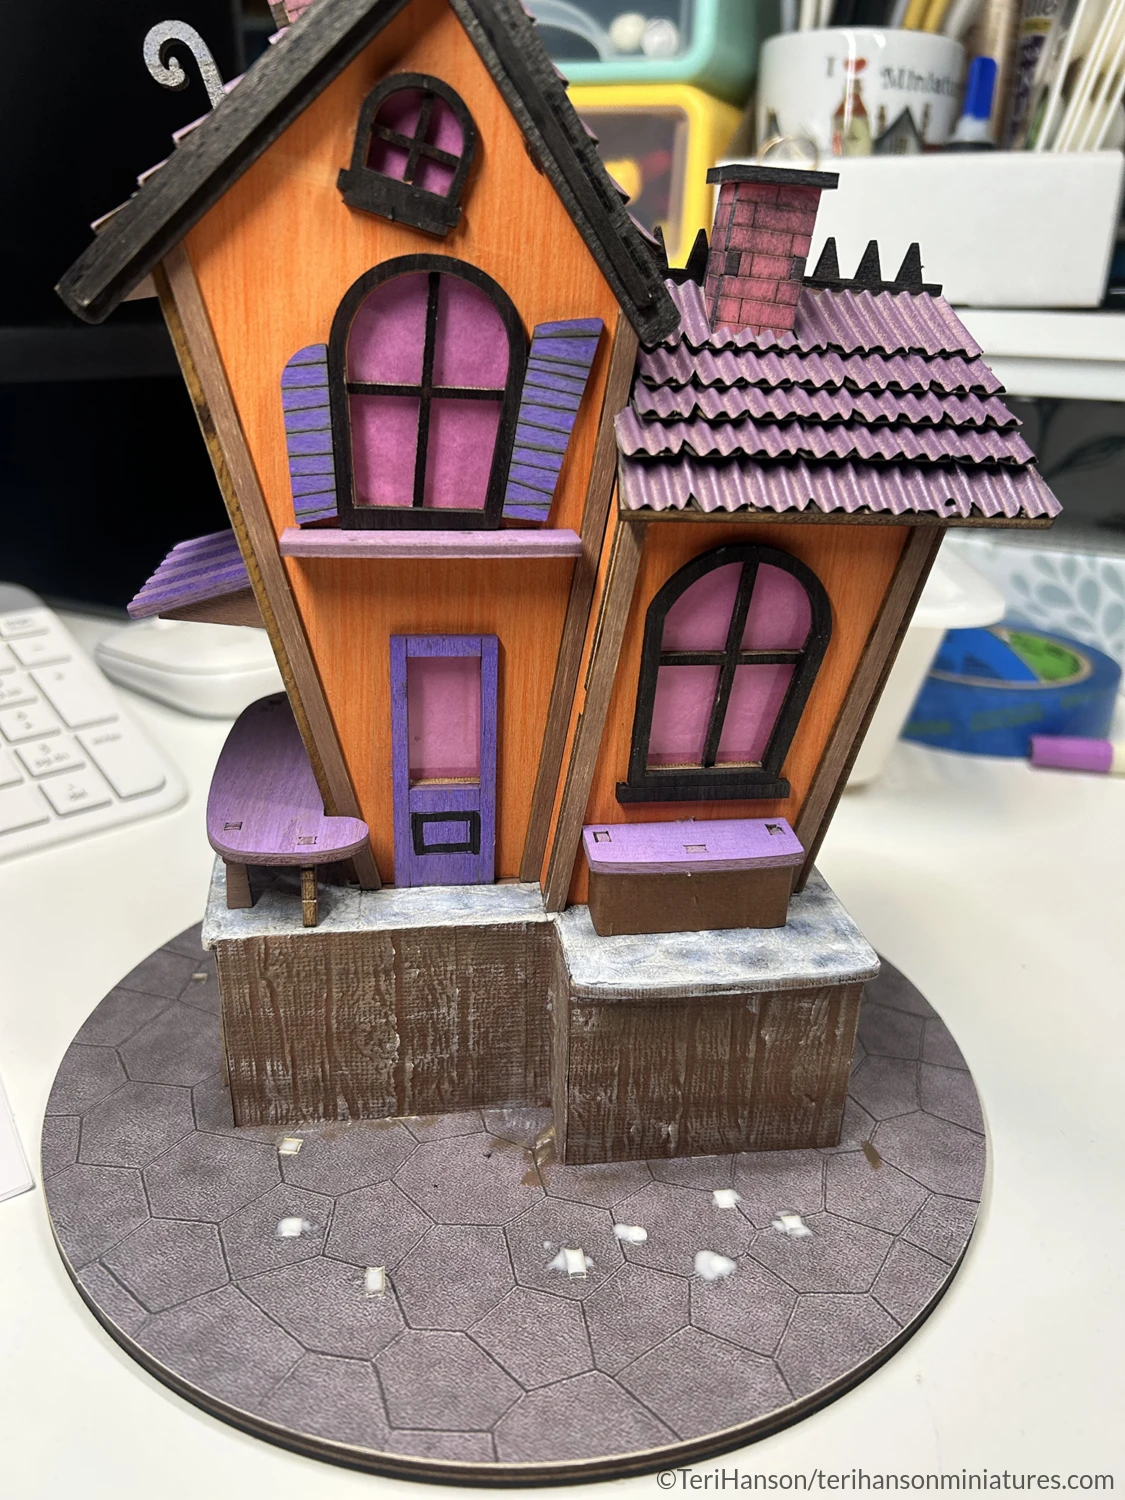
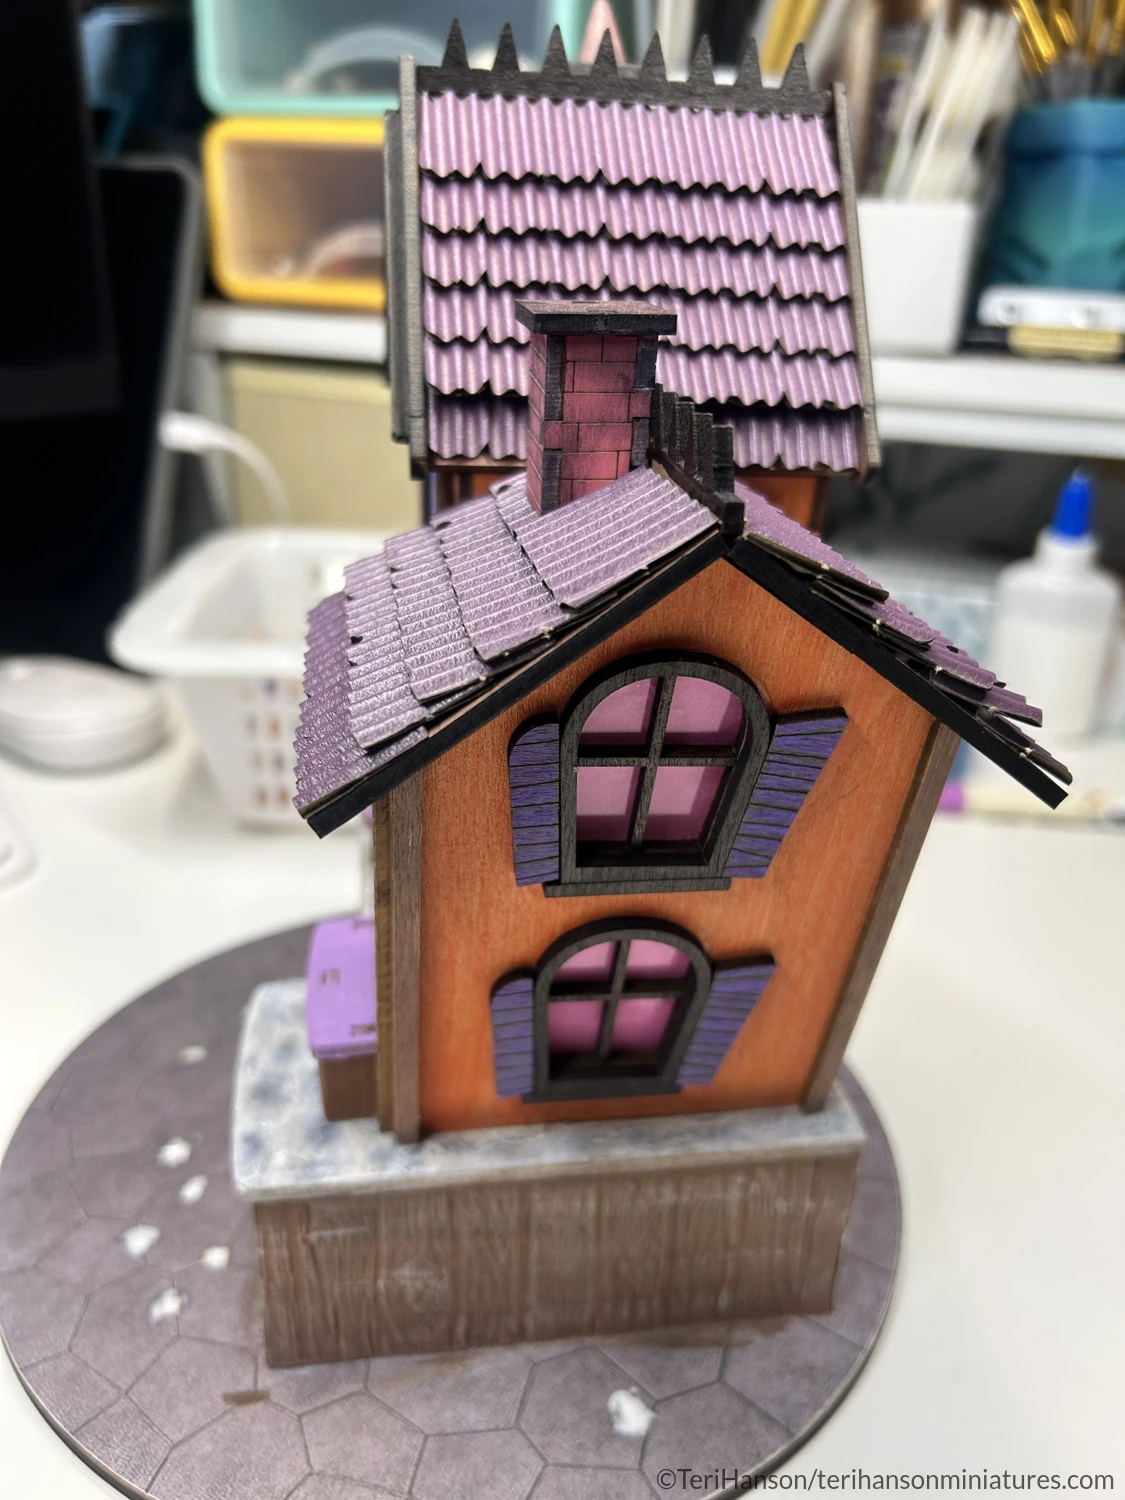
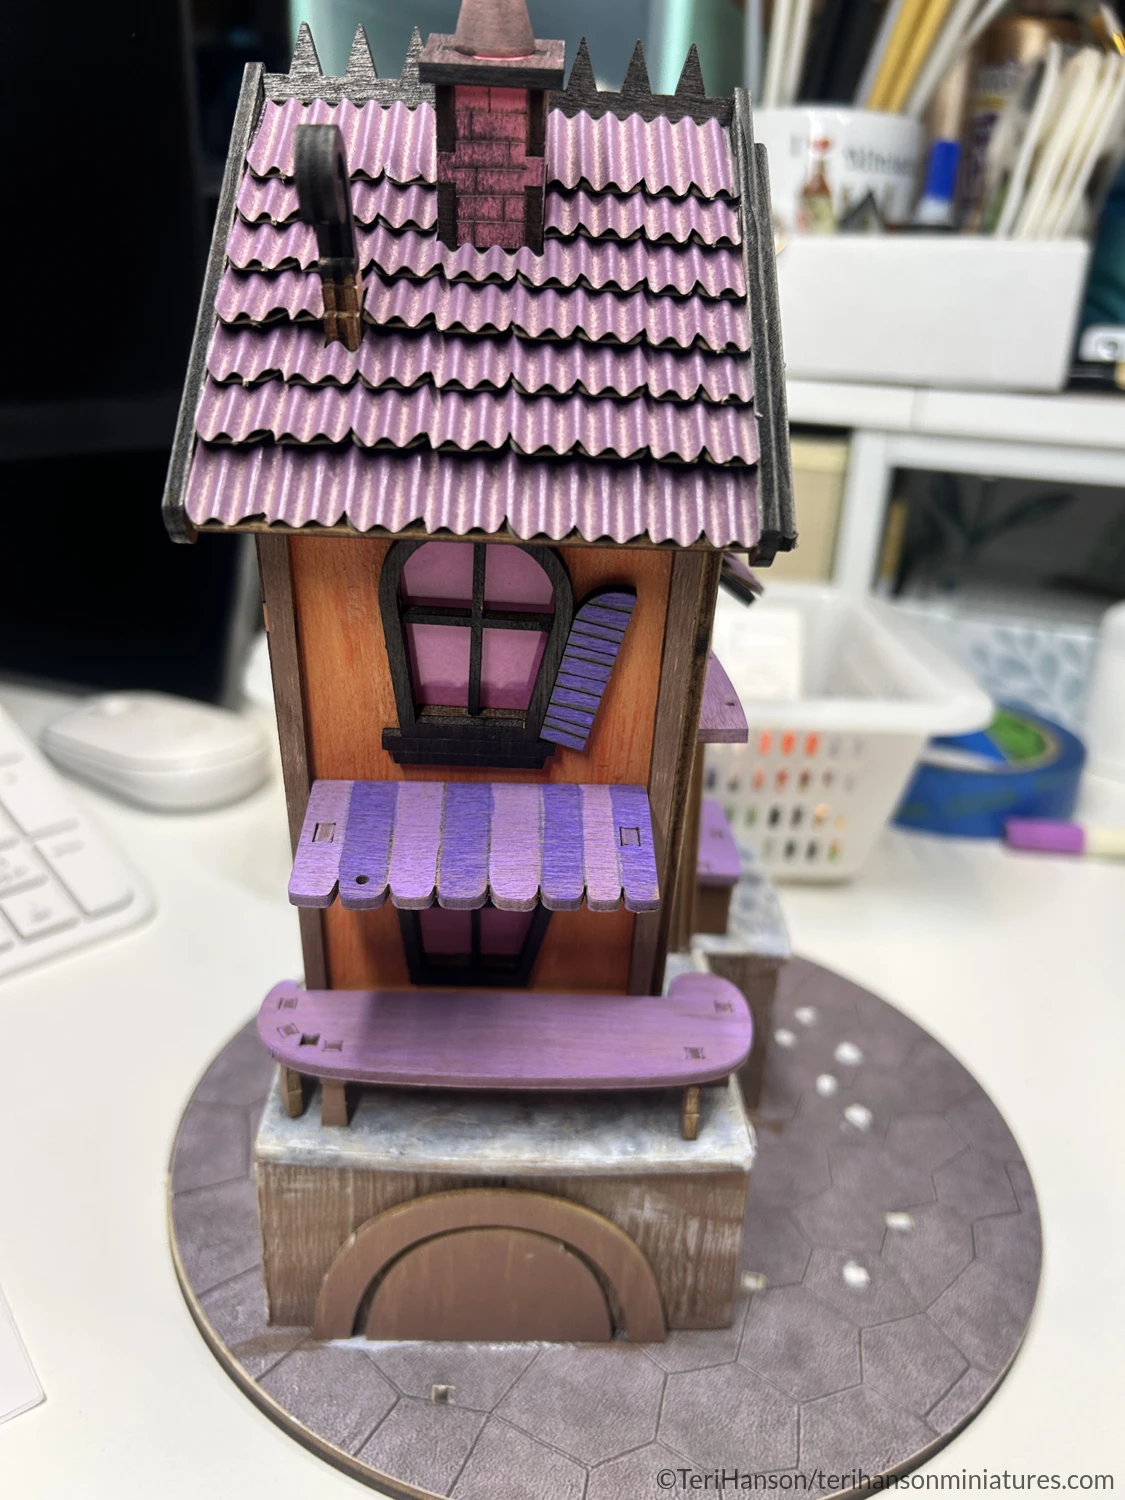
Above and at left, you can see how I have aged the stone and wood papers. Additional elements have been added on and around the structure, with several being painted using a purple paint pen.
Looking at the base, you can see that I have added glue to the existing holes. I will be covering this base with other materials and not using the holes at all.
It remains to be seen how many of the little decor items that I will use on the house.
Before working on the base, I’ve used Black Soot Distressing Ink all over the entire structure for aging.
Now it’s time to add ground cover and other elements to bring the project to life! The ground cover was created by applying a layer of quick-dry glue, working in small sections, then sprinkling on various Woodland Scenics materials such as dirt, two colors of fine turf, and tiny rocks. I gave the ground cover about two hours to dry, then spray sealed it with Krylon Matte Sealer. The other elements were either from the kit or things I had in my stash.
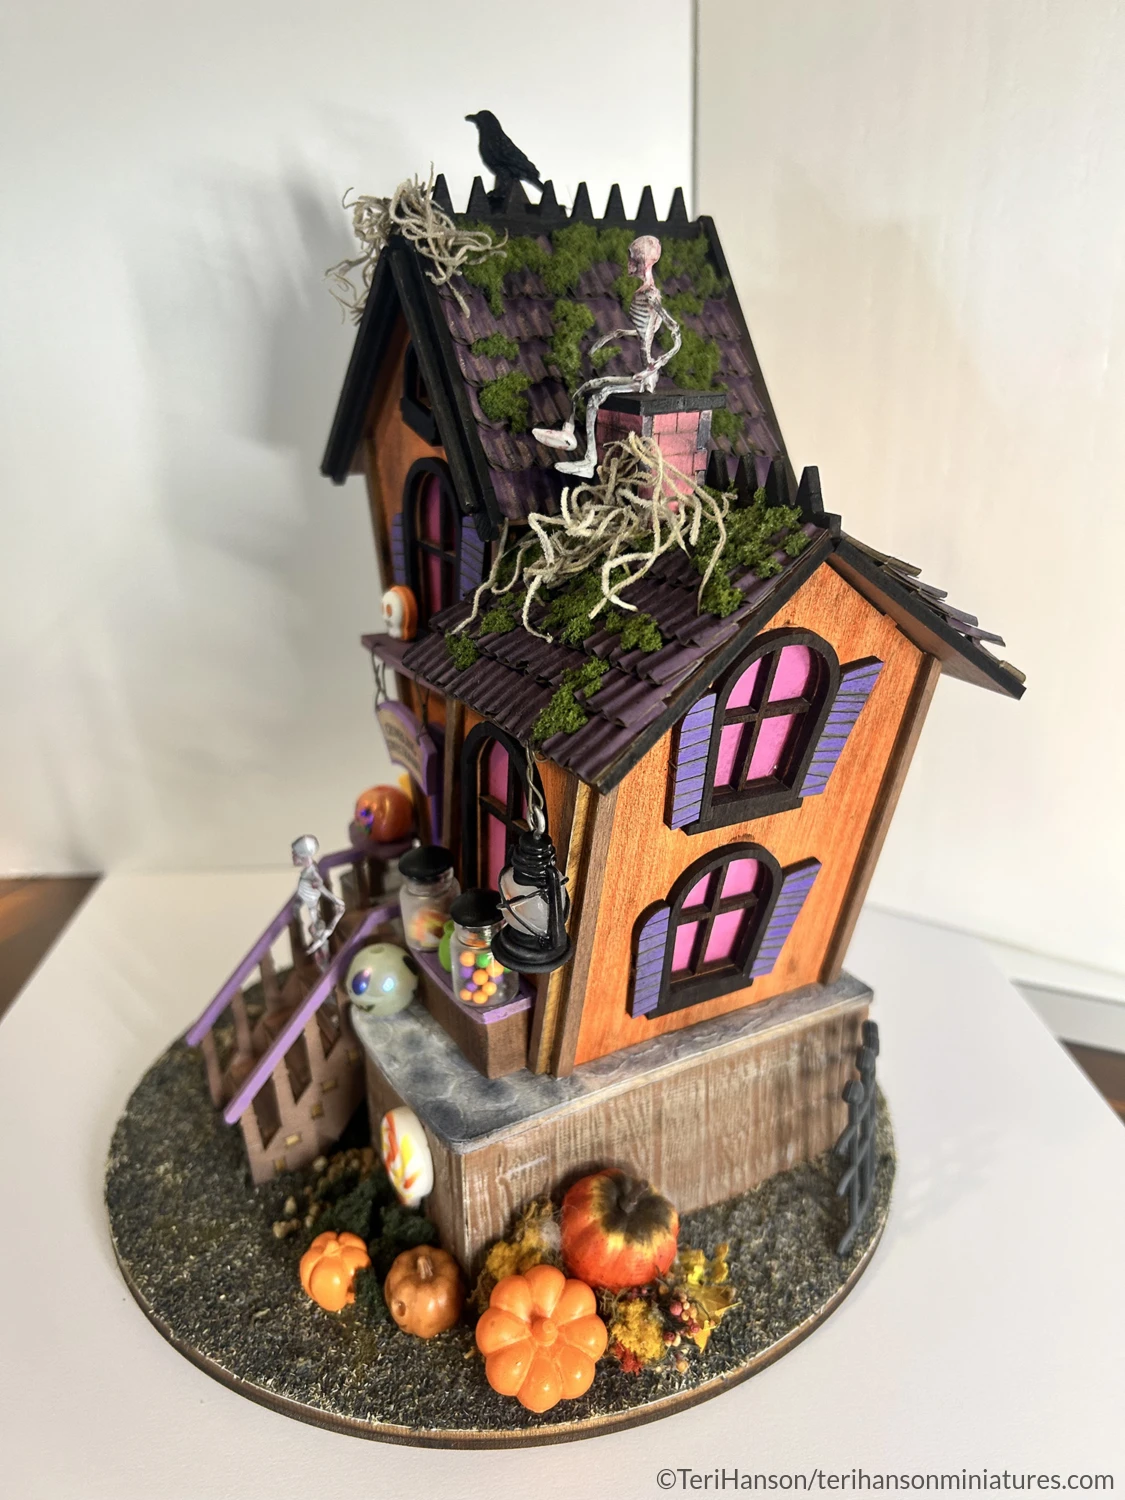
A couple of skeletons have taken over maintenance of the shop!
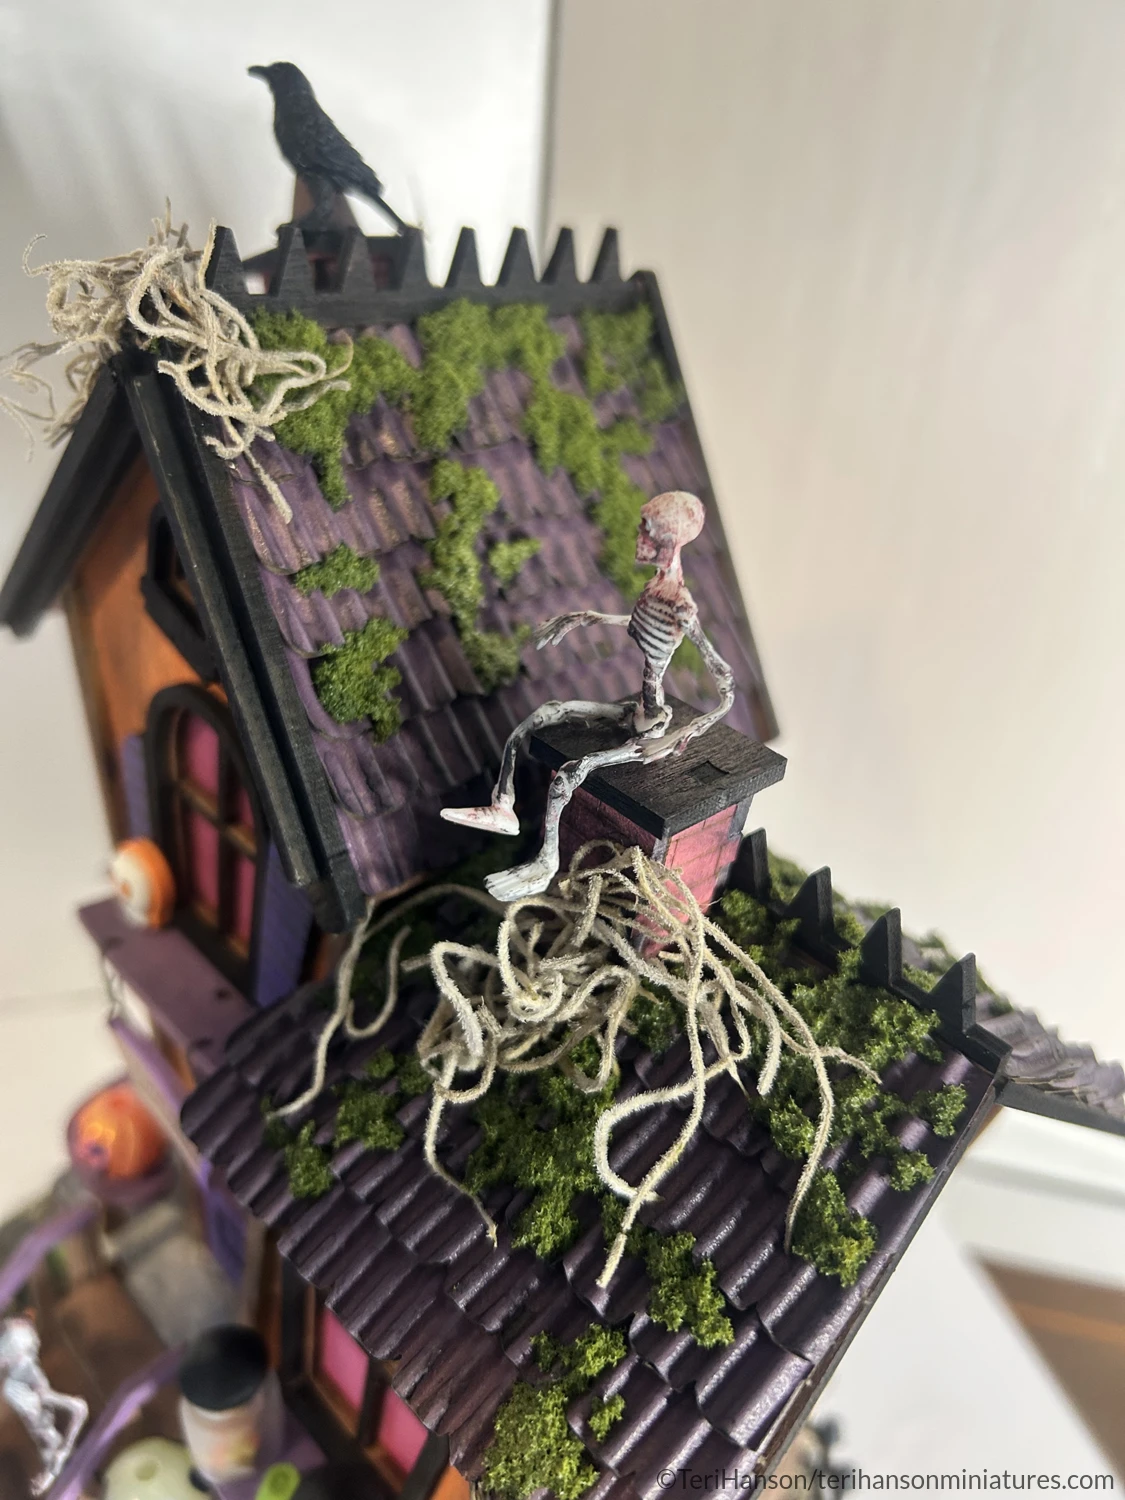
Combine course green turf with glue and a bit of water to create moss that sticks easily to the roof.
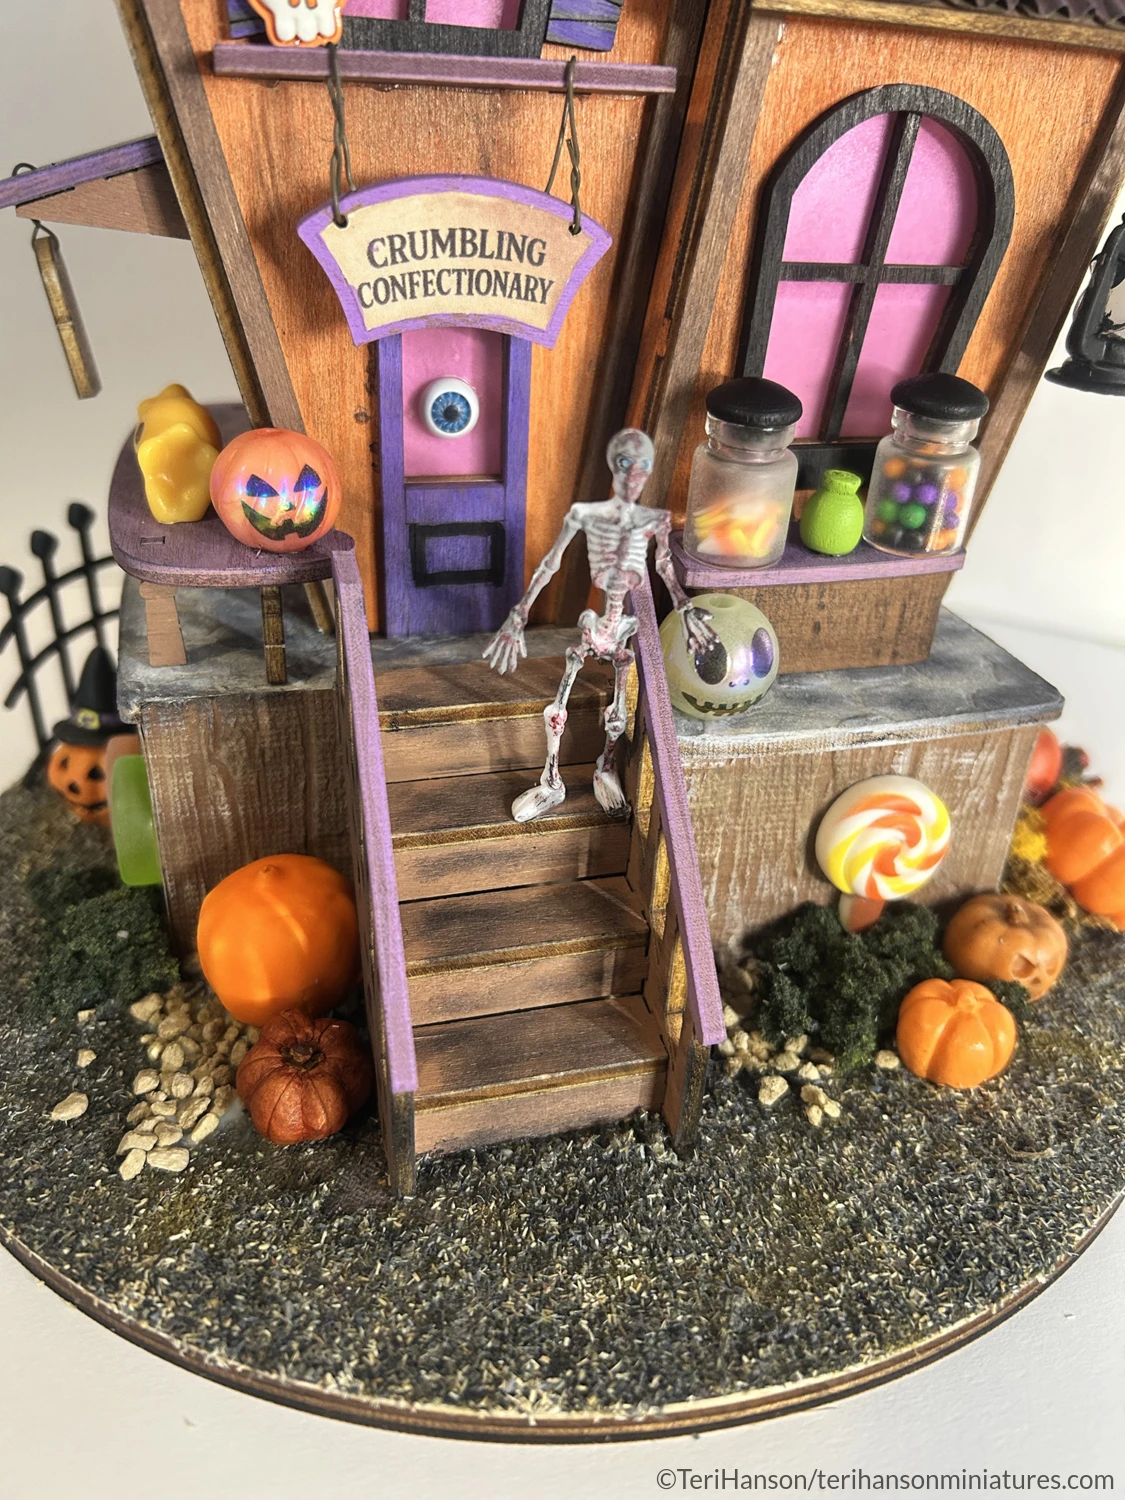
This was such a FUN and easy project to build. Perfect for those who might want to get into building miniatures from kits, any crafter wanting something fun for Halloween, and experienced miniaturists who love to bash or alter miniature kits.
When time allows, I am planning on adding a larger base for an outside eating area and a spooky tree. I will update the post when these are done, probably sometime after September 15th.
I hope you found this project interesting and that you are encouraged to try one of these kits out in the future!
Happy mini making, Teri