Welcome back to my ongoing build of the 1:48 scale Hegeler Carus Mansion from Laser Dollhouse Designs! I hope that you enjoyed part 01 and are ready to resume work on this fun project.
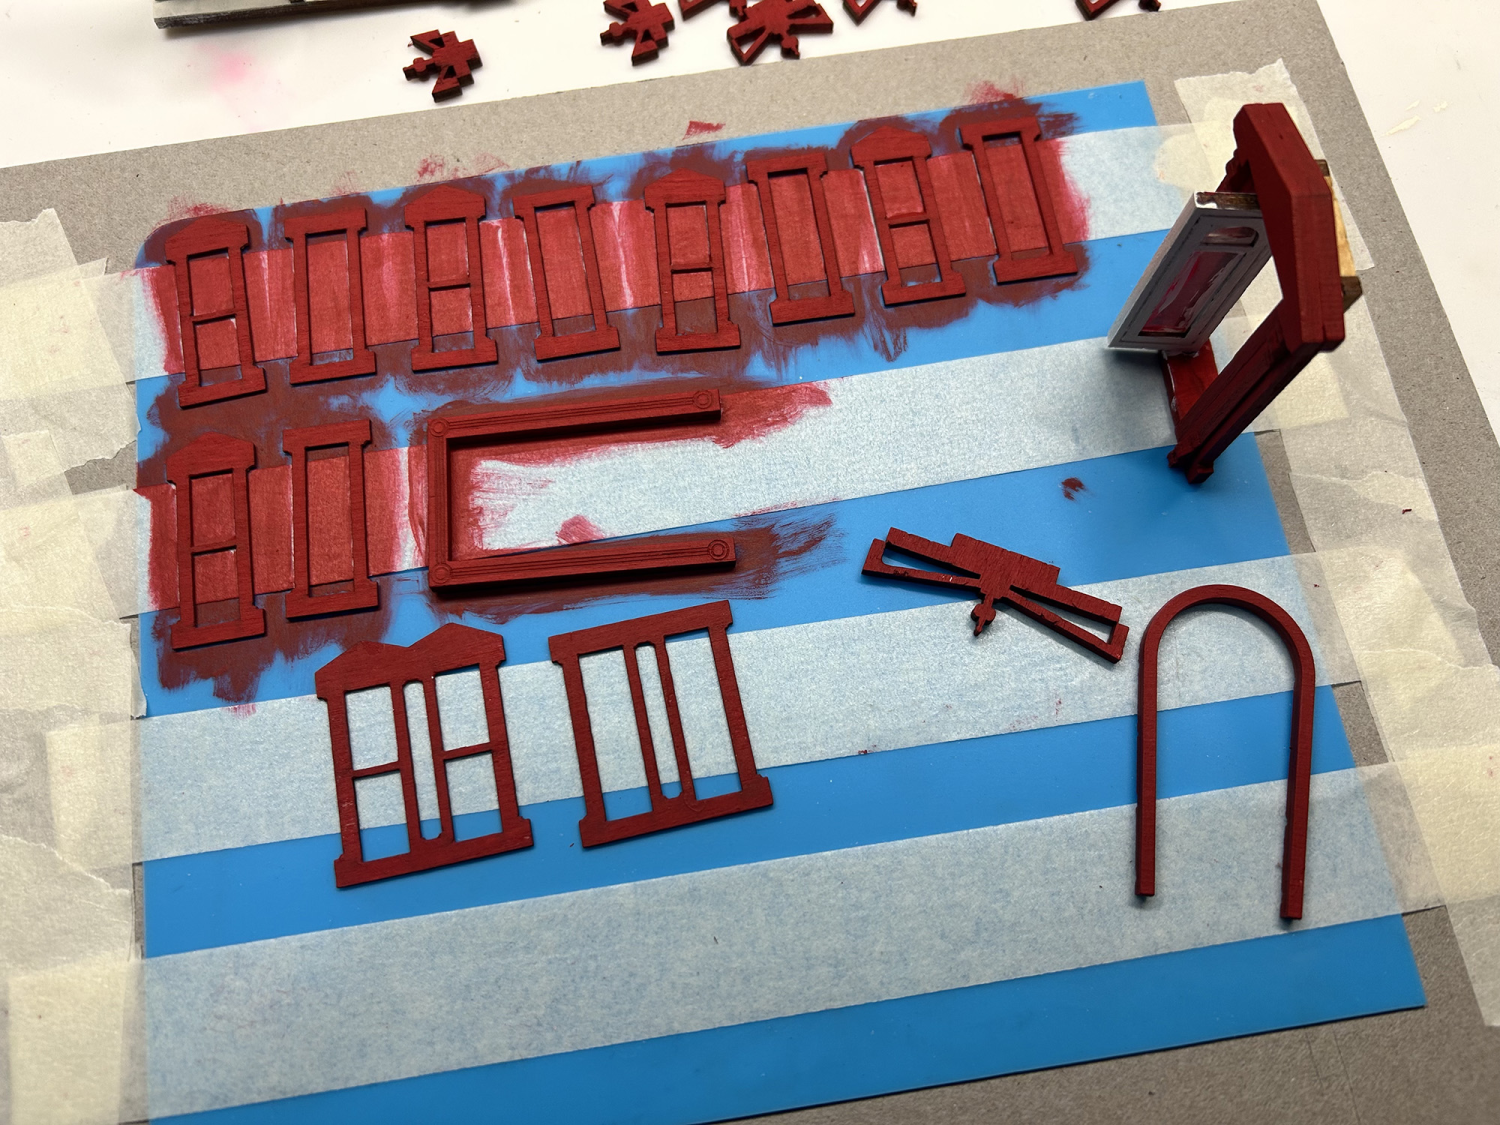
In part 01, we had discussed a few issues, found solutions for the issues, and applied a first layer of paint to the walls on the lower floor. I am beginning this second part by painting all of the lower parts as needed. Since I did not think you wanted to watch me paint a ton of pieces, you will see these painted in the images below.
WATCH THE VIDEO FOR PART 2 ON YOUTUBE
Let me say that painting the front staircase unit, the porch rails, and the main entrance roof assembly was not easy! This took several thin layers of paint and most of a day, plus a bit of sanding and some prep work. It can be a patience tester lol.
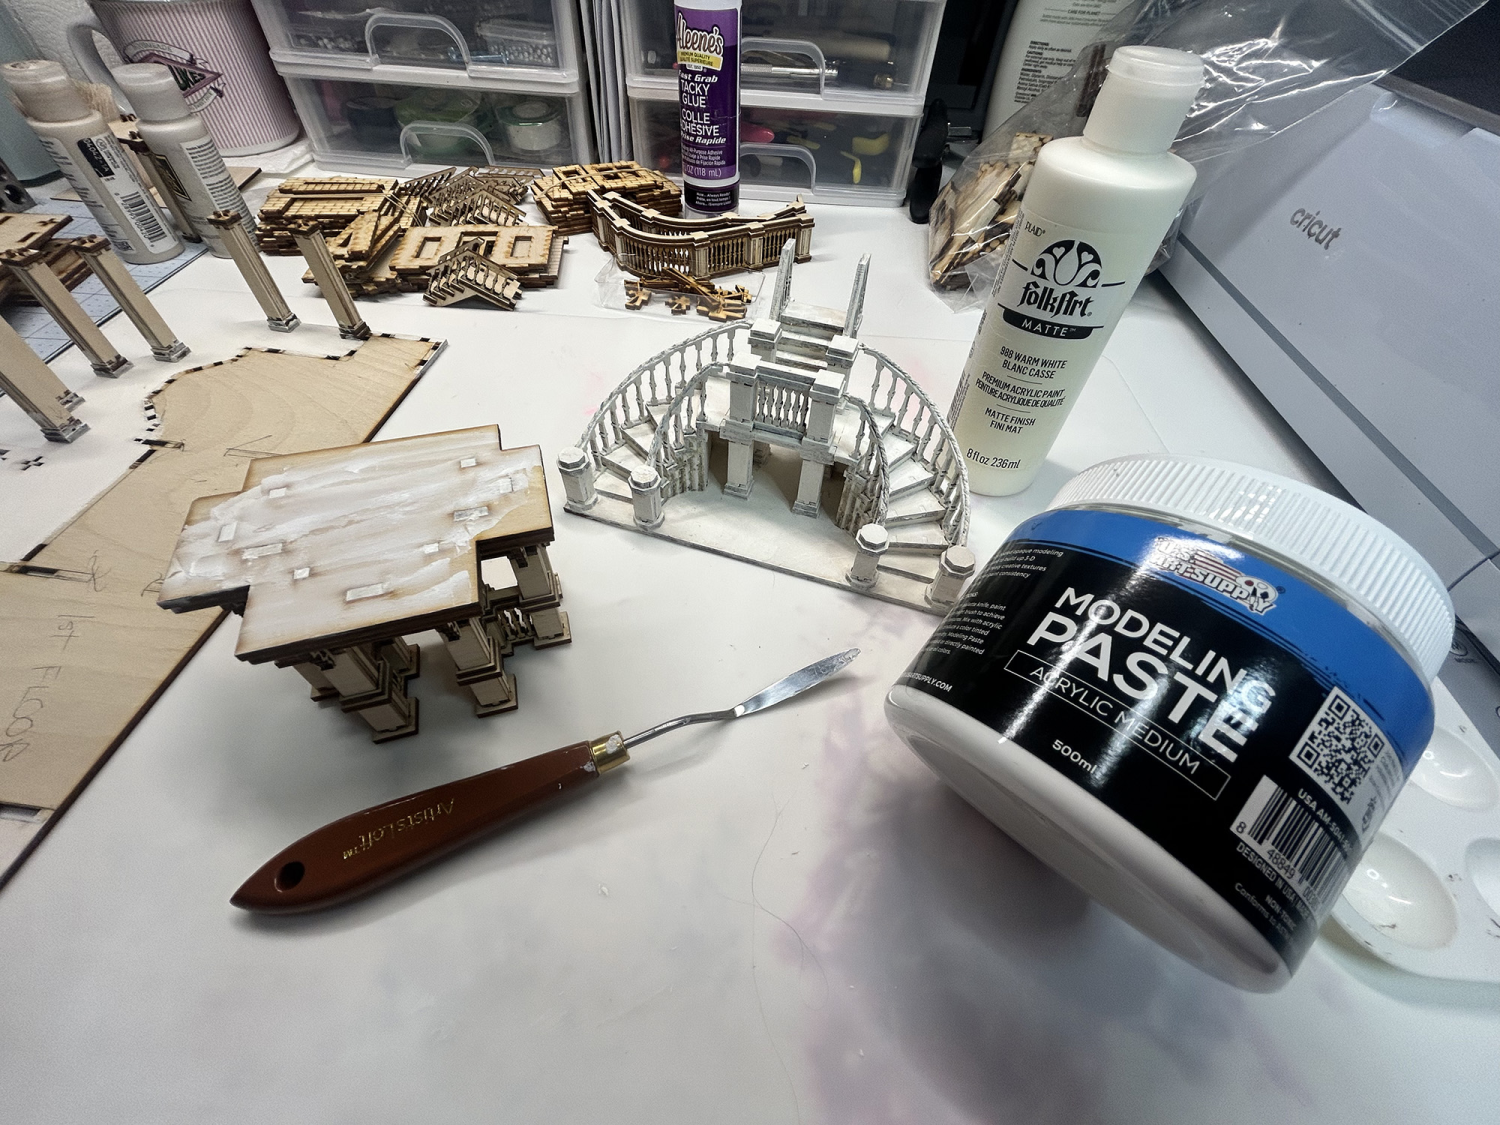
For the paint and prep work, I’ve used the following materials.
- Folk Art Matte #988 Warm White paint
- A palette knife
- Acrylic Modeling Paste
- Fine-grit sandpaper
- Aleene’s Fast Grab Tacky Glue
After an initial coat of paint, I found that many of the tiny pegs that connect pieces, especially on the stair steps, were not even with the other wood parts and needed to be filled. I filled these areas with the modeling paste, let it dry, then lightly sanded the areas to make sure they were all smooth. You can easily paint over the modeling paste, and it makes such a difference in the finished look.
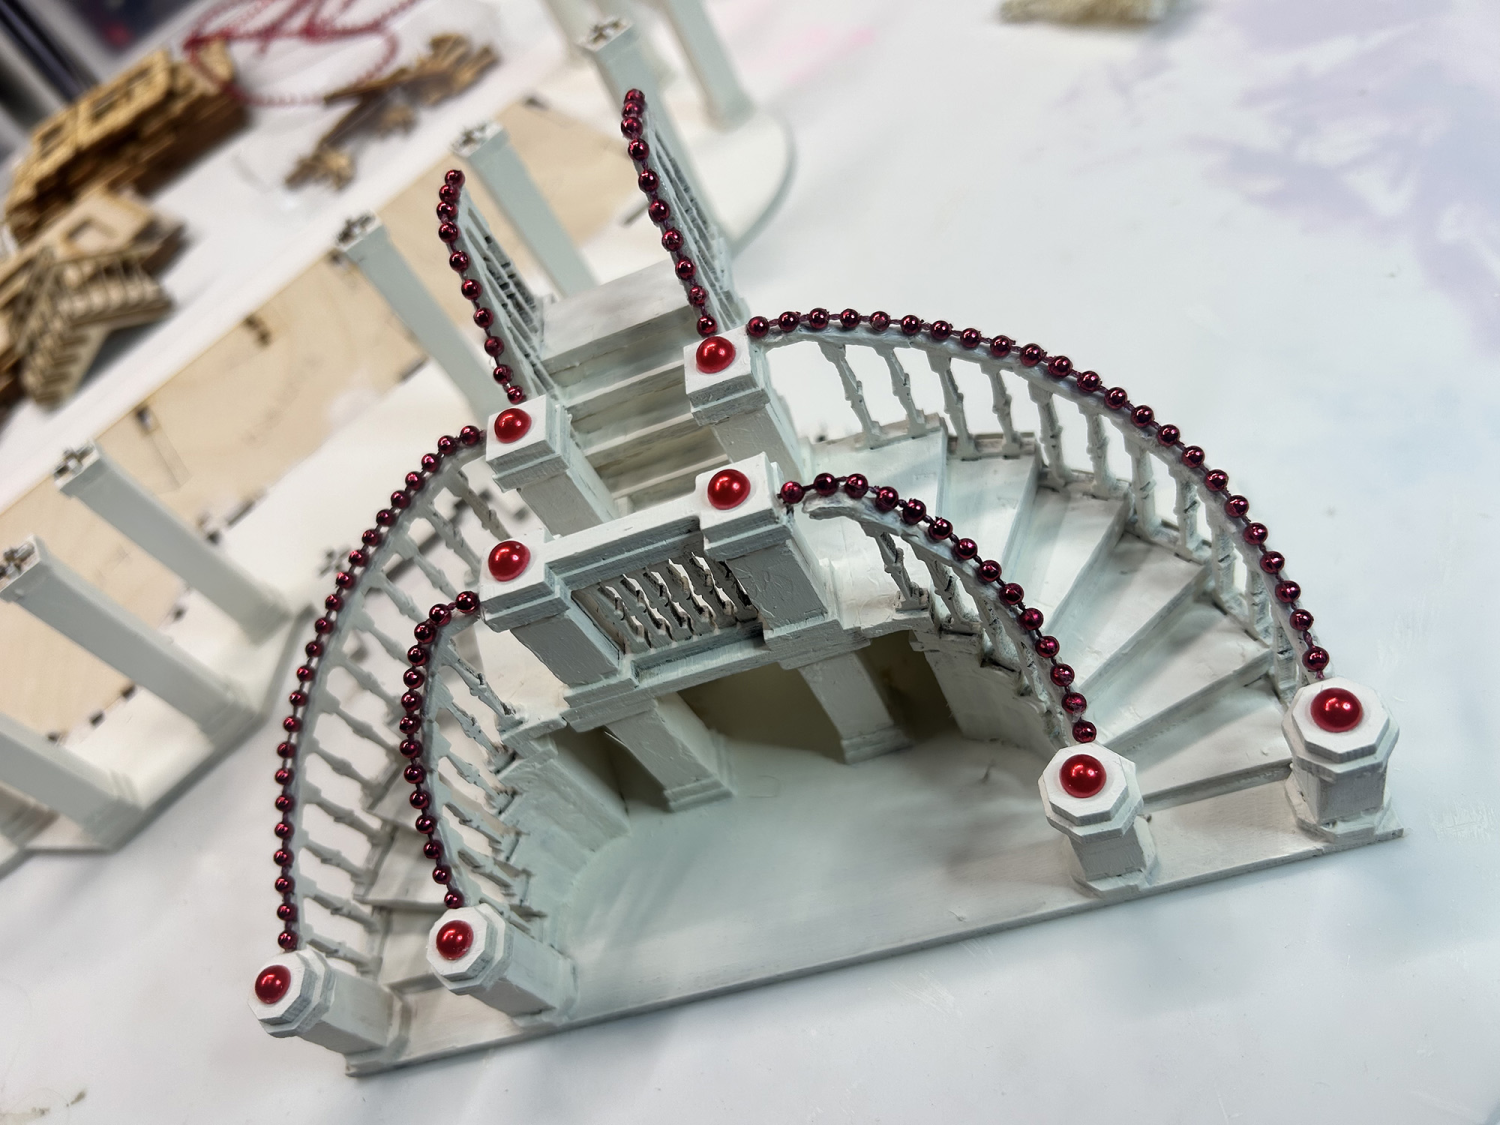
This morning, after some thought, I’ve decided to turn this into a Santa’s Workshop instead of continuing with the build as intended. With it being 1:48, it’s just too small to replicate the parts of the Hegeler mansion as I would want to. So, below you can see a few changes I’ve made from the photo above in light of the new theme.
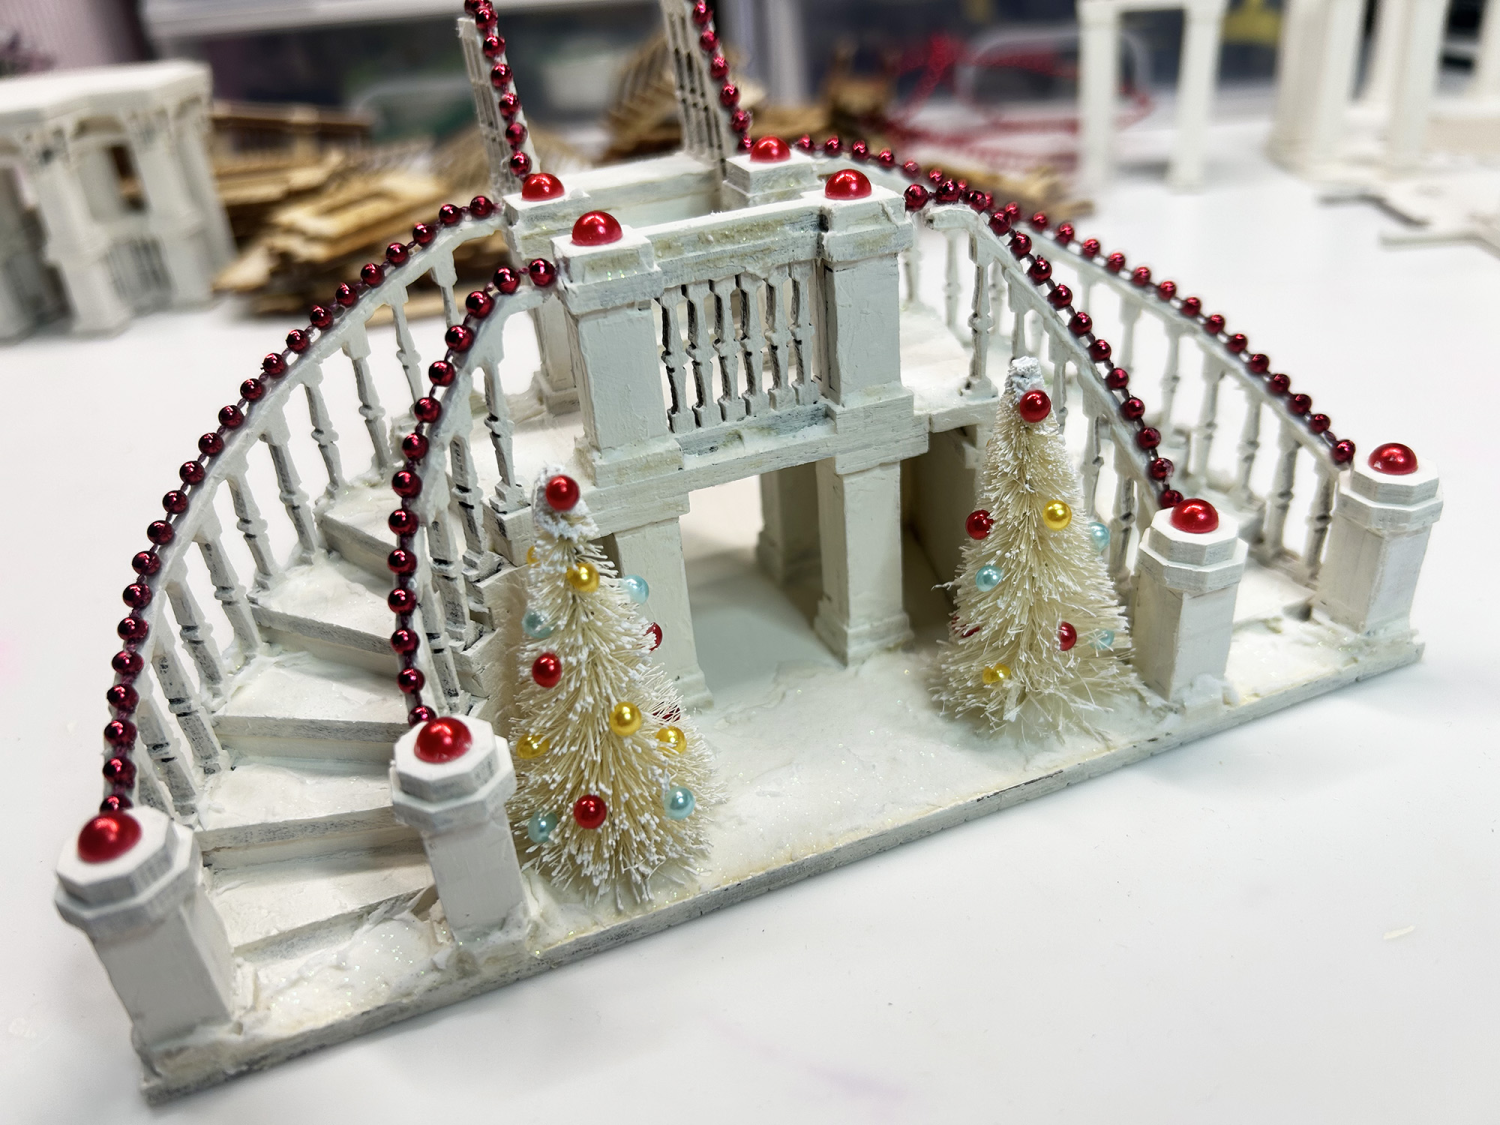
I have used red flat back pearls and red bead trim for the accents. Two trees help to hide the area at the bottom of the stairs, where I glued kraft board to hide the gaps. TIP: You will find it easier to attach the bead chain by adding a couple of drops of super glue with the tacky glue to quickly hold it in place while the glue dries.
Texture paste mixed with Stickles glitter glue makes a pretty snow. Use a palette knife to apply the snow texture on the base, steps, and ledges on posts.
Small flat back pearls were used as tree ornaments.
I will be adding the same snow texture to the main base, but first, I need to figure out the flooring, then finish the inside of the walls, and get them glued in place. This is so that I can pile the snow up next to the walls after they are installed.
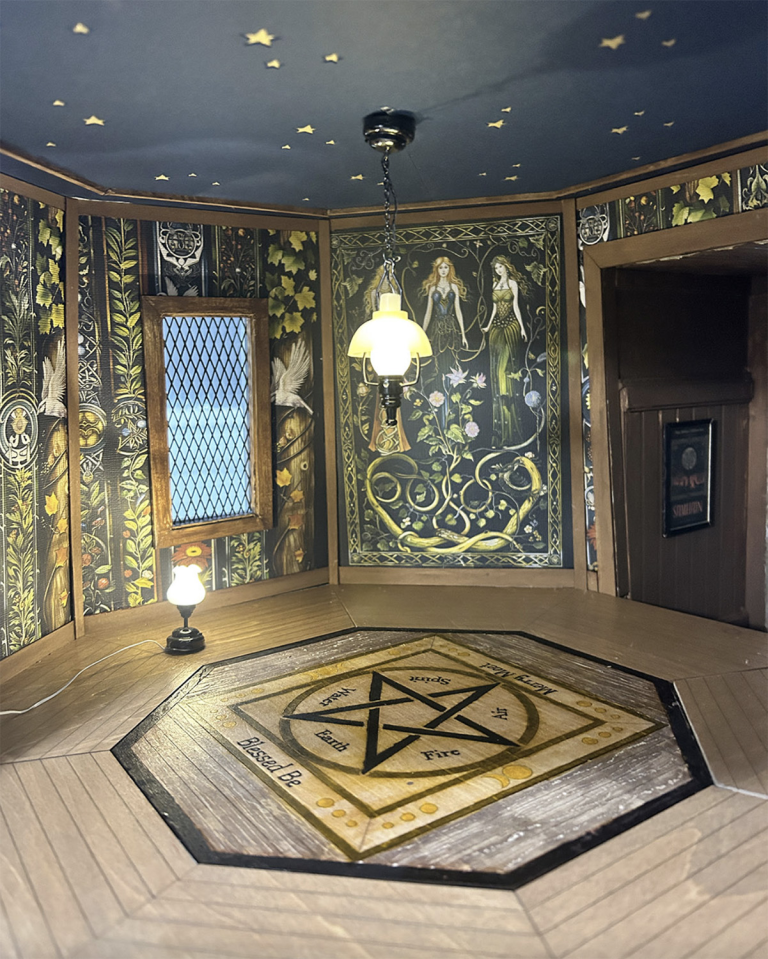
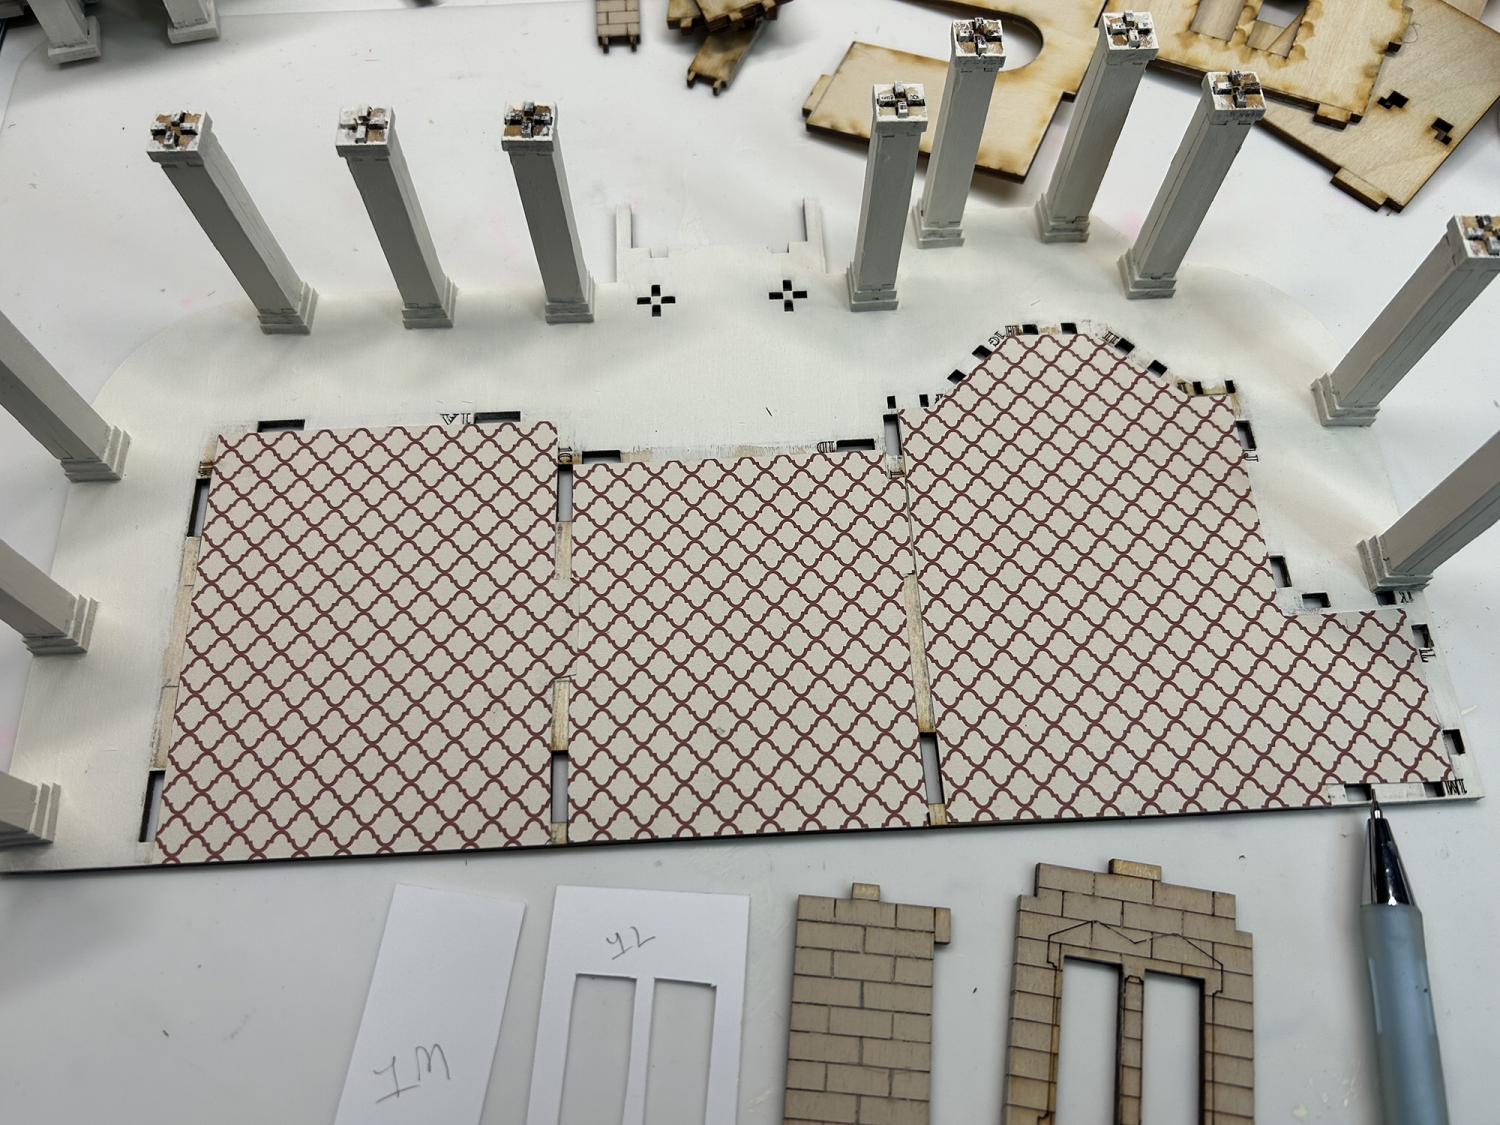
For the flooring and wallpapers, I’ve used digital papers found at CreativeFabrica – a great place to find these type items! These digital papers will typically be made 12″ x 12″ @ 300 dpi. You want to look for papers that say “seamless pattern” as well. I wound up reducing the flooring from 12″ square down to 3″ square and the wallpapers down to 1.75″ square so that they fit the scale I’m working in. A good way to test this is to reduce the image, then print it on normal printer paper, cut it out, and test it in the room. If the scale looks off, reduce the image size a bit more and reprint, then test. Once you have the size right, copy and paste the image to fill a full 8.5 x 11 sheet of paper and print it on good-quality paper. I use either 80lb or 110lb paper in bright white.
If your flooring is not a simple square, like in this build, try this little trick I learned from Ara at Bentley House Minis! Use cheap post-it-notes laying them on the floor to build a template. Use this template to cut your flooring. Make any small adjustments as needed.
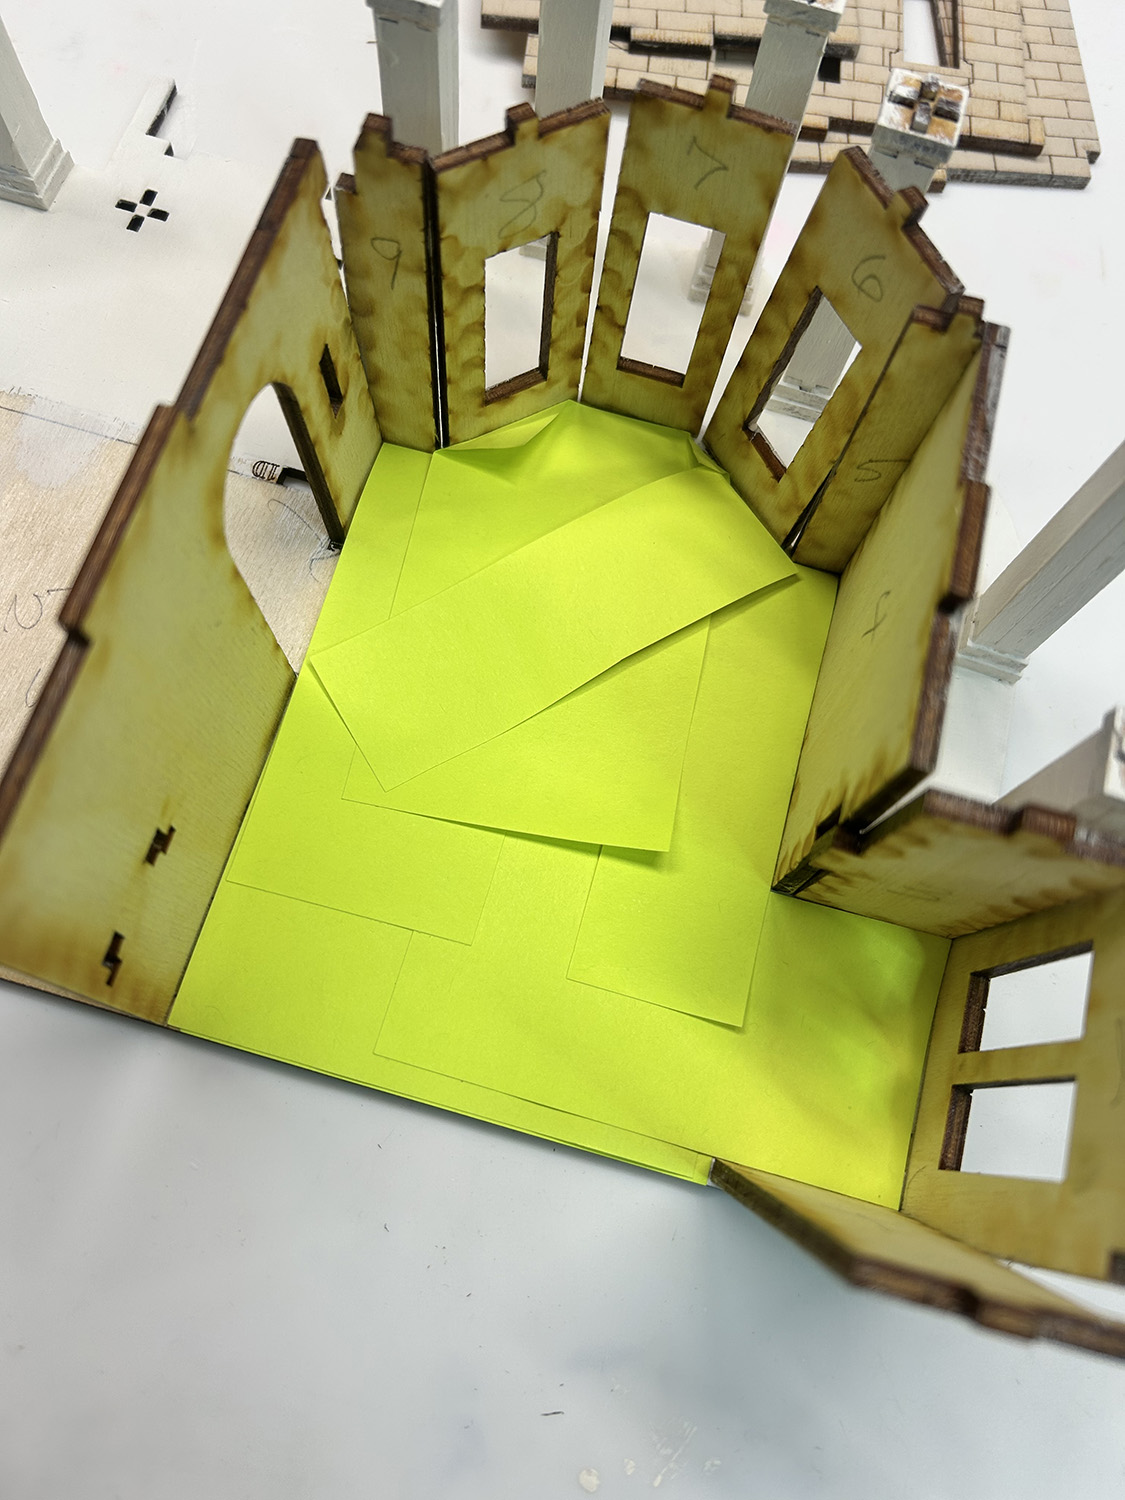
There are no doors in the kit for the lower floor inner walls, only door frames, so the flooring can go through the openings in the wall.
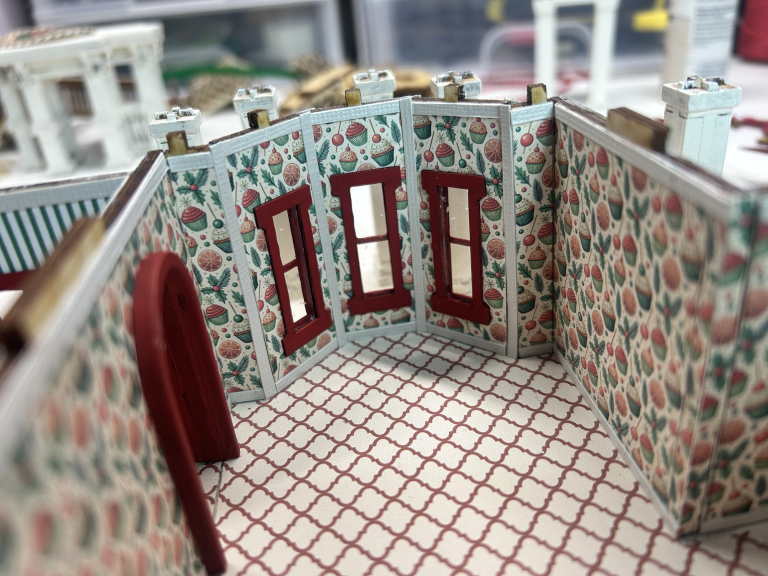
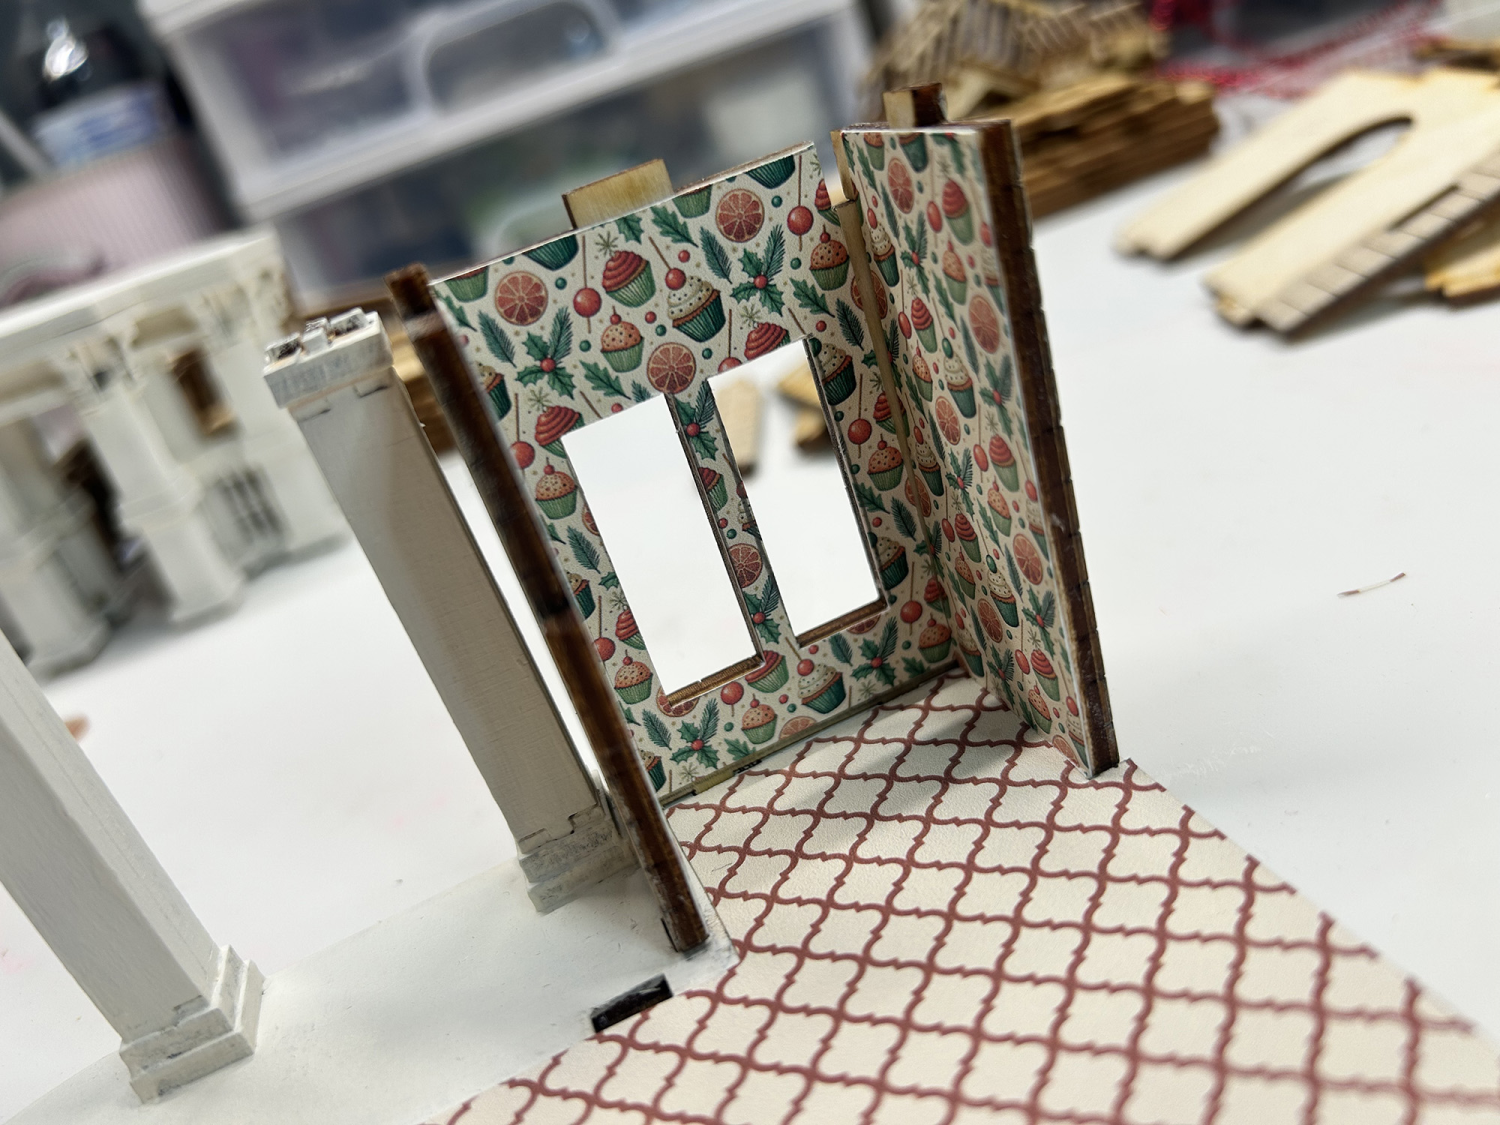
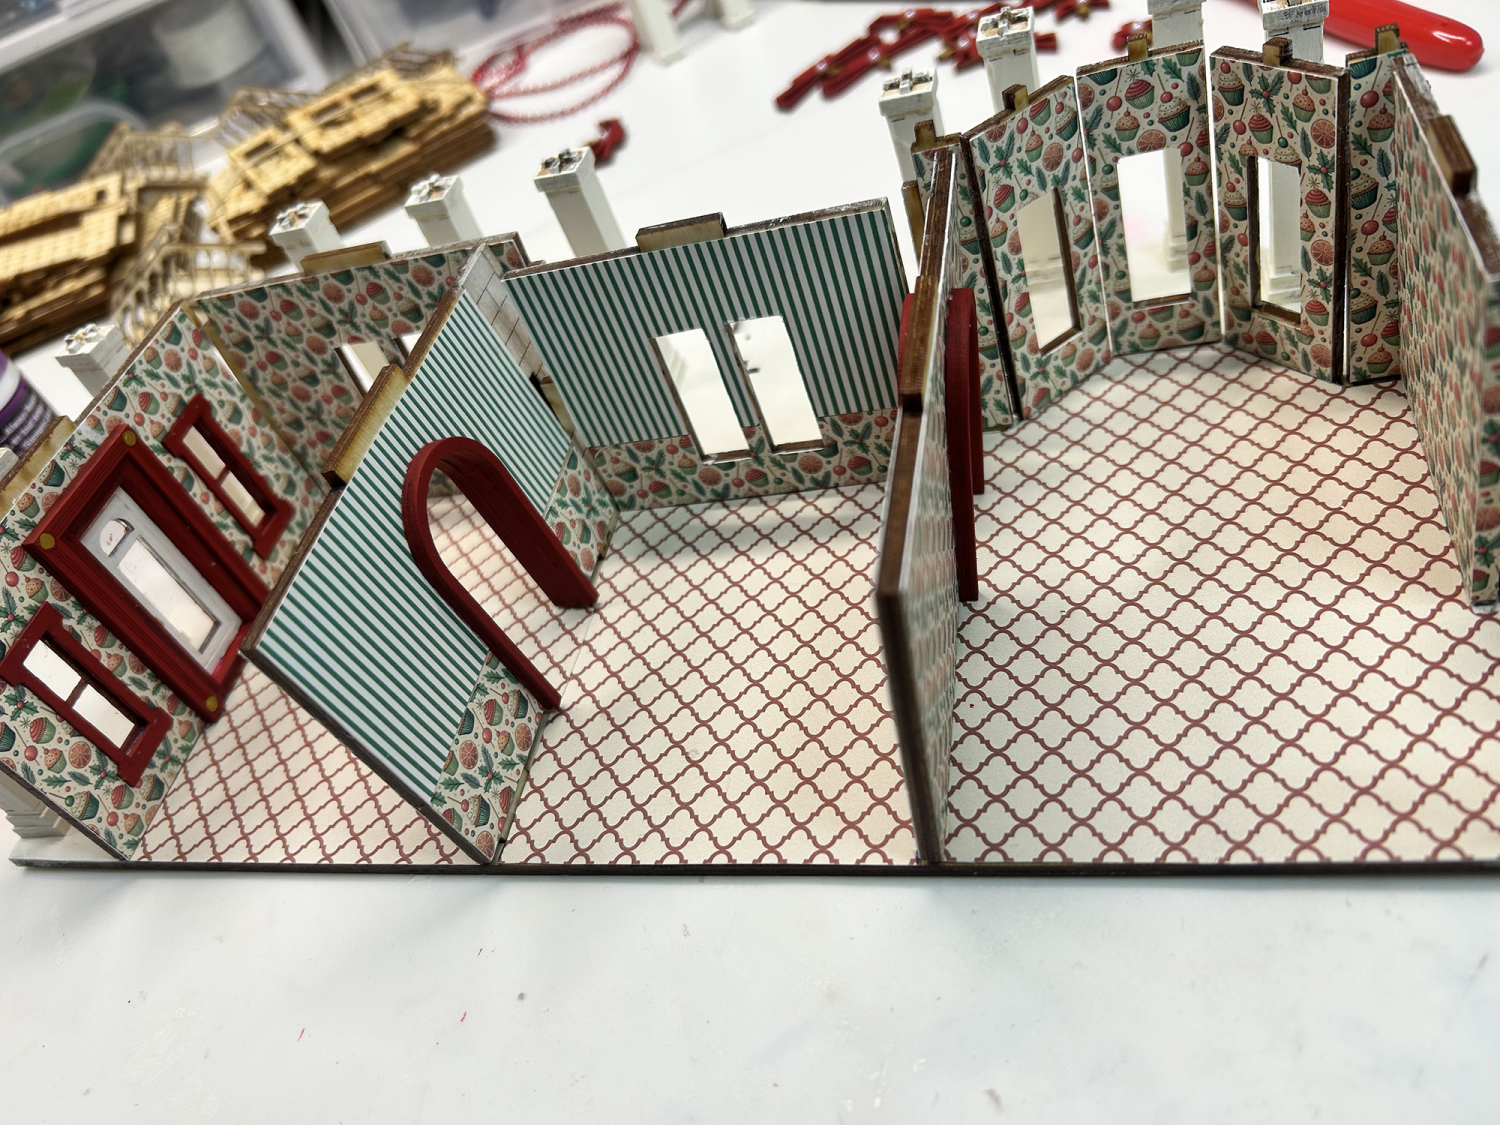
Now that the flooring is laid down, I’m beginning to work on the wallpaper. I’ve cut the templates out, measured them against the walls, made any necessary adjustments, and then used the templates to cut the wallpaper. Double-check how the walls connect before gluing your wallpaper! I’m not trying to match the paper from one wall to the other because I will be adding things that will cover those areas later on.
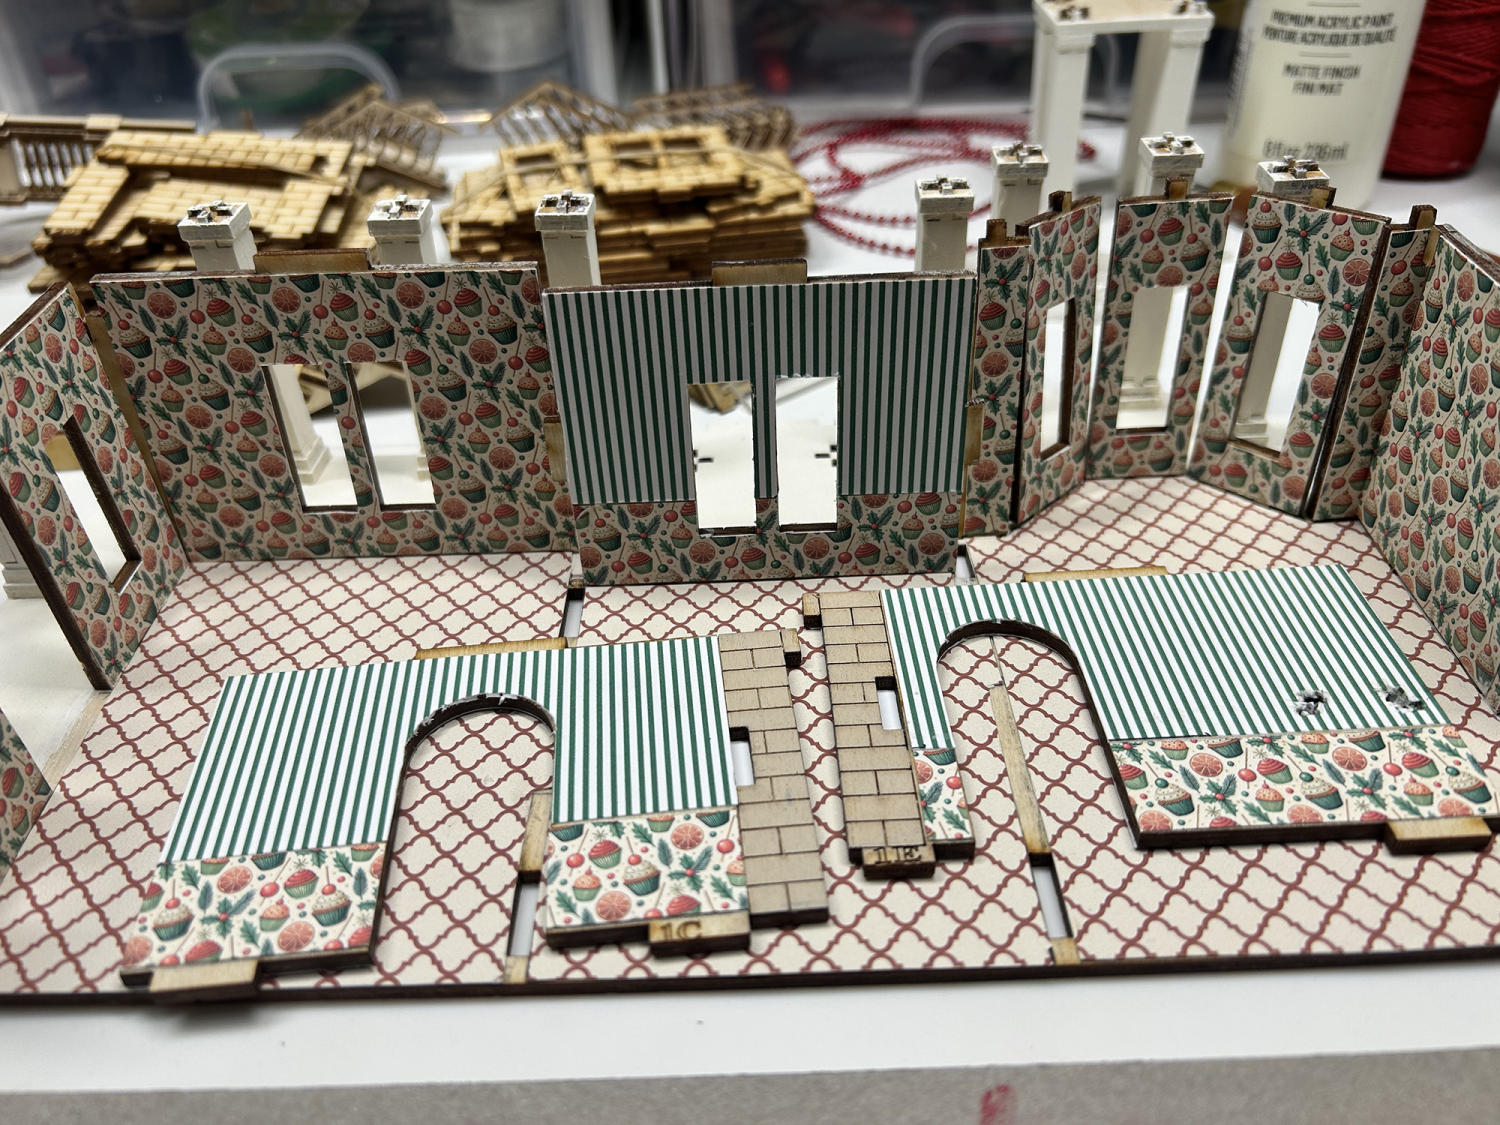
Here’s a look at all of the wallpaper in place. I also found a paper that had a repeating circle motif, which I shrunk down and will use as a rug. I always print rugs onto a canvas-type material you can find HERE. This printable canvas fabric can be used with an inkjet printer and works great for outdoor tablecloths and placemats. I will show the rug later.
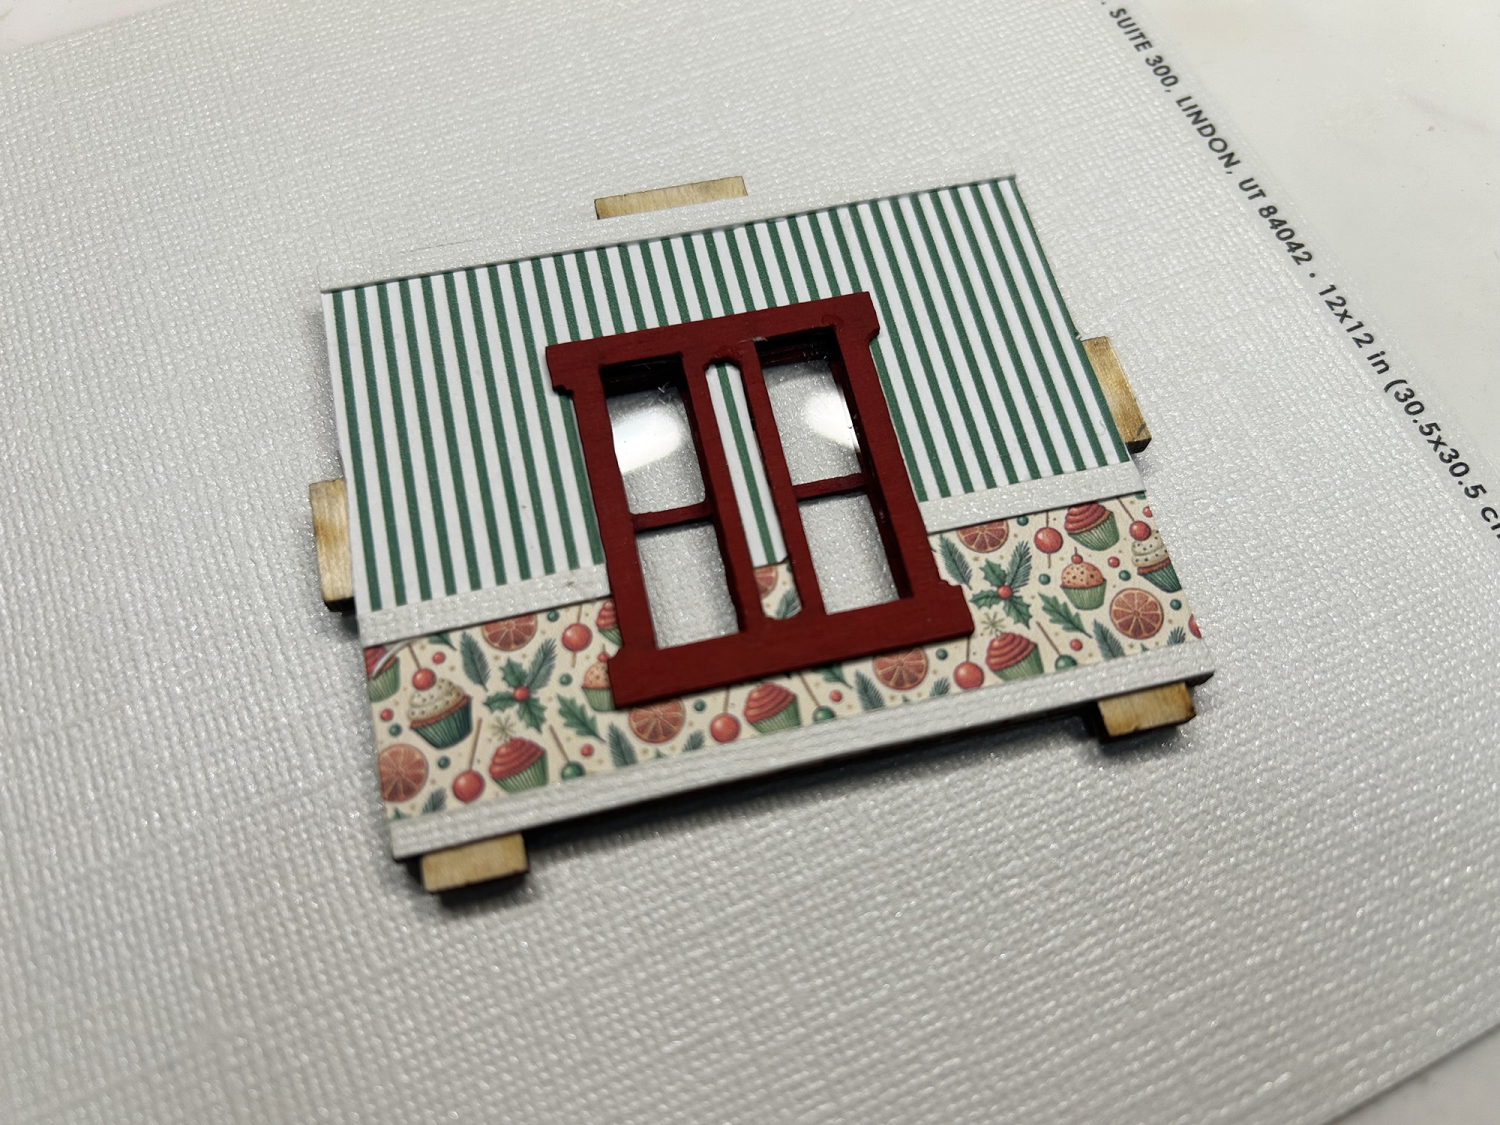
A great way to paint windows and doors is by creating a painting board. I’ve used a stiff piece of chipboard with part of a silicone mat glued to it. Tape is laid down in strips and secured at the ends. The silicone mat can be cleaned with a baby wipe or a wet towel, making this painting mat reusable! Always test fit windows to see if any parts can be seen from the inside or outside. If so, you need to paint both sides. If not, you can paint only one side.
One of my favorite purchases in 2025 was the Signo Uniball UM-153 pen in gold and silver. The ink flows like magic, and the finish is amazing. It can be used over stains and paint without any issues. You can see here how I’ve used it to decorate the door.
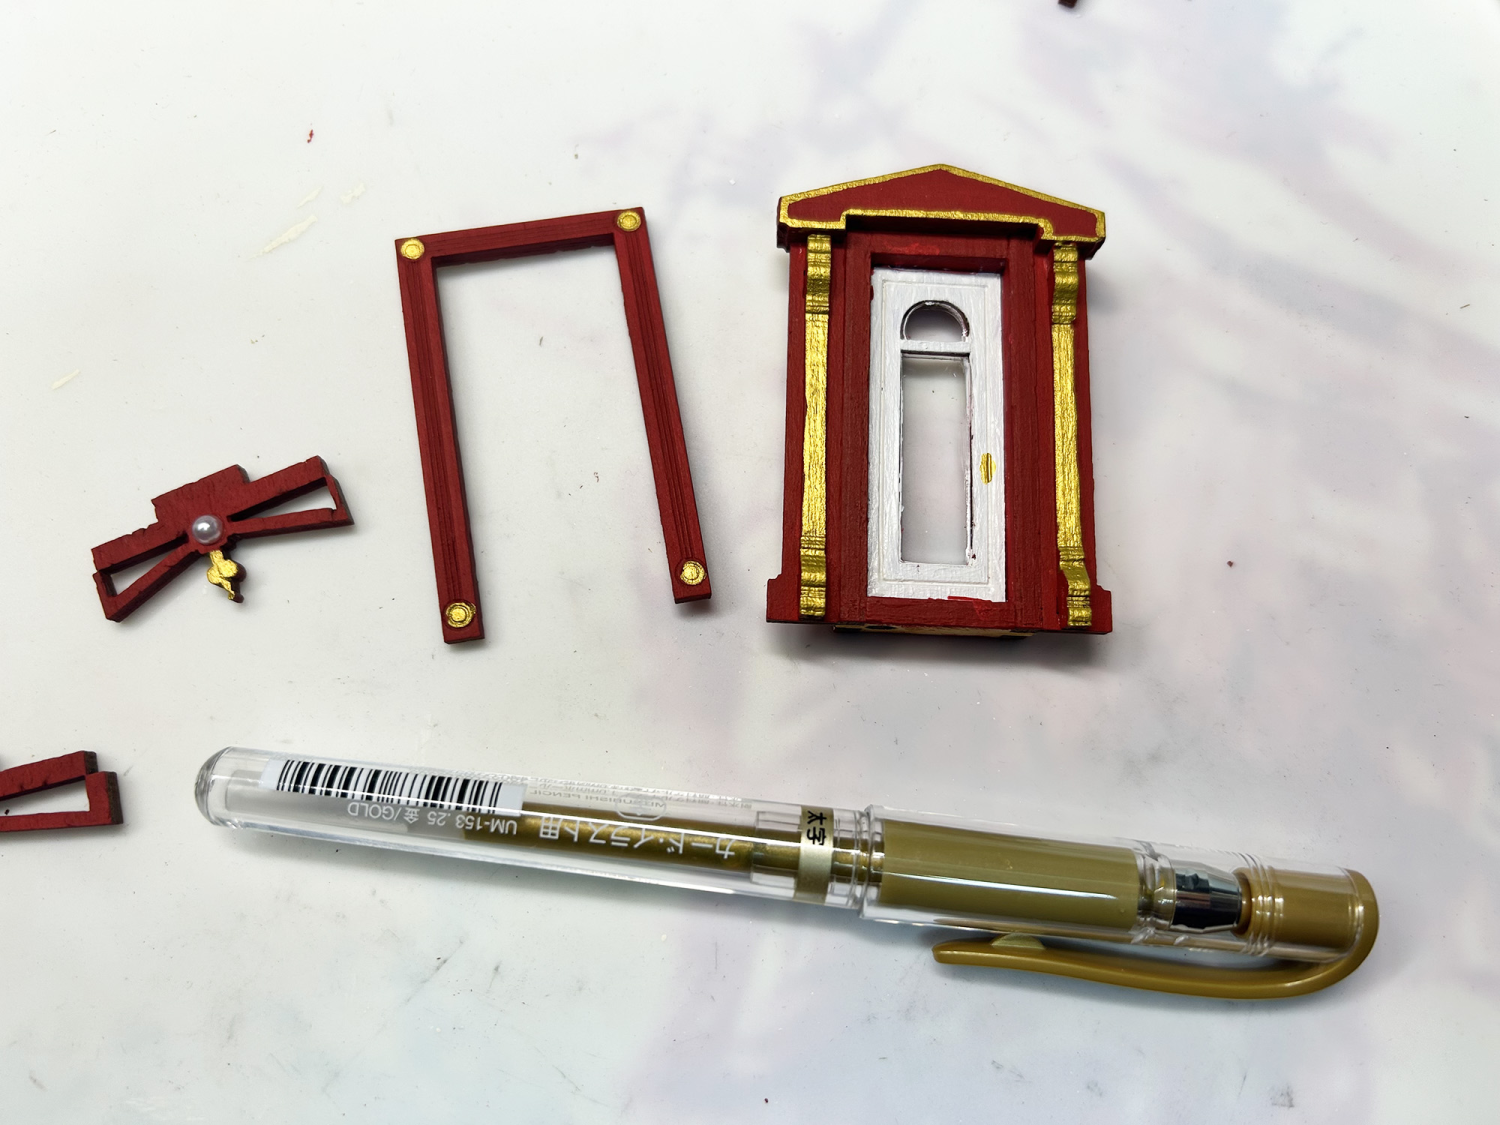
So, this door had some issues in that it wouldn’t fit into the opening and lay flat. I think it was a couple of globs of glue, so I wound up having to sand the sides of the door unit a lot. It was also difficult to paint the door, as it was previously installed. Again, I wish they had not pre-assembled parts. I could very easily be wrong; it seemed like both the door unit and the door frames were too thick for the scale. I would have preferred that they were the same thickness as the window frames.
Here is a look at the door and frames installed. You be the judge and let me know what you think.
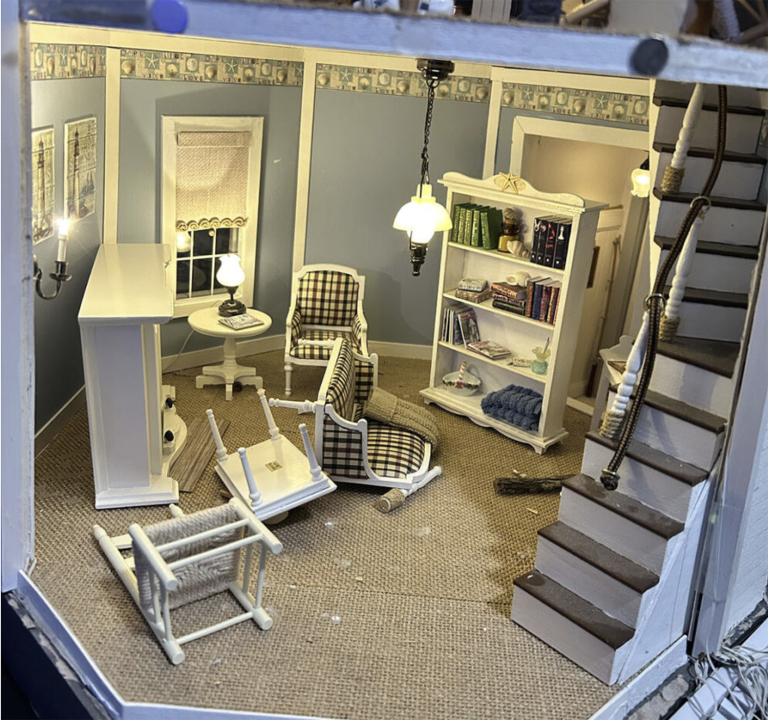
Once all of the windows are in place, it’s time to work on the wall trim. There will be trim at the top and bottom of all walls. In the middle room, there will be a third strip used to create a chair rail effect.

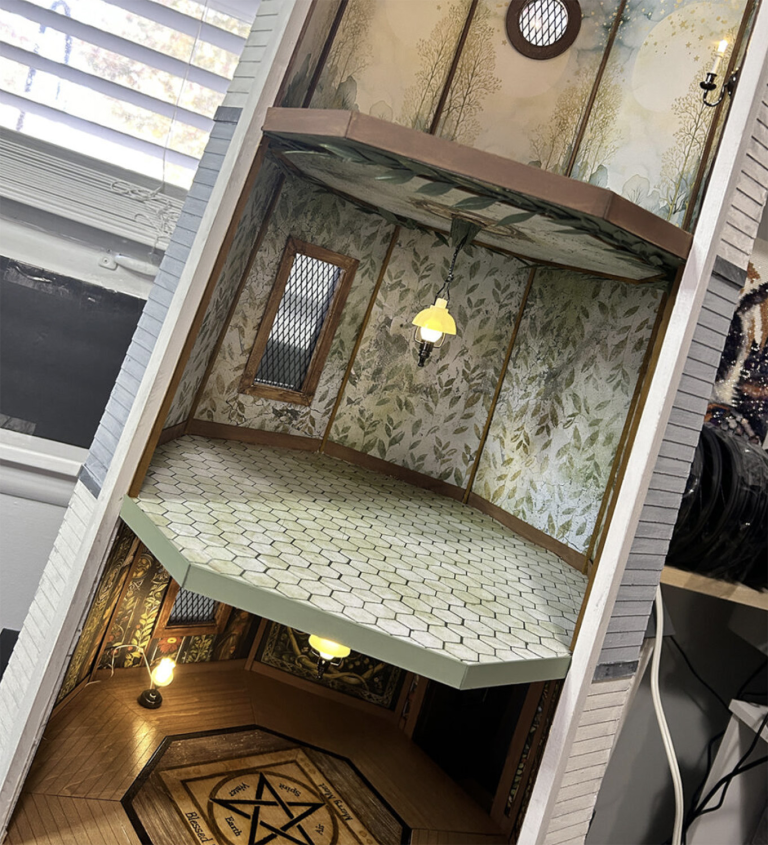
In the bay window area, additional trim will be added to hide the gaps between the pieces that make up the bay window.
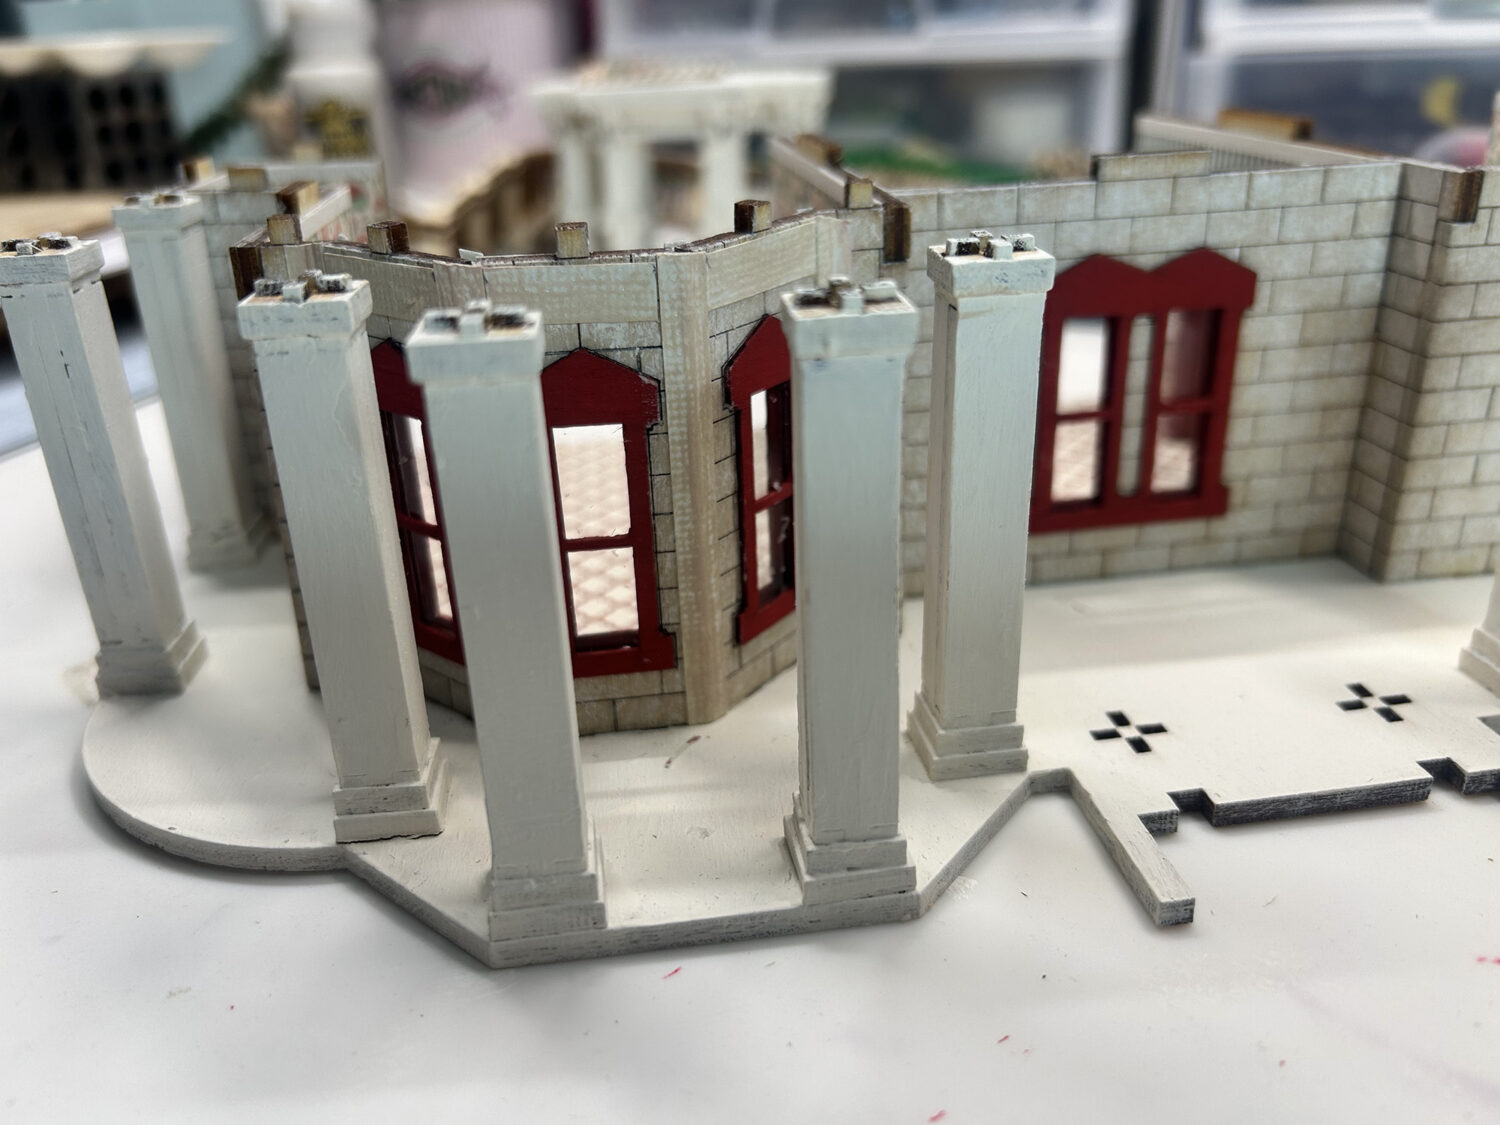
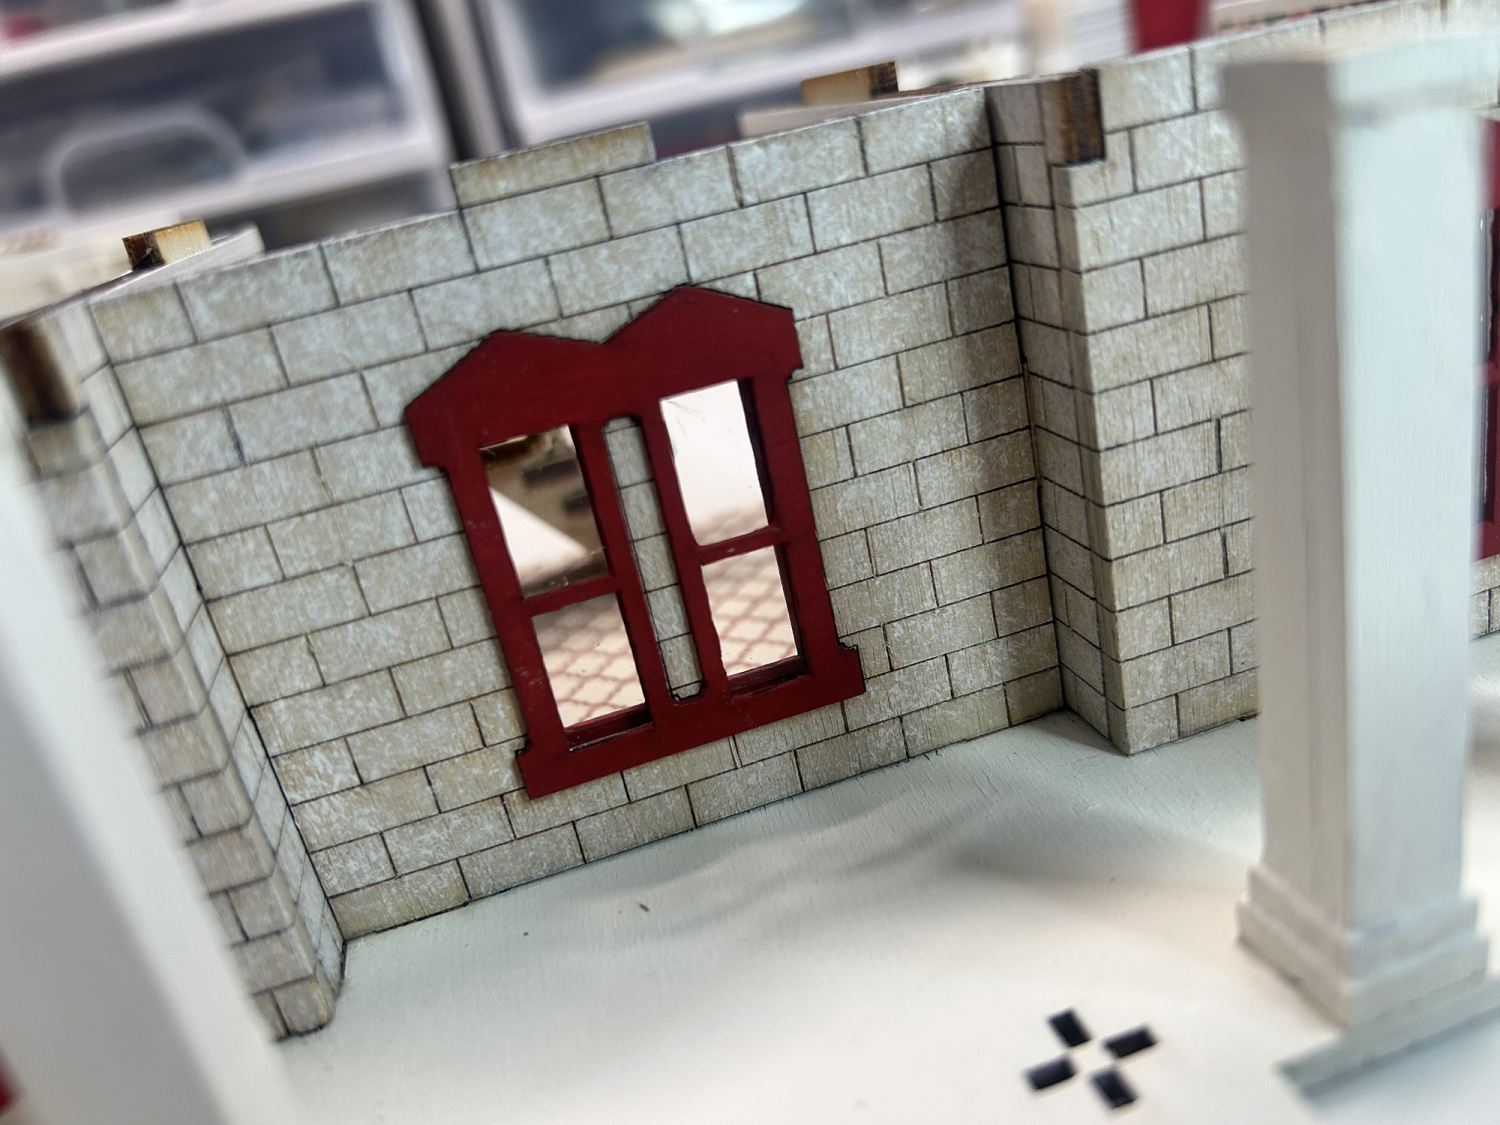
Now, at the final stages of the lower floor, I have stippled some of the warm white paint on top of the brick walls to create a mottled style brick. Lightly applied, this adds a subtle change to the bricks.
The final touch will be to add snow texture all around the base, the bottom of the posts, and on the window frame tops and sills. I will have to wait on this part until my order for more texture paste comes in.
Hop on over to Part 3 (live when posted)
WATCH THE YOUTUBE VIDEO FOR PART 2 HERE
I hope you are enjoying the build and that you will stay tuned for part 03 coming soon!
Take care, mini friends,
Teri