Welcome to the beginning of my build on the Hegeler Mansion! I’ve decided to start by reading through the directions and marking various pieces. My normal process is to build each floor, keeping them separated until they are finished, and then glue the floors/sections together. This way, I will be able to access the inside areas easily for decorating.
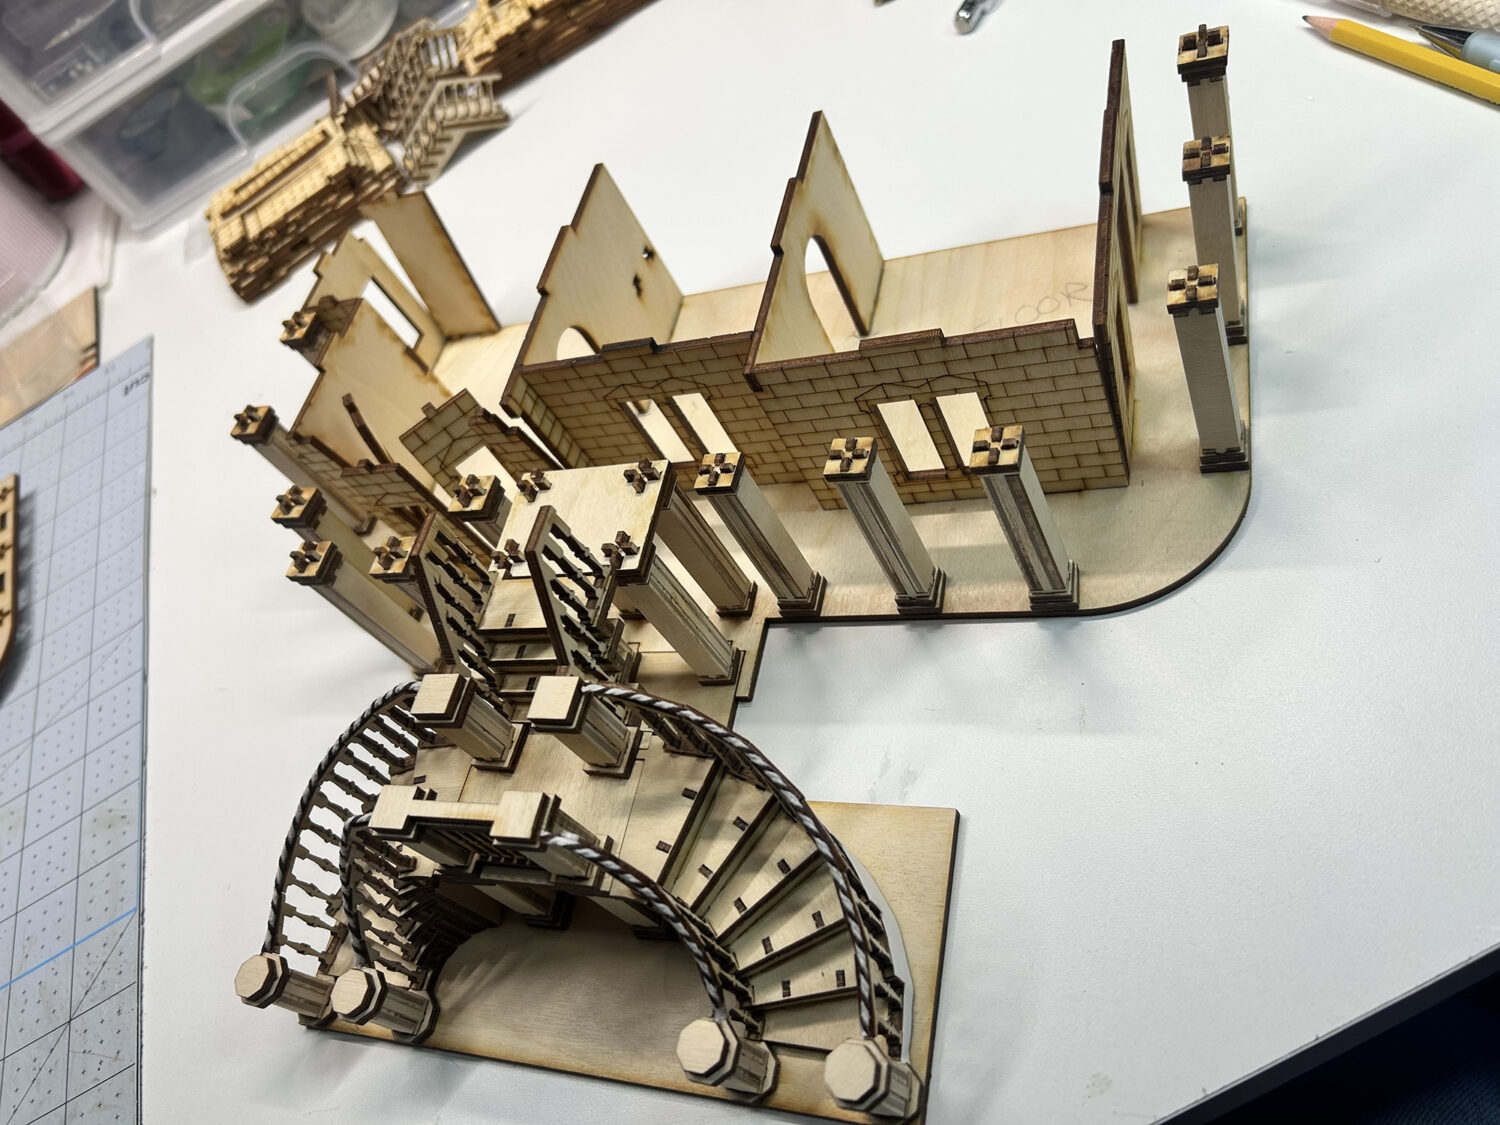
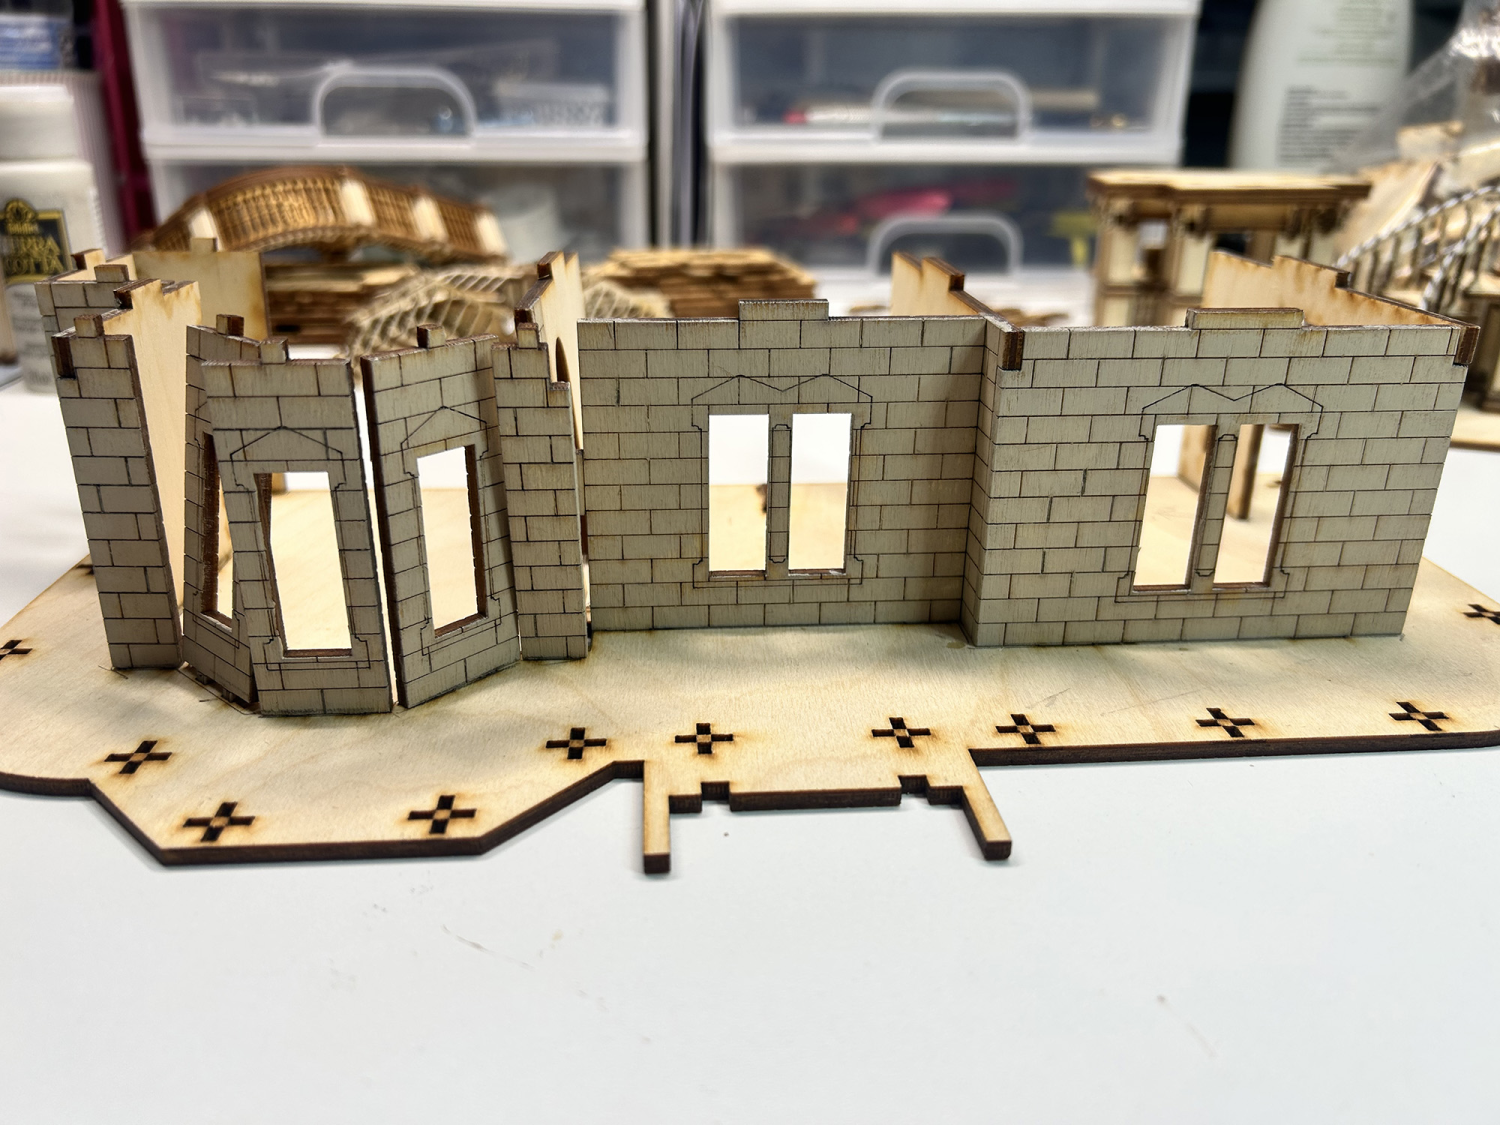
Here you can see the wall pieces for the first floor in place, making sure I have all of the pieces, and getting a visual idea of how everything fits together. I think this is always a great way to start a project and to find any potential problems, as has happened here.
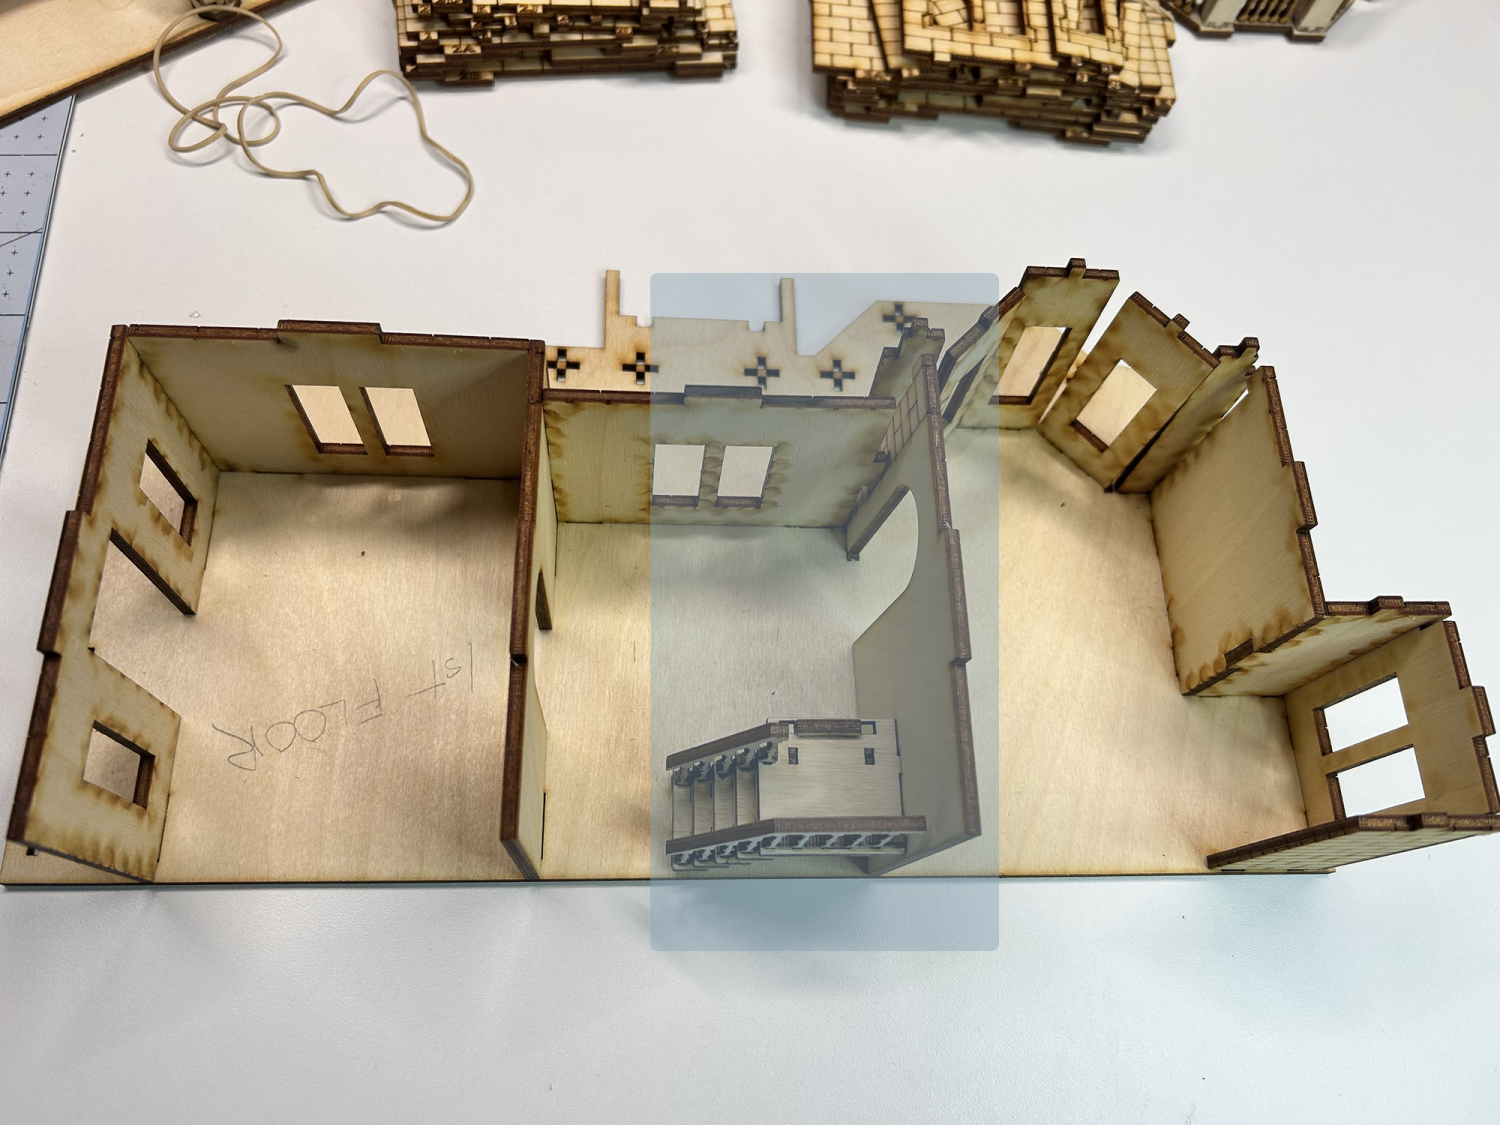
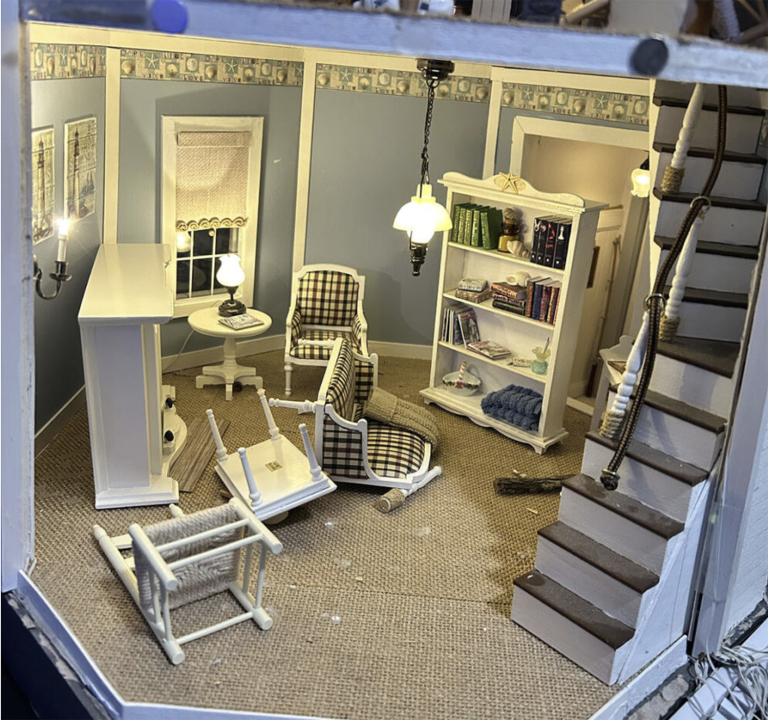
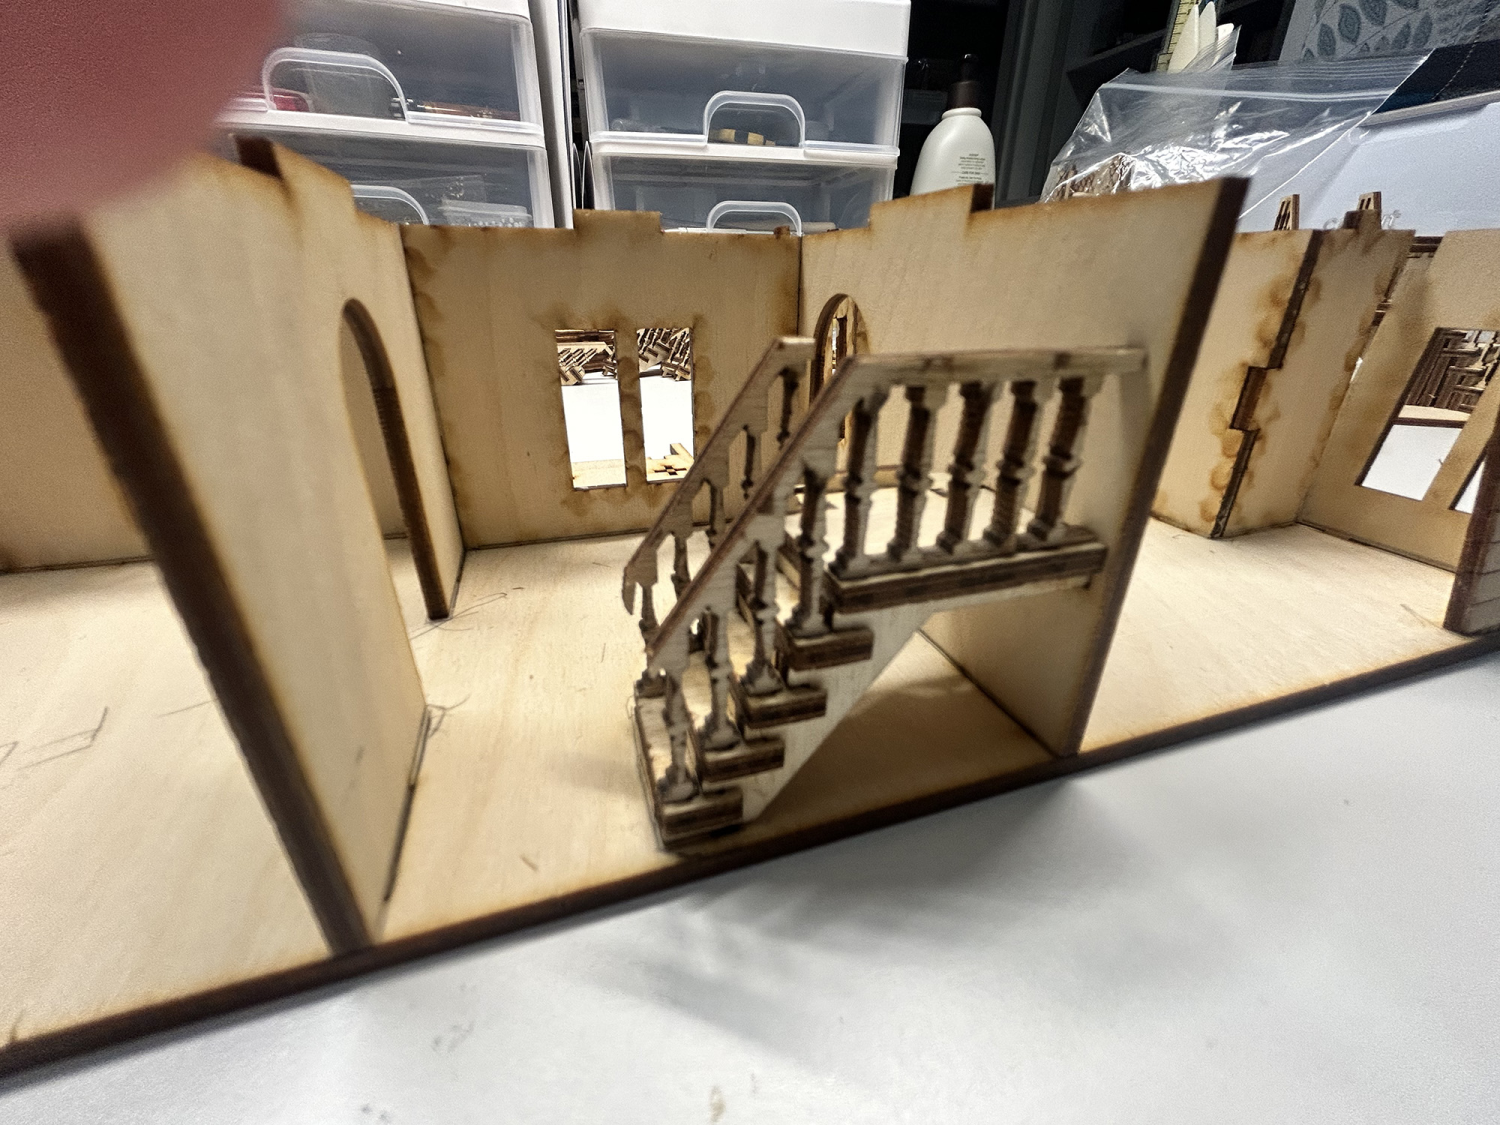
If you look at the blue area above, you will see that when installed, the stairs push the wall back so that it will no longer connect with the front wall tab. There were three sets of pre-built stairs, all the same size. This leads me to believe that I’m not using the wrong stairs. I’ve also double-checked that I’m using the correct wall. I’ve also discovered that the newell posts are missing, so I will need to make these.
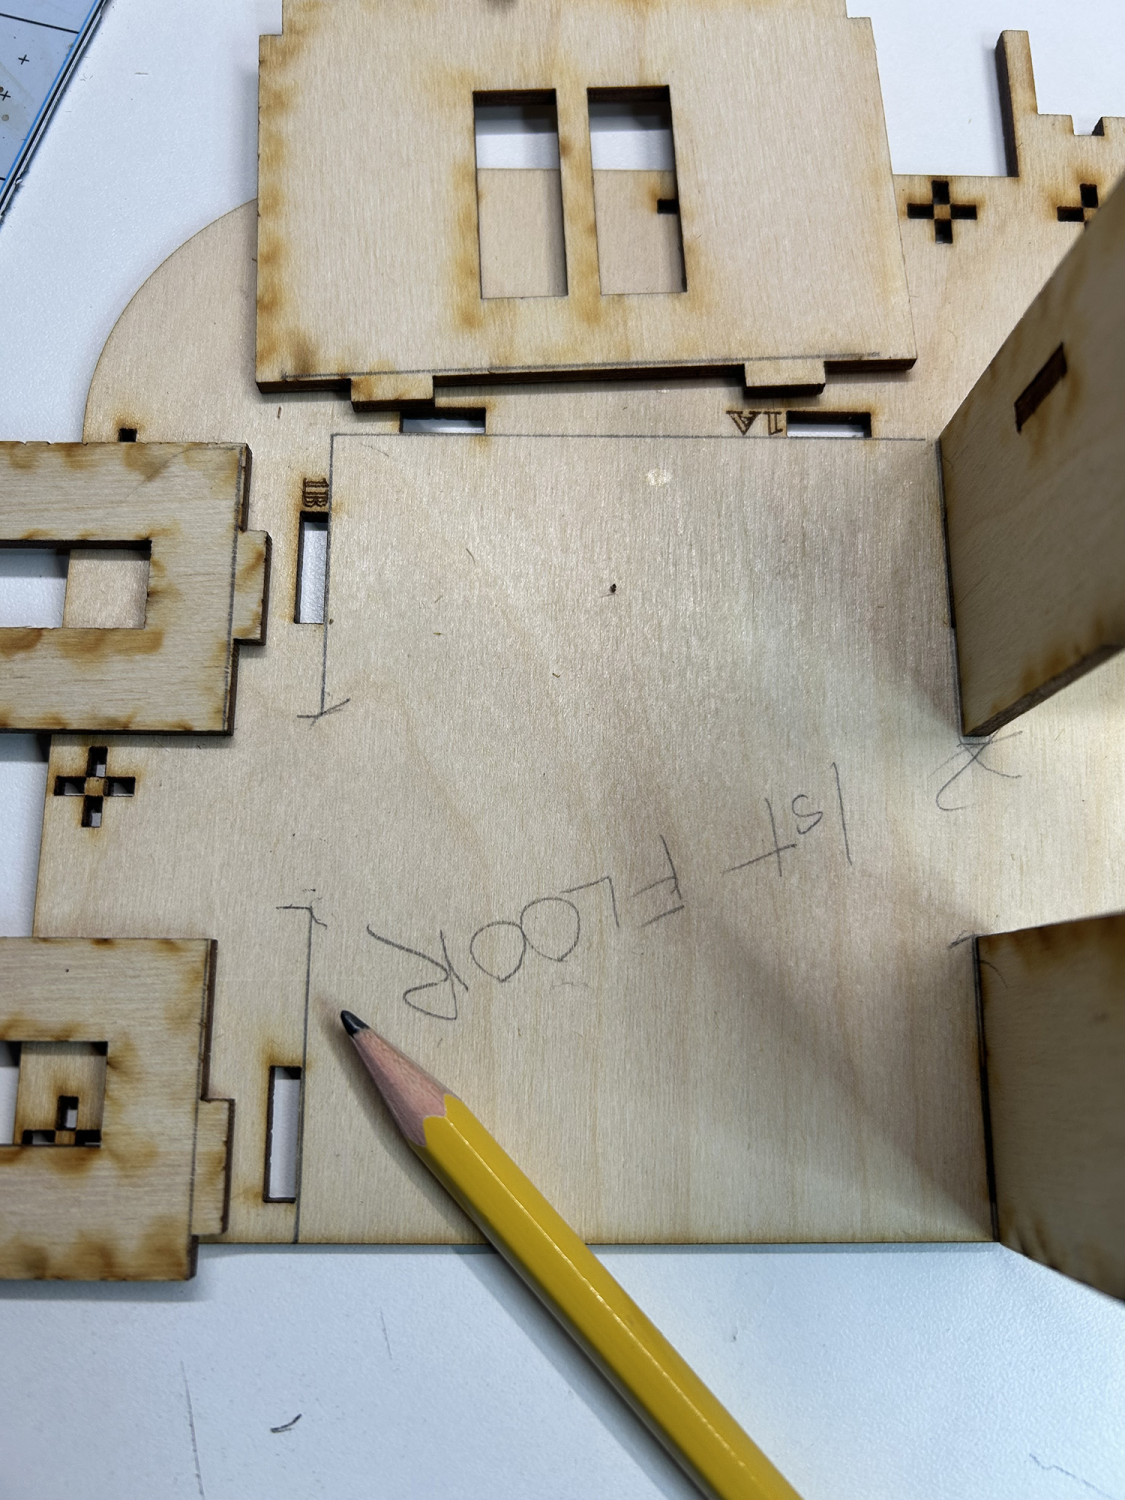
While the walls were in place, I held them steady and drew a pencil line around each wall, which will help me to see exactly where the flooring will go.
Next, I will remove the walls, one at a time, and use them as templates for each wall covering. Make sure that when creating the template, the inside wall (the wall to be covered) is facing upward towards you. If both sides of a wall will be covered, be sure to note which is the left or right side!
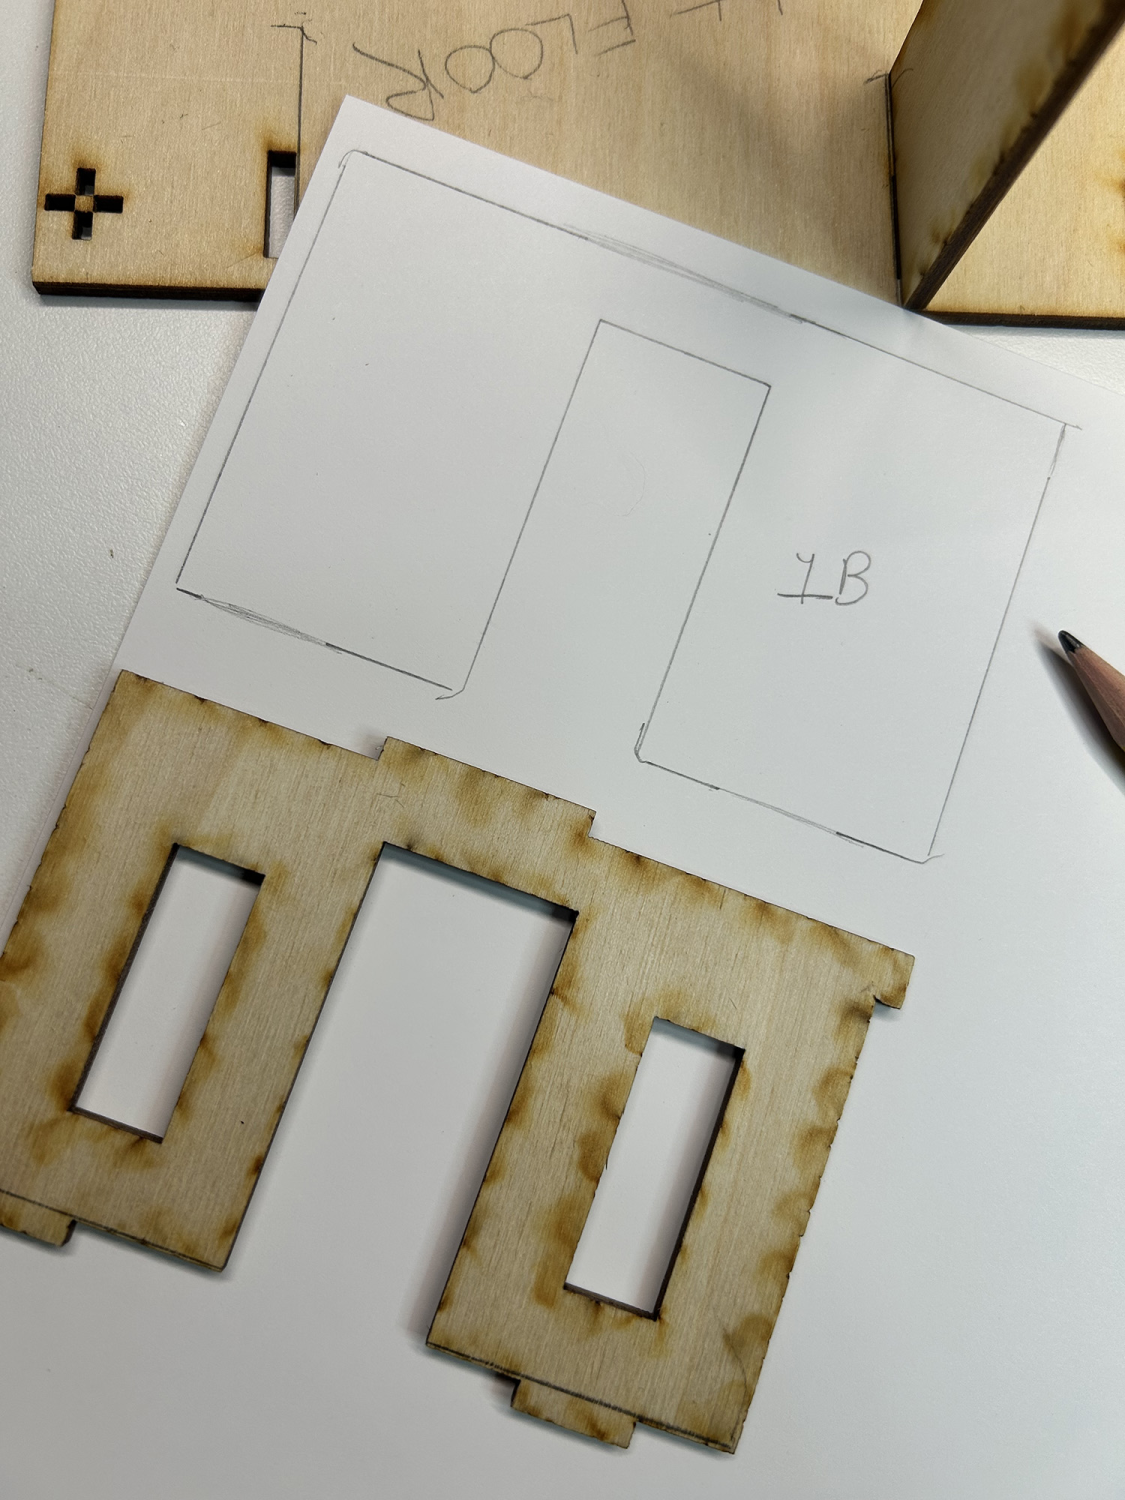
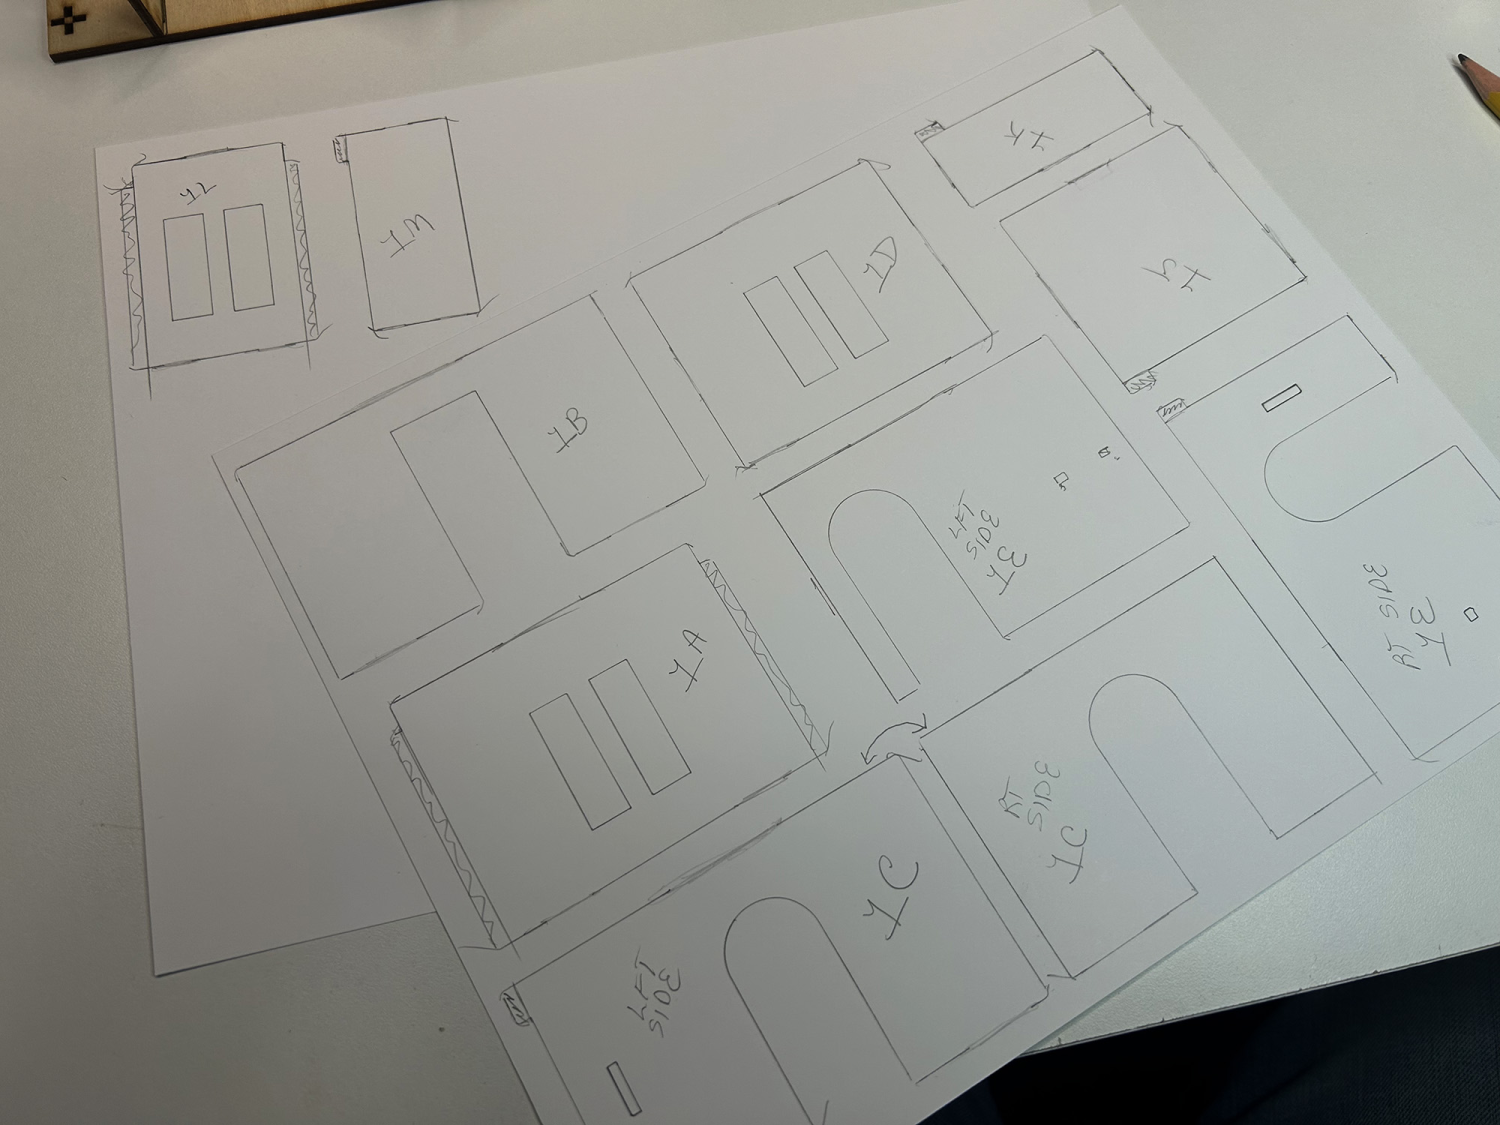
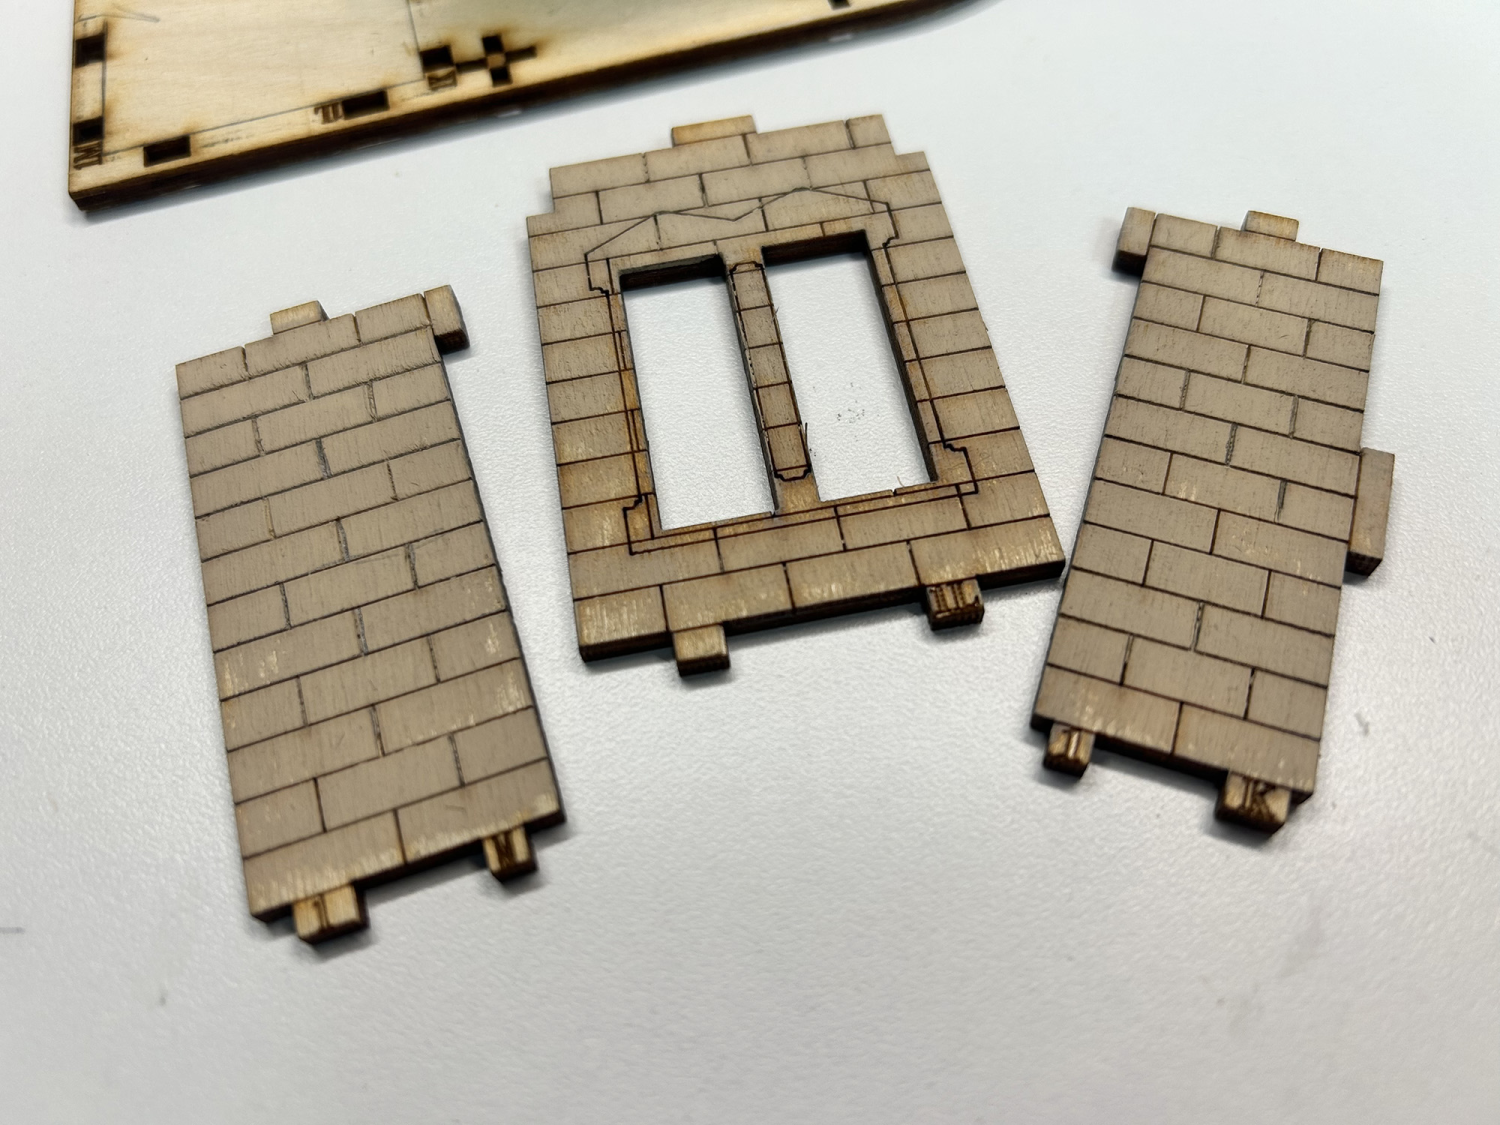
The templates were created on 110lb cardstock. I did not make templates for the bay window walls, as these will be covered with texture instead of wallpaper.
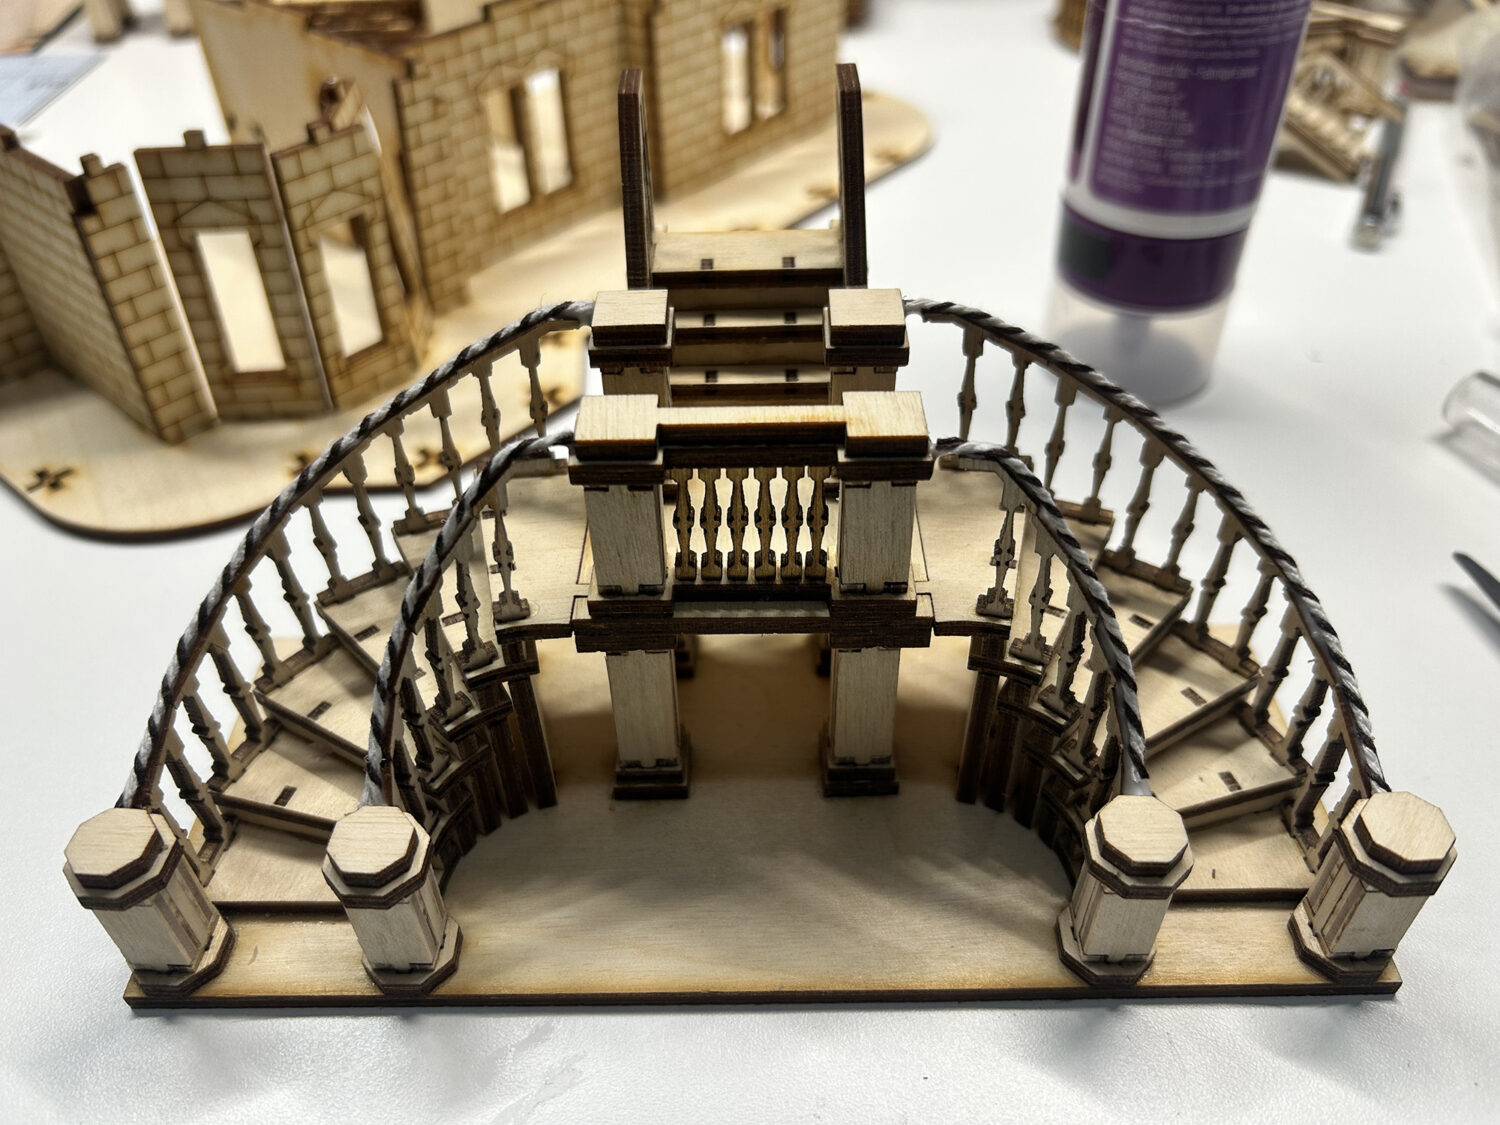
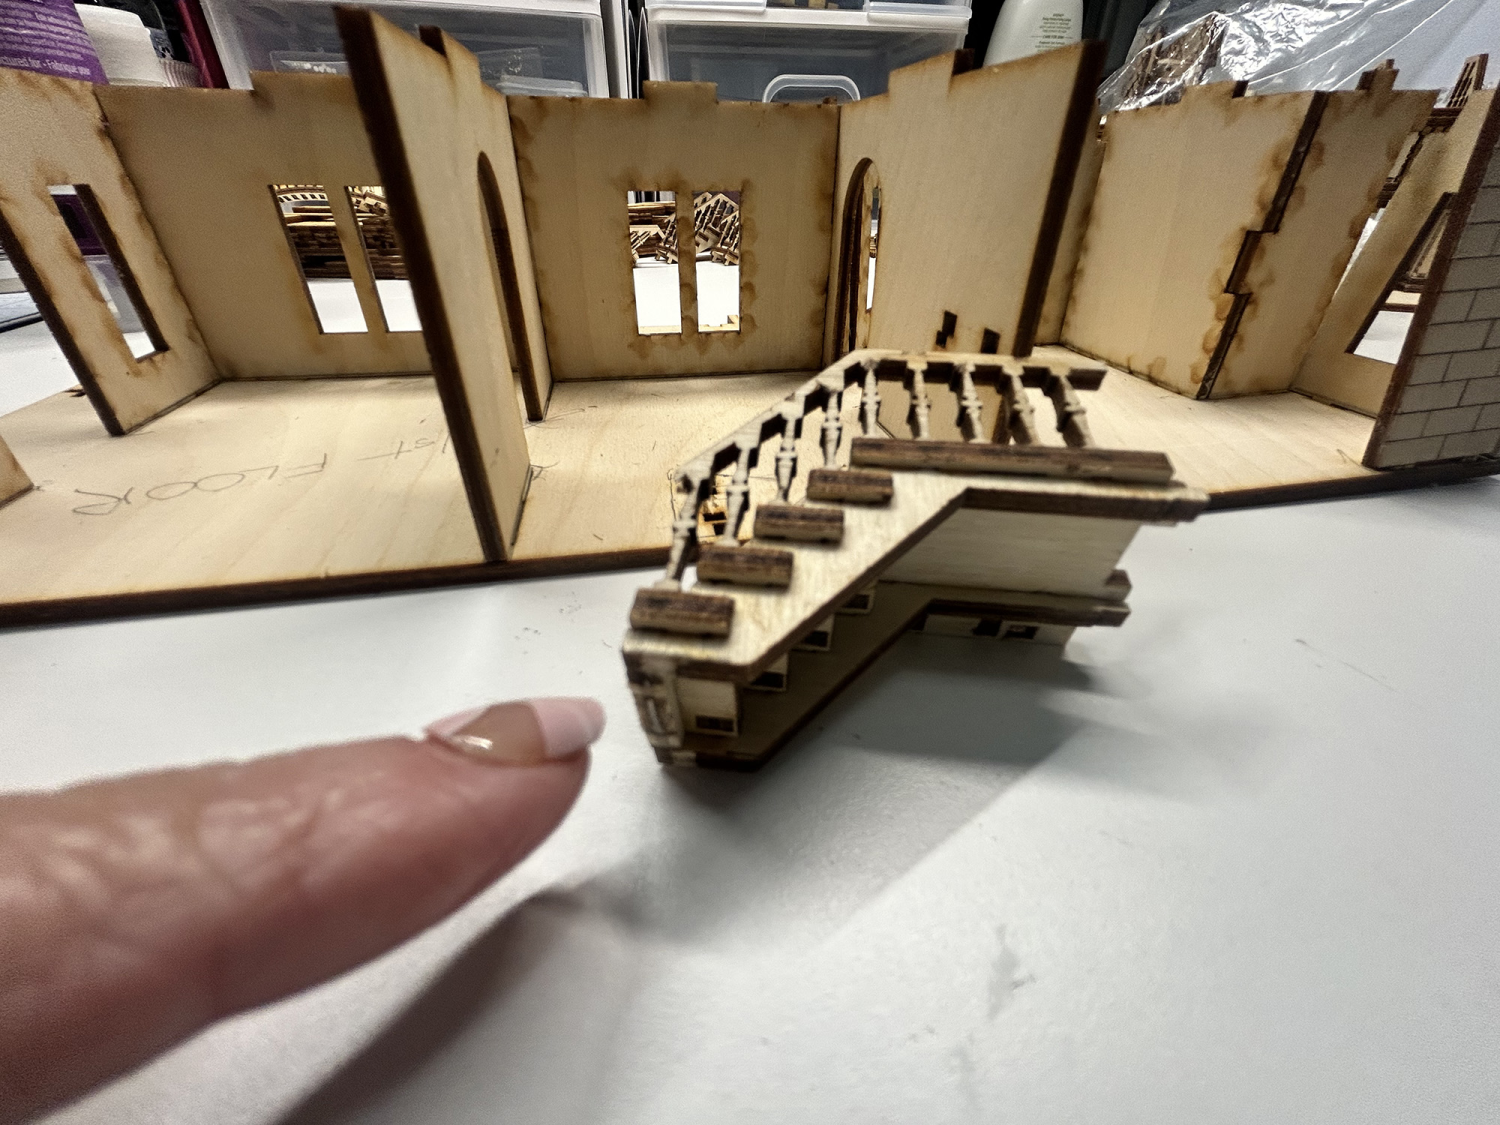
The entire front stair section you see above comes pre-built in the kit. I wish this hadn’t been the case, as it will not be easy to paint, I think. One issue that is common with laser-cut kits and curved stairs is that the railing sections are cut flat and then glued in place at angles. Because of this, the pieces rarely line up next to each other. To disguise this, I’ve used some baker’s twine to create a handrail. When the entire piece is covered with a textured paint, the twine will look fine.
Painting this entire piece brings up a second issue in that there are gaping holes at the back underneath the stair steps. You do not see these areas from the front, but you will from the sides, so I need to do something in this area.

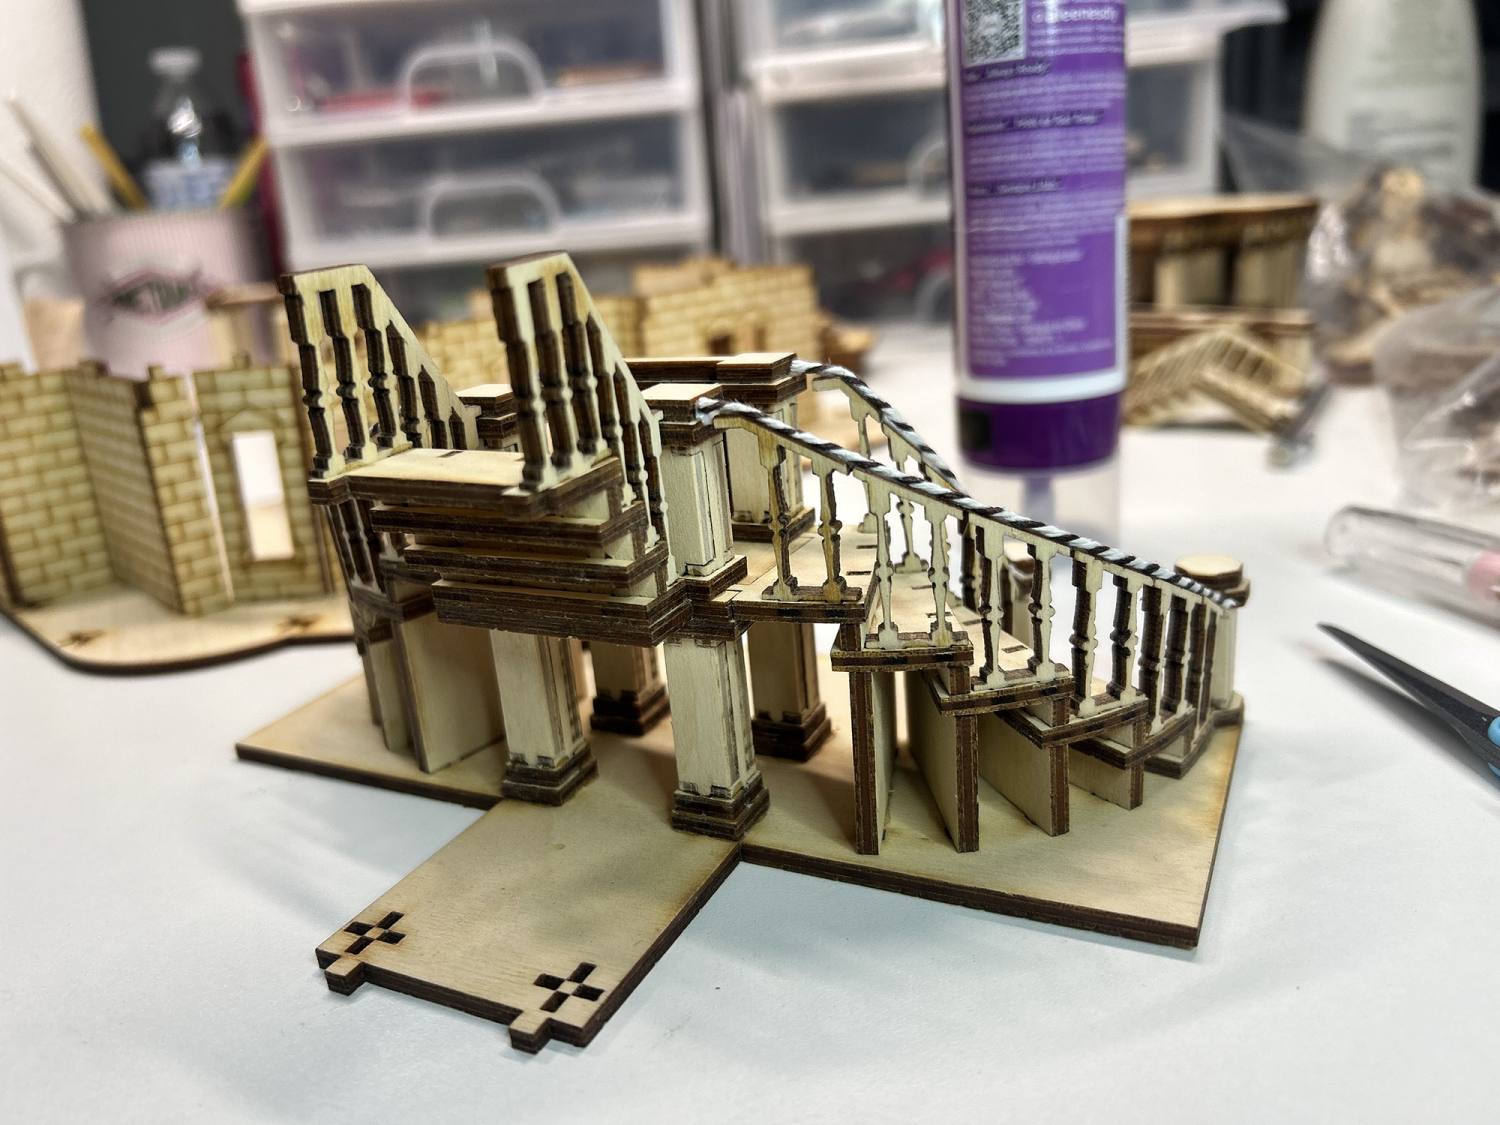
Here you can see where I’ve added Kraft board to cover the holes. The area in the front has gaps small enough that I believe they can be covered with the texture paint or wood filler.
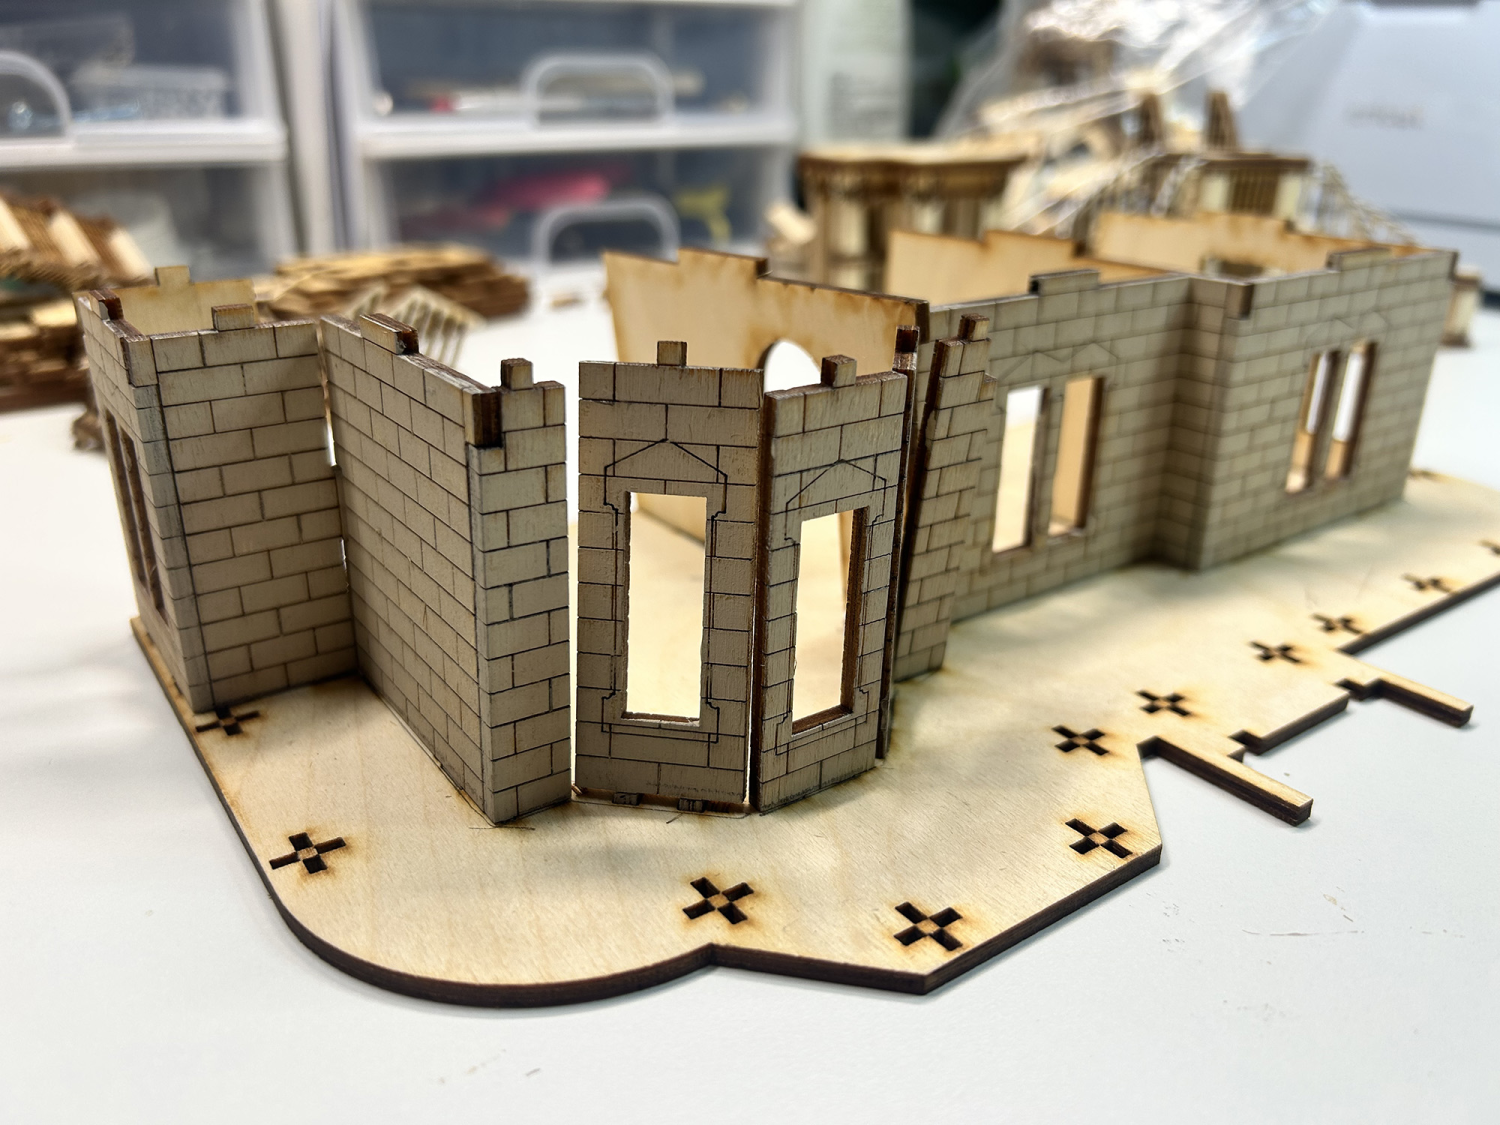
So this is what the lower floor looks like when connected to the outside stairs and with the posts all in place.
VIP NOTE: I was incorrect in the image below and in the video, stating that the posts are placed with the double edge at the top. The double edge on the posts should be placed down and glued into the base.
At this point, I need to decide how I want to make the bricks on the outside wall areas. After much thought and several attempts at various ideas, I painted the surface and discovered that if you use a light hand and a thin coat of paint, 99% of the scored brick lines will still be visible. Where a line wasn’t clear, I used a mechanical pencil with a fine lead to draw the line while removing the paint from the line. This works best right after painting, before the paint is completely dry.
Using the backside of a craft knife in the grooves will work just as well. Both methods were used below, and it’s mostly hard to tell the difference. I also like how the single light coat of paint gives the bricks a bit of a mottled finish.
I am now considering adding a lighter color to the top of all the bricks. They do appear lighter in color off-camera, so I will let this sit for a bit and give it some thought.
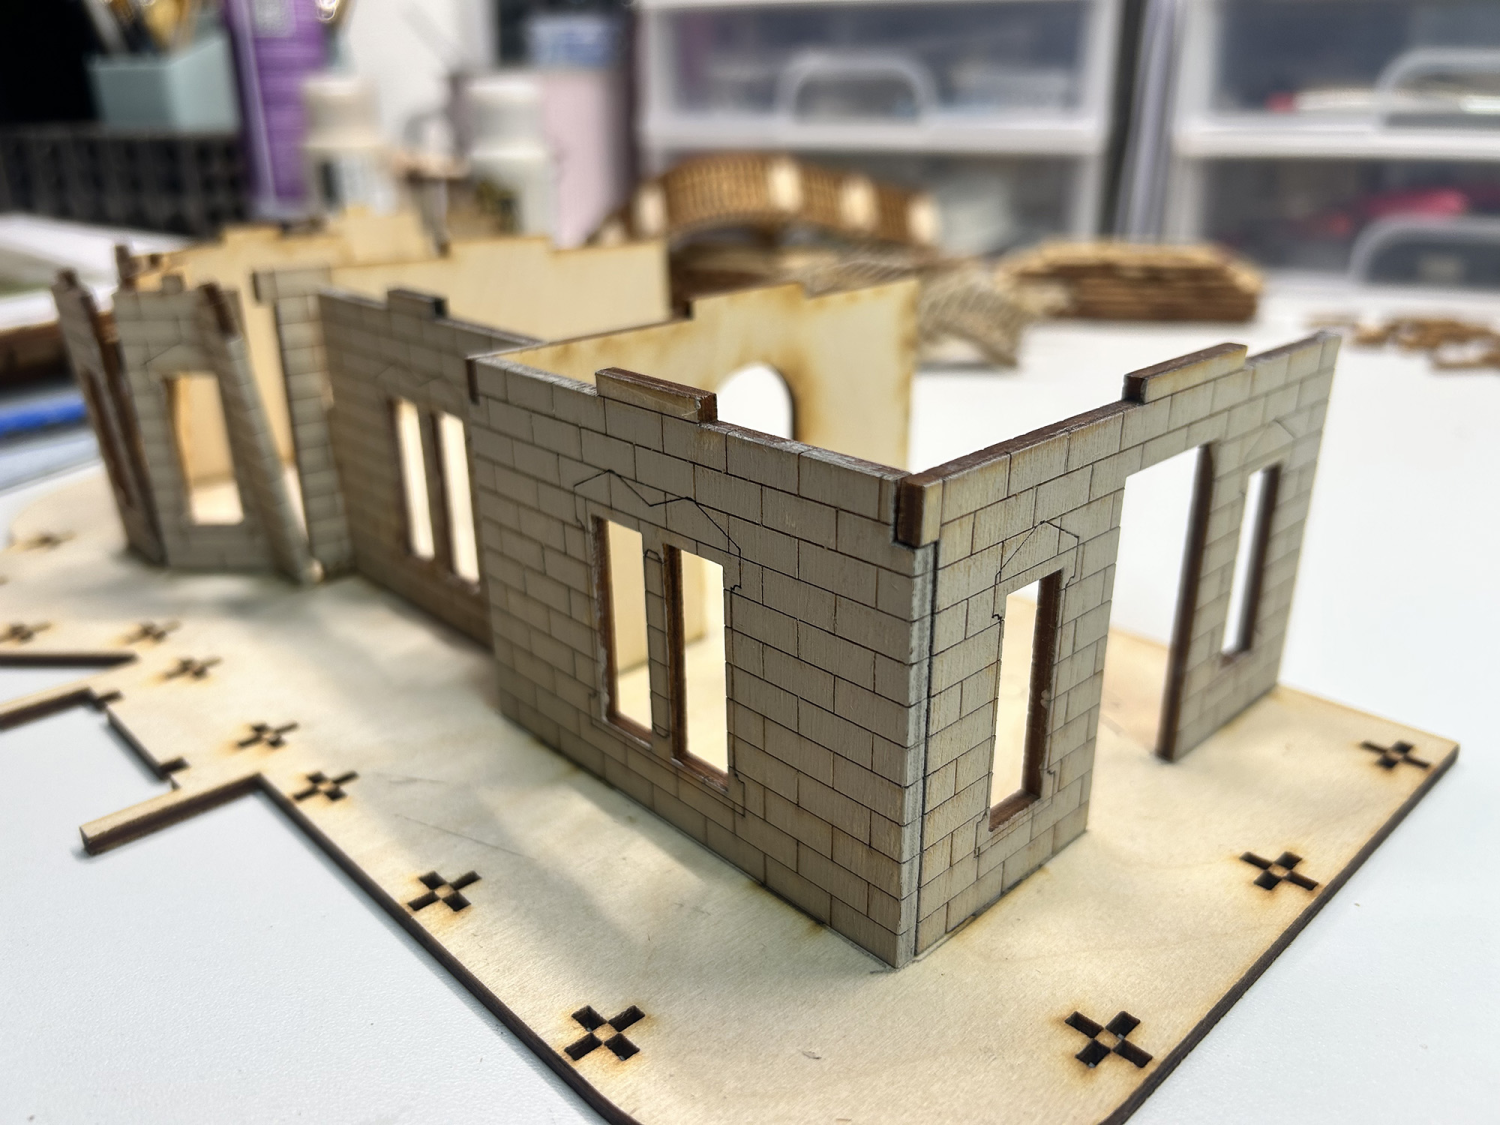
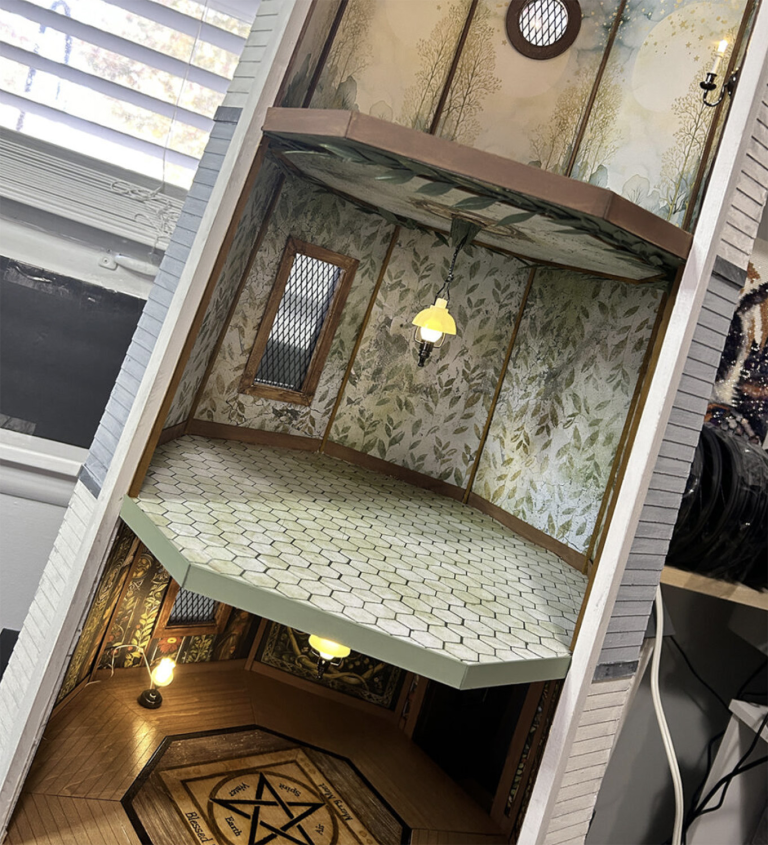
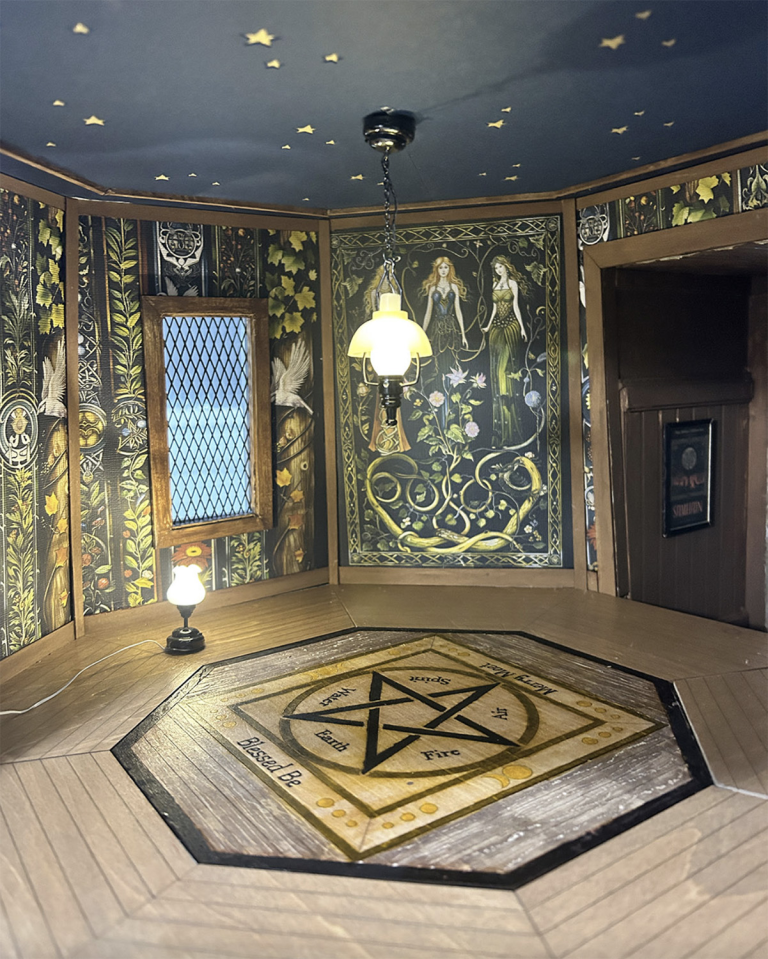
For now, here is a look at all of the walls painted and put in place. I won’t be gluing the walls in place until I have finished the inside of the walls in Part 2.
And now, to address the issue I discovered with the staircase. I’m not sure why this was an issue, but installing the staircase as intended made the wall on the right lean to the right and unable to attach correctly to the left front wall. My solution was to remove the stair riser that was glued into the base, cutting off the tabs, then gluing it to the bottom of the staircase. I also cut the tabs off the bottom step on the staircase so it could be glued flat to the floor without using the tabs. This was the only way I could get the stairs to fit properly and keep the wall straight.
I’m not sure if the same issue will arise with the remaining stairs, but if it does, I will use the same solution to fix it.
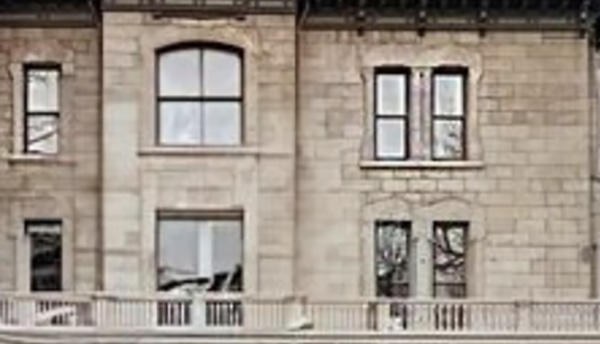
LAST MINUTE NOTE: I did manage to find a photo of the original house before the exterior was refinished. I do think now that they have most likely patched and painted or cleaned most of the exterior brick on the mansion based on the photo at right.
It appears to me that the bricks were all the same color to start, and what we see in the photo is where the bricks had aged and were distressed by the elements.
Thank you all for following along! I hope you found something of value in this post and please feel free to leave questions or comments below if you like.
Till next time . . .
HOP OVER TO HEGELER BUILD 02 (coming soon)
WATCH THE HEGELER BUILD VIDEO FOR THE INTRO AND PART 01
Happy mini making,
Teri