When searching for lights for my new Village Shop series, I came across a place selling tiny, battery-operated LED lights, and I thought they would be perfect for these buildings. Sure enough, they are perfect!
You can purchase a light set, which includes everything you need in a package, for only $5.50. Additional lights are available for $2.50, and a battery, battery holder, and switch are priced at $3.00 each. (THESE PRICES COULD HAVE CHANGED SINCE I MADE THIS POST) At these prices, for a two-room building or smaller, your lighting is super affordable and far easier to work with than round or tape wiring!!
UPDATE !!!! – I’ve since started ordering ALL lighting materials from a shop called Model Train Software. Please visit their website for lighting products. Great customer service! They are more than happy to answer any questions and help you with ordering the correct materials.
Here’s a look at what comes in the “set” package and how it comes to you. Now don’t panic!!! (grin). This is so super easy, even I couldn’t mess it up!!
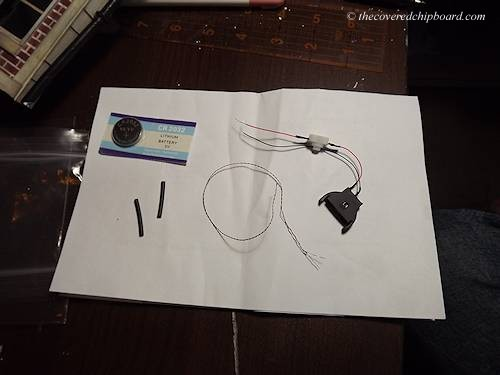
Basically, you have two wires connected to the LED light and two wires coming off the switch/battery unit. Place the battery into the battery holder, plus side to plus side (marked on both the battery and the holder). Now, see the little black tubes? Slip one tube on each of the wires coming off the switch/battery unit, then twist the light wires to the switch/battery unit wires . . . red to red and then the other two wires to each other. And when done, this is what you have . . .
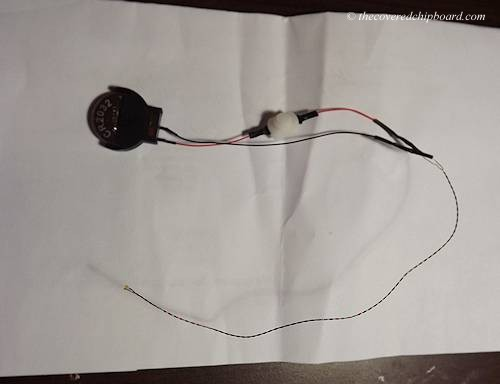
Make sure that the little black tubes are covering all exposed wires, and then use a hair dryer to heat up the black tubes so they shrink tightly around the wires where you twisted them together. Test the lights to be sure they are working before you heat up the shrink tubes!
NOTE: The only issue I had was that my blow dryer wouldn’t get hot enough to shrink up the black tubes. I had to get my craft heat gun out and use it. With the heat gun, the tubes shrank up in seconds, but be careful not melt it all!!
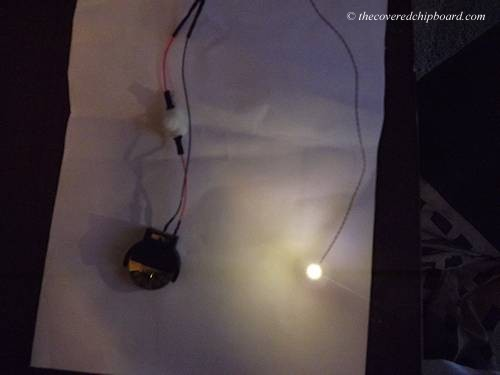
Now here’s the light, lit-up
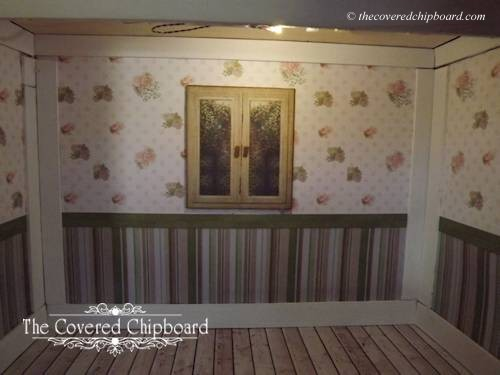
And here it is inside my house with the battery and extra wire up on the shelf in the shop ceiling. You could easily run the wires to the back of the structure and then use my upcoming Storage Shed Kit to hide the battery pack. Look for the shed to appear in my shop soon. It’s great for connecting to most any type build and will be available in several scales.
And in a dark room, so you can see how much light it gives off. Pretty good, huh! Bright enough that you can see what’s inside the house, looking through the windows.
As to the use in the village shop, you might want to make the ledge bottom wider, as the battery holder is almost an inch in diameter.
That all said, there is one more thing I want to mention, and another good reason to maybe run the light wire from the back of the building, through the wall to the inside. According to the tutorial from the shop where I purchased the lights, you can actually connect several lights to one battery holder!!! This means you could, for the shop, attach two or more lights to one battery holder and then run them into the shop for each floor. From the switch to the end of the wire where the light is, you have about 9″ to play with, and that will go pretty far in these shops. If I thought a bit more, I probably would have done this for my Tea Shop!
Lastly, these lights would be great for lighting the inside of a cabinet or an under-counter light for a shop display counter. I’m sure too that you could find a way to use these on the outside of a shop! Or . . . get an inexpensive street lamp and add one of these lights to it!
So that’s it for now, but I’ll come back and update once I have my lights in place!
Update – 01
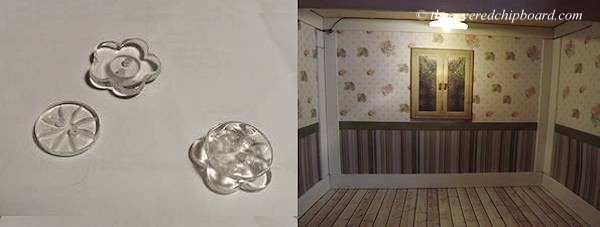
I used a small flat clear button, glued to a larger curved flower button for the shade. The LED light runs through the button hole and back towards the trim, where it’s tucked into the trim. Any remaining wire will be painted white to hide it.
Update – 02
So after the above was said and done, I ran across another type of LED lights and received them today. As before, the same way to build the light was used, but these actually have two lights per set/battery, and they are larger and brighter than the ones above. Here’s a look at the pkg and the light, parts, and finished.
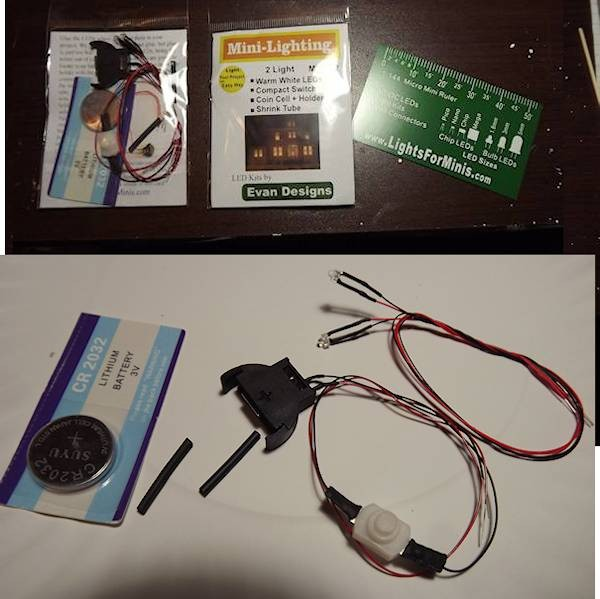
Here’s a link to where I purchased these lights. The item I purchased was the “Miniaturists Lighting Package
- coin cell holder : 4 inch wires
- LED wire Length : 8 inch wires
- coin cell battery : 1 battery
- Color : Warm White
- 1.8mm LEDs : 2 light packet
As you can see below, they are brighter than the other lights mentioned in the original post.
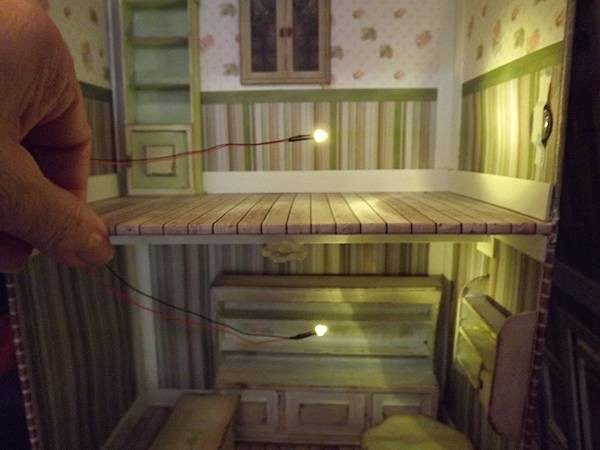
So this “package deal” will give you two lights to use in a single shop while having only one battery to conceal. You can also change the package deal by adding as many as 6 lights and longer wires if needed.
Pretty inexpensive for lighting!
Happy Mini Making . . .
Teri