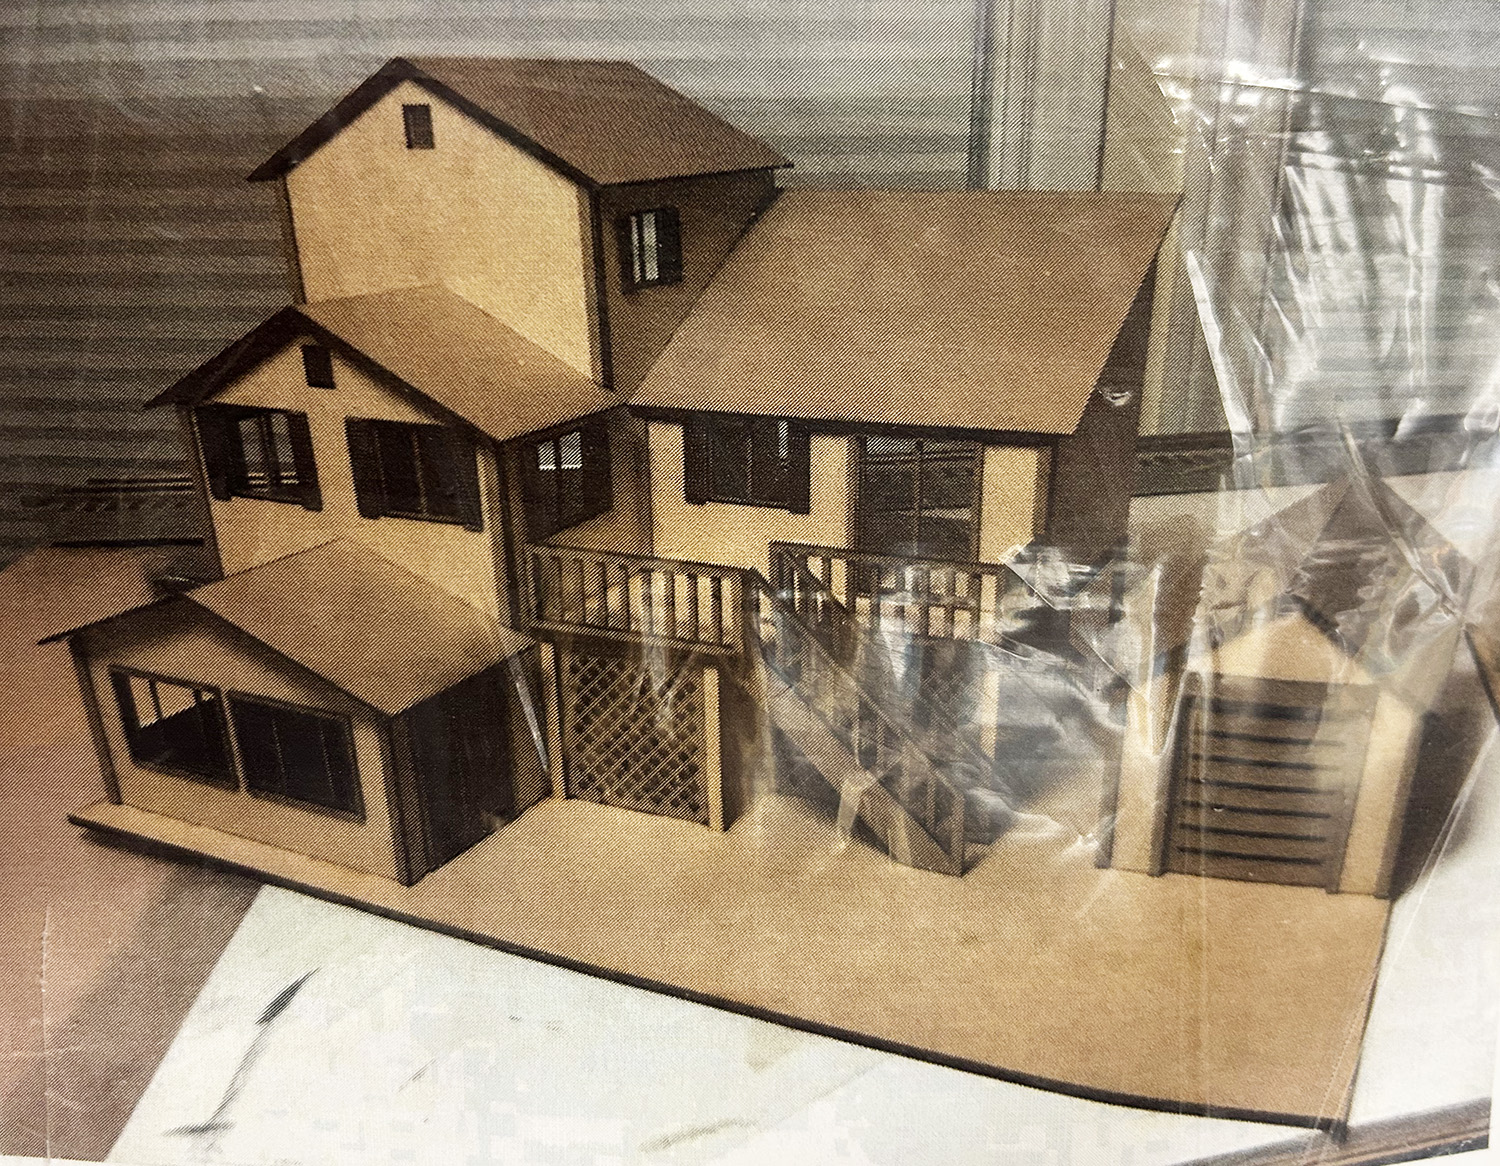
- The original kit was created for me by JMannLaserCrafts (No longer in business)
We have many great family memories of summer weeks spent at the lake house when our boys were young. The original house was only two rooms when my husband’s grandfather purchased it. He spent years clearing out a hill at the back to add multiple rooms to the structure. Parents, their children, grandchildren, and great-grandchildren enjoyed the lake over many years, building lifelong memories. After the grandparents passed the house was sold and we will always treasure those memories.
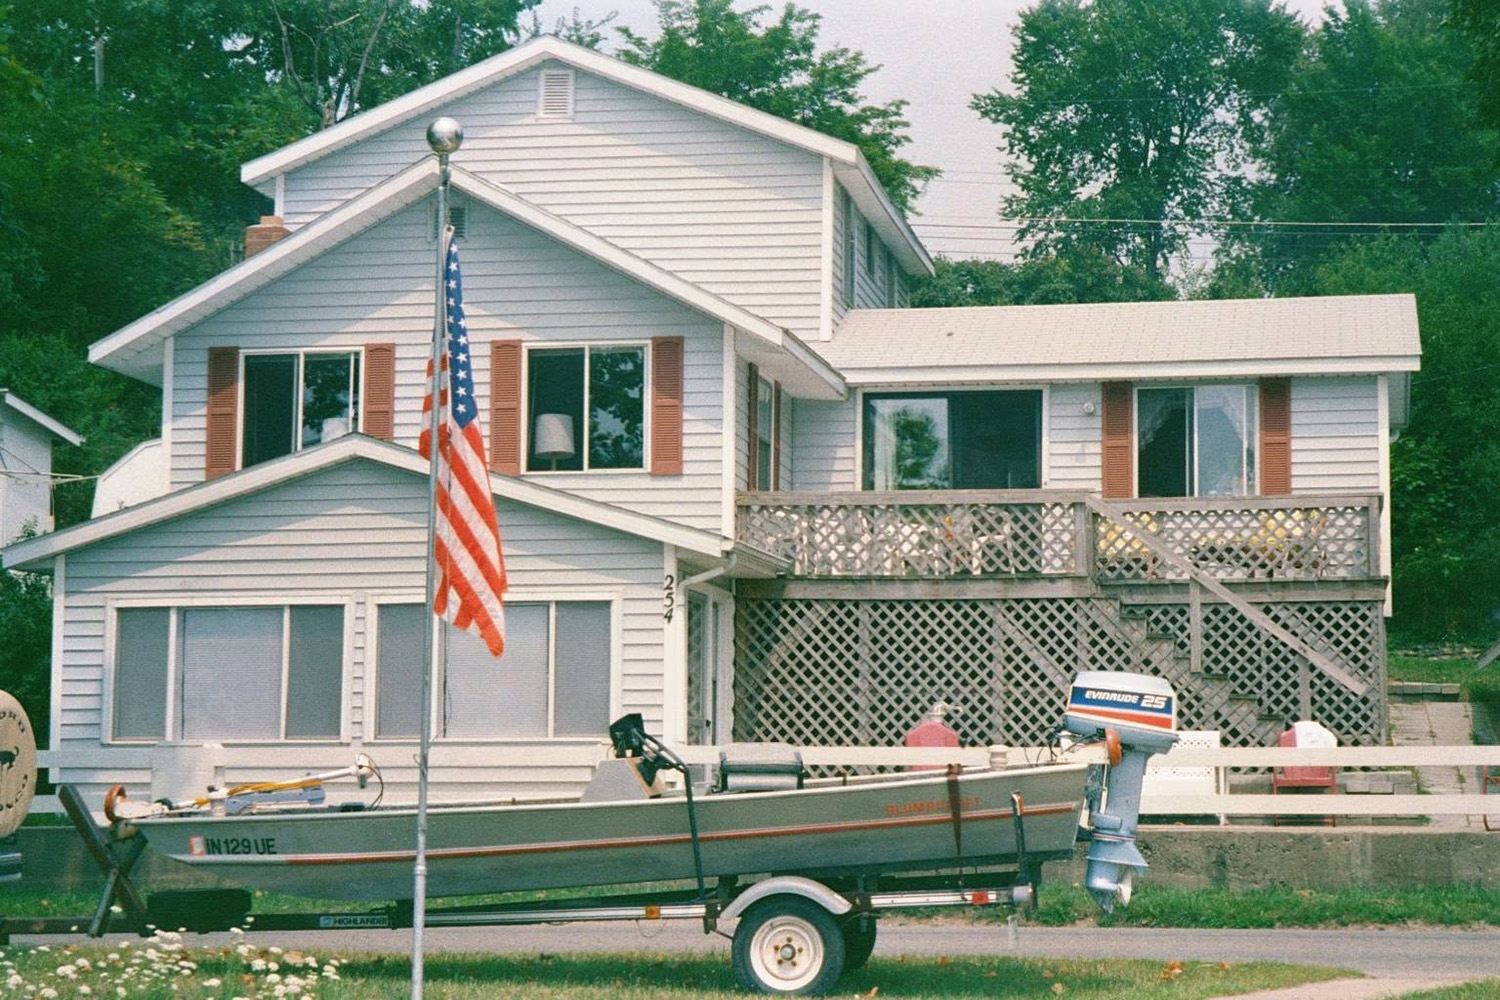
VIP NOTICE: I will be creating a kit similar to this lake house for the Chicago Spring Showcase of Miniatures, April 2027. Keep watch on my Shows section for upcoming info.
The Build
Materials Needed
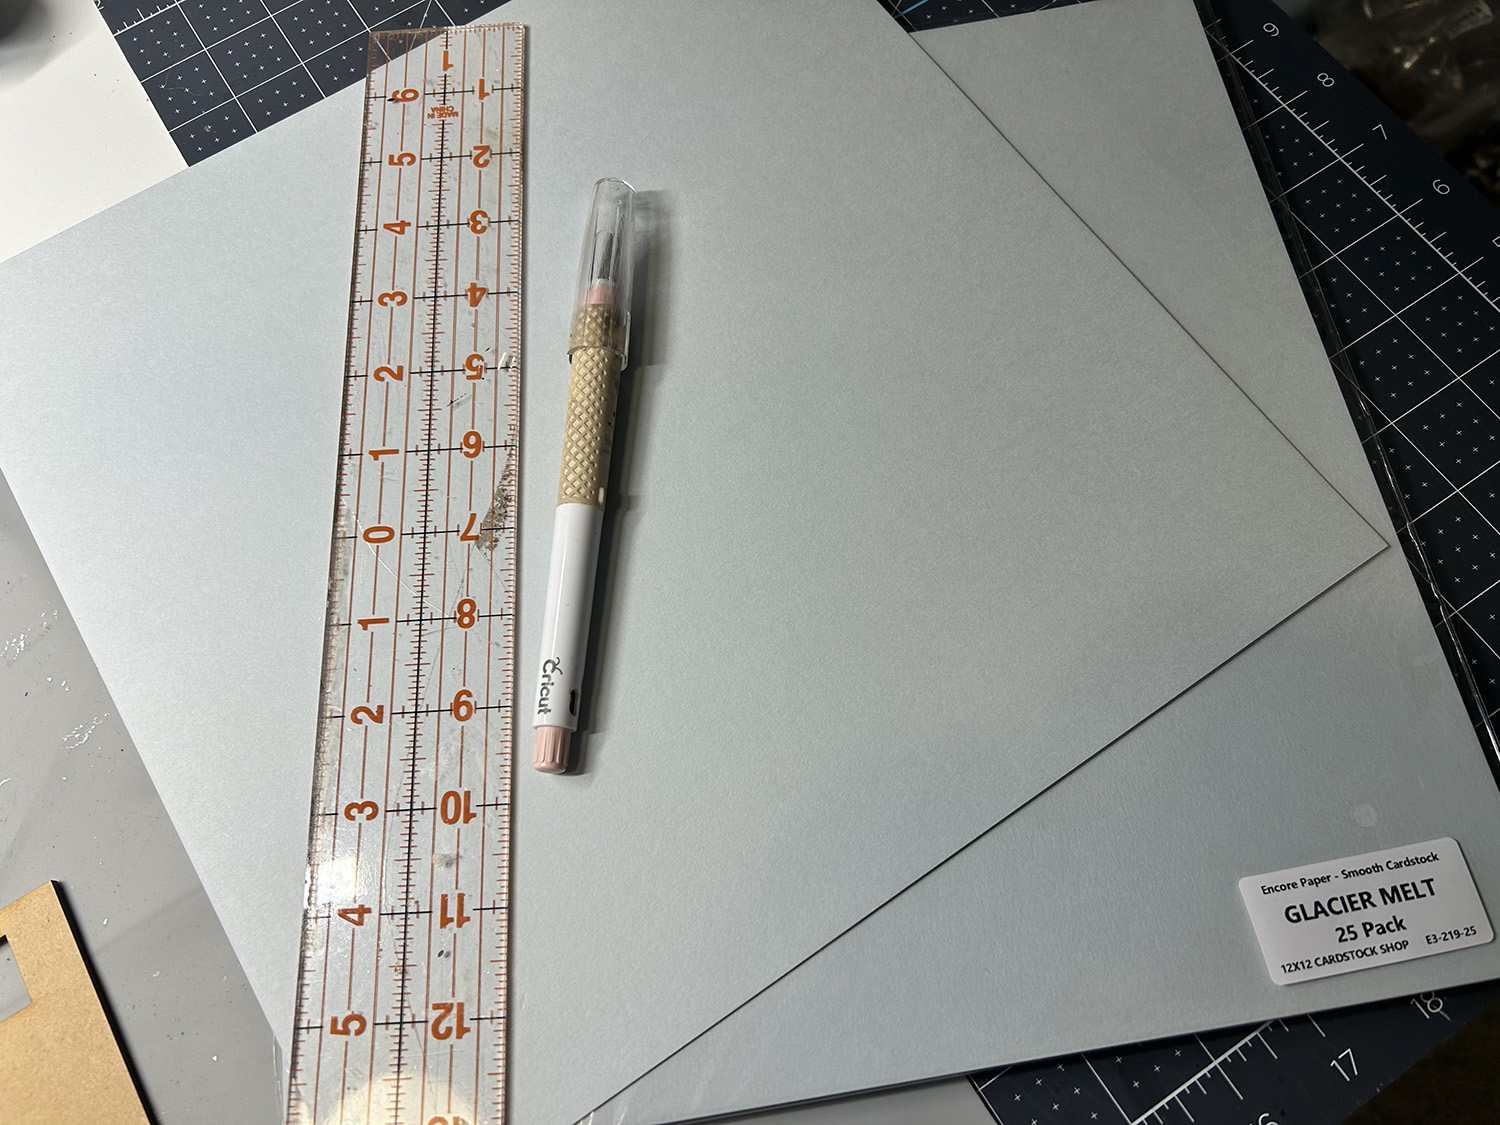
- 2 sheets of 12 x 12 Cardstock
- Tissue Paper – White
- Acrylic Paint, Folk Art Terra Cotta Paint
- Ruler
- Craft Knife
- Quick Dry Glue
SIDING . . .
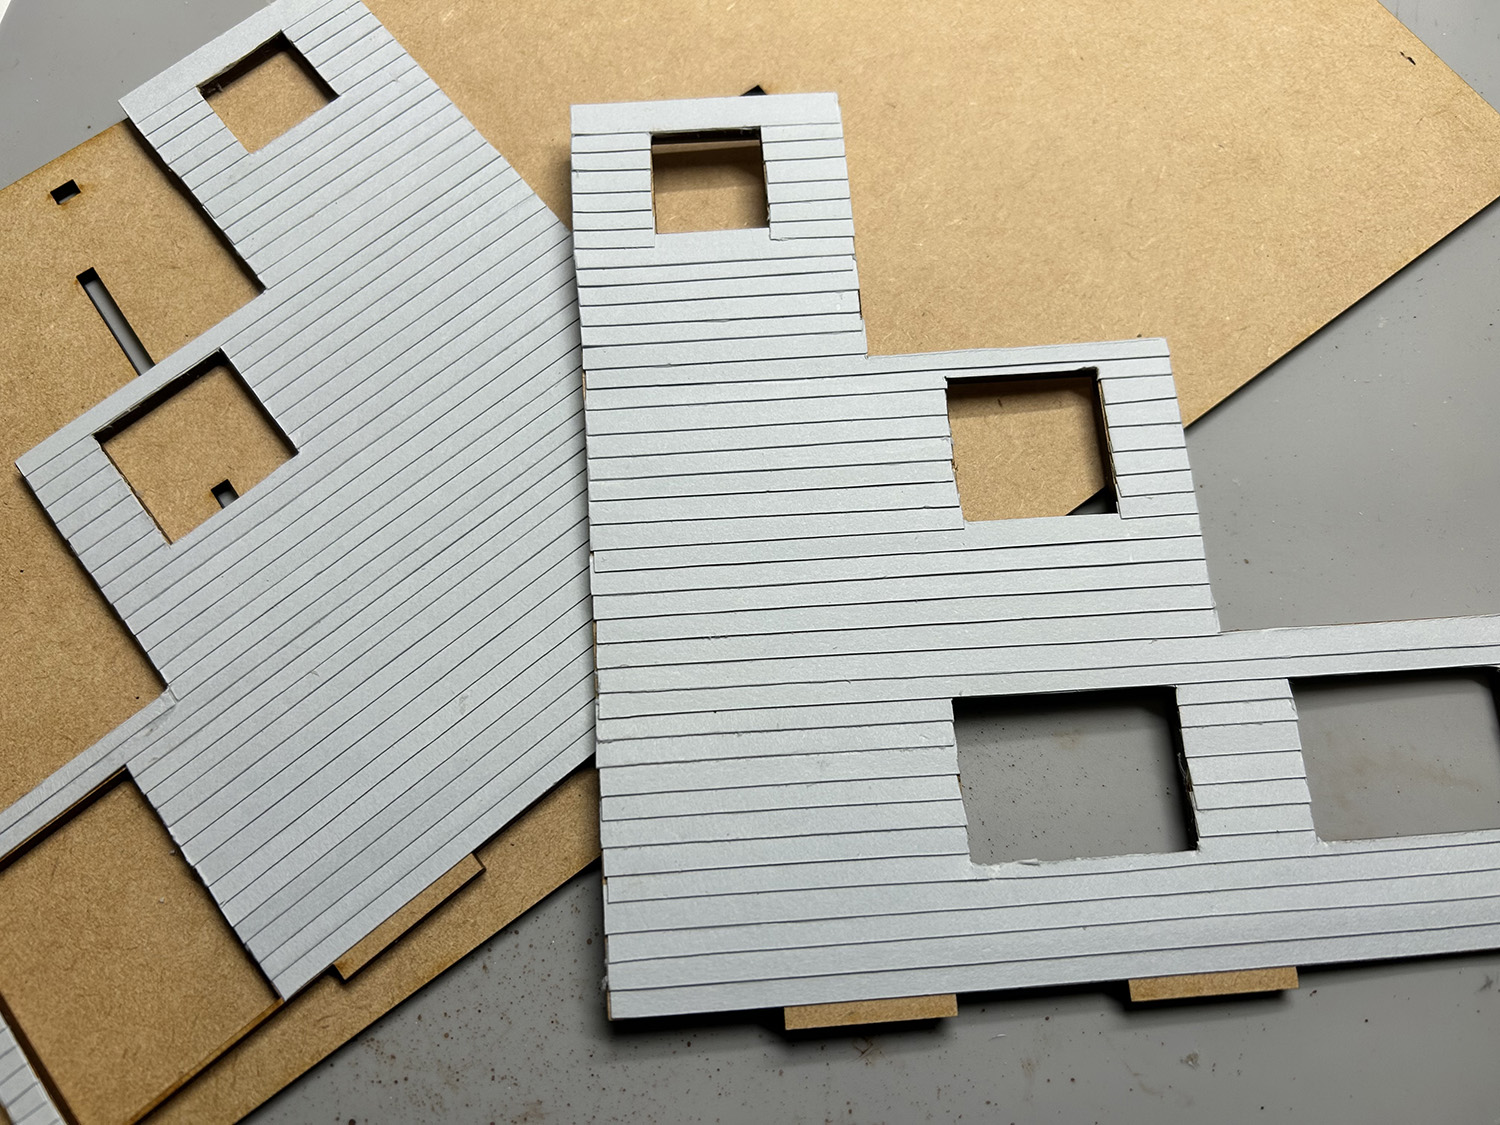
- The first thing I want to do is cover all exterior pieces with siding. I am using a thicker cardstock purchased from the 12×12 Cardstock Shop to create siding. This project is a closed structure, so I will not be finishing the inside.
- The cardstock was cut into 1/4″ wide strips, then glued onto the surface with an overlap of about 1/8″.
- Apply cardstock strips one at a time, even on one side with the wall and hanging off the opposite end. Once dry, trim off the excess from the overhang. Repeat for all outside walls.
TIP: You can use a cardstock color that matches the color you want the house to be, or use any color and paint it the color of your choice. Finish the cardstock with a matte spray sealer to protect it from the elements when done. You can also distress the cardstock using a dry-brush method if you like that look.
WINDOWS & SHUTTERS . . .
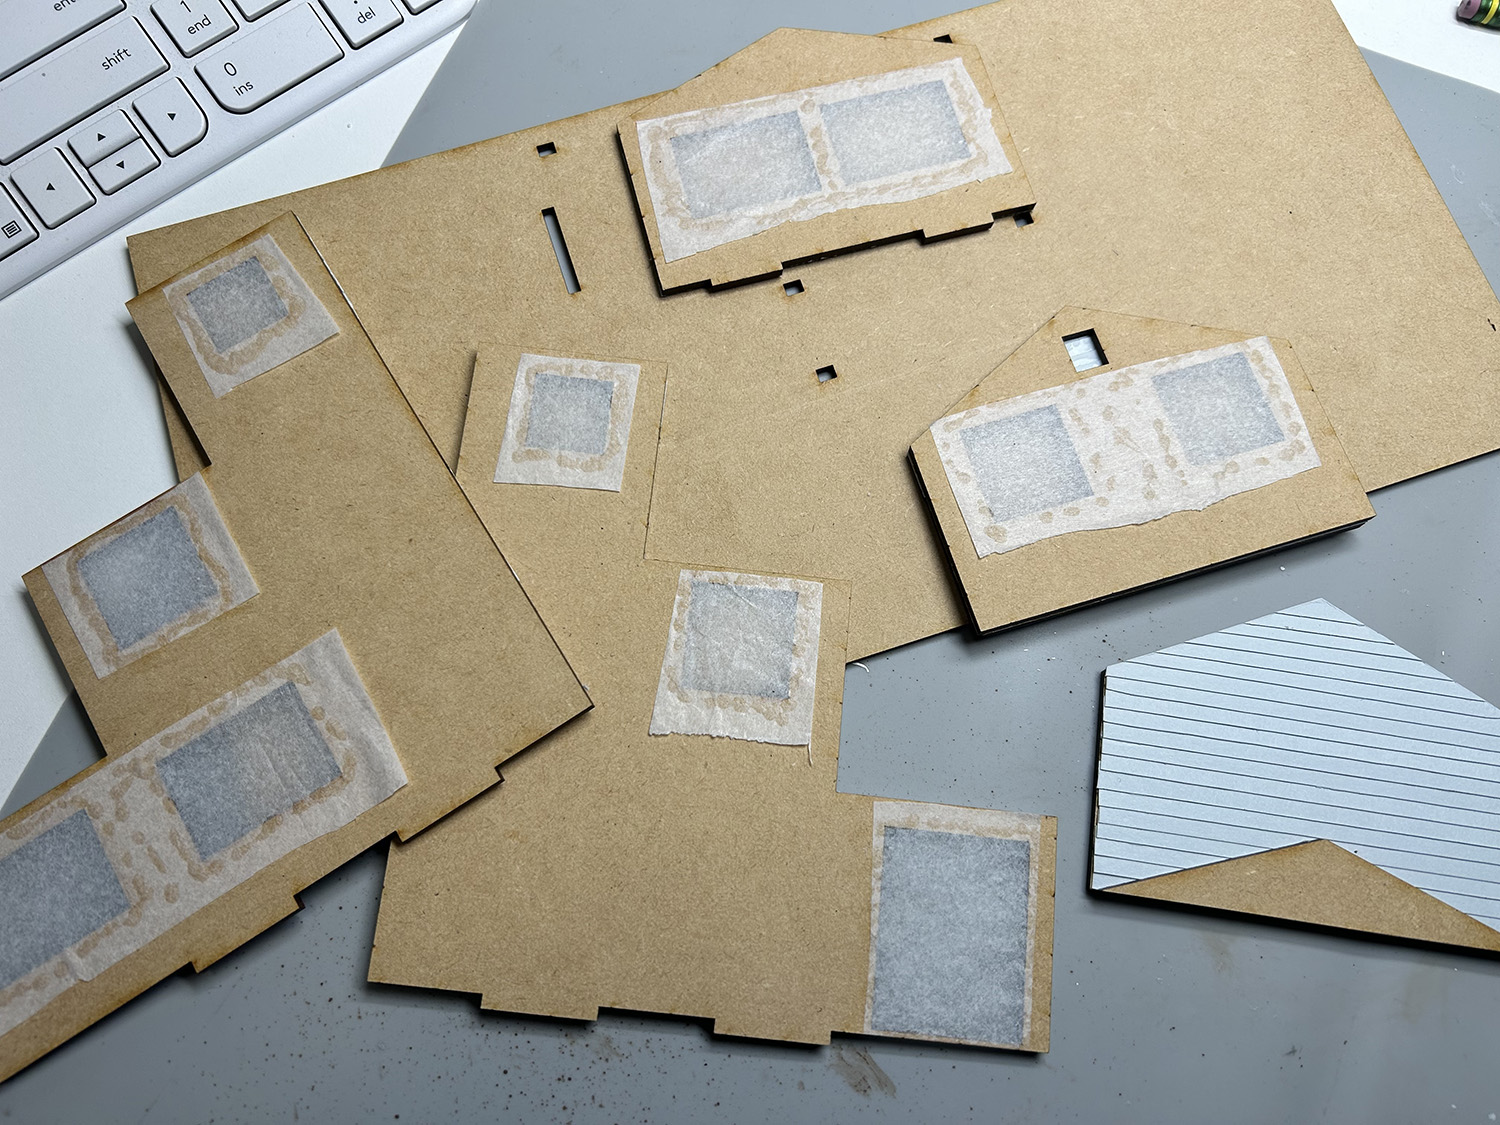
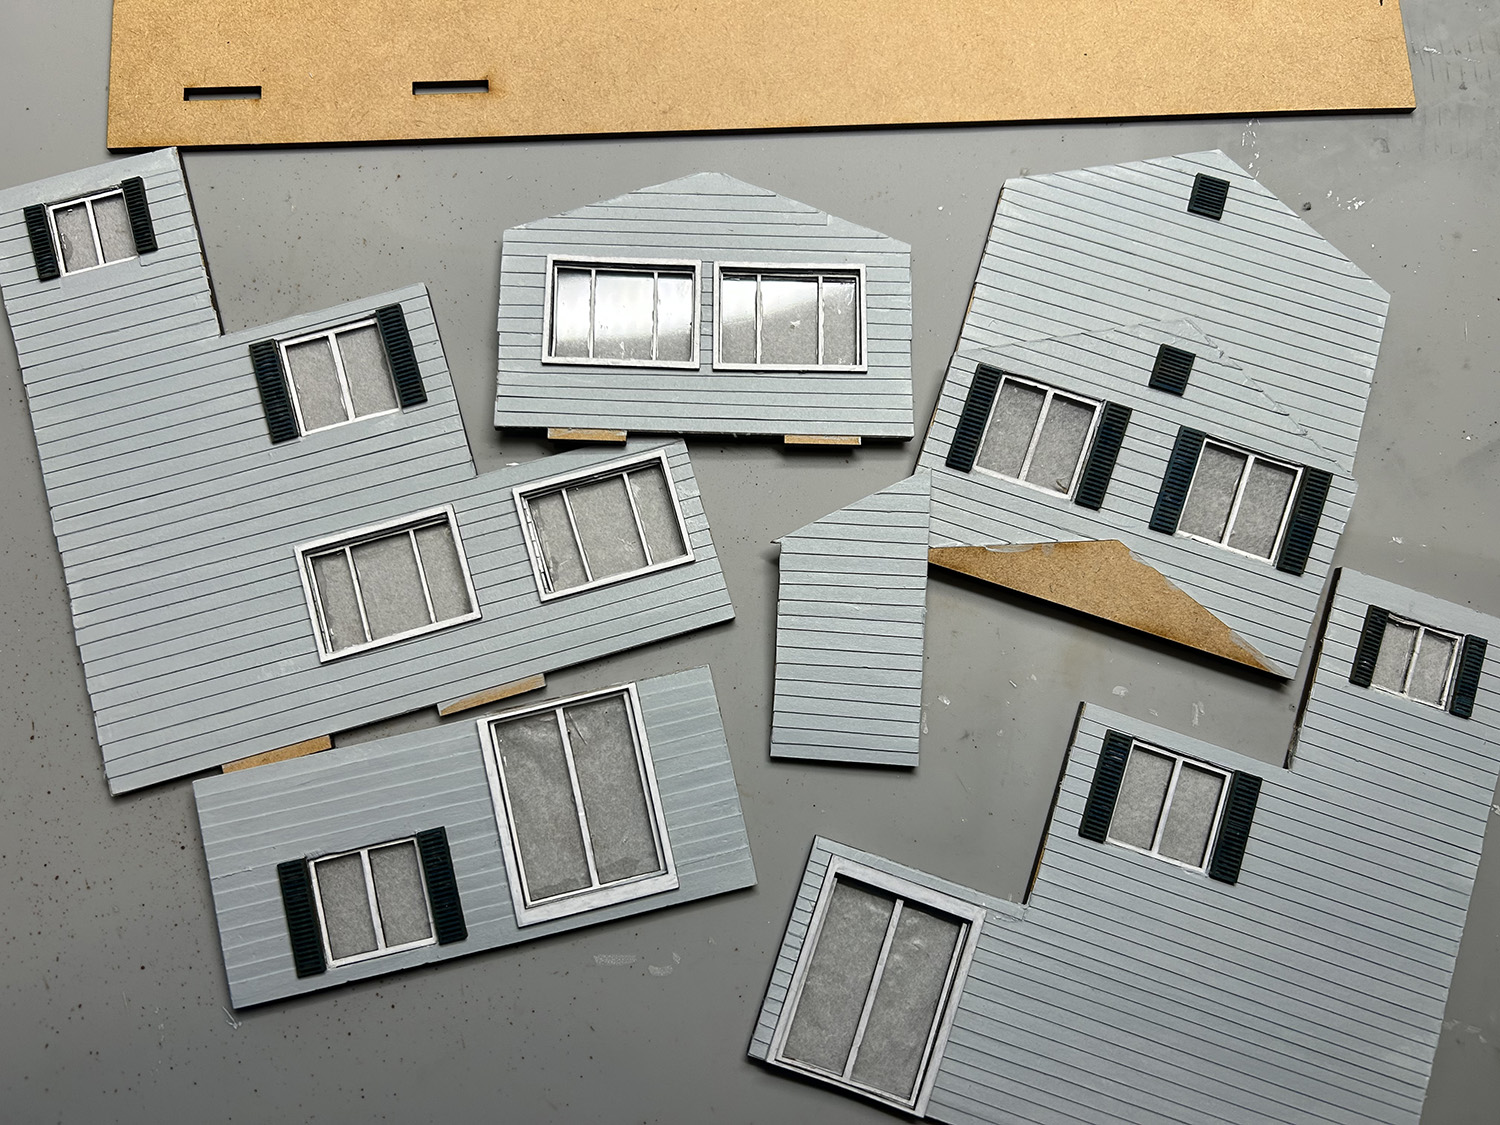
- Because I am not finishing the inside but will be adding lights, I want to glue tissue paper on the inside where all windows and doors will be. This will allow light to shine through but hide the string lights.
- Here I have installed all of the windows and doors along with the shutters. You might notice that the top two smallest window cutouts are not windows but are attic-type vents.
WALL CONSTRUCTION & LIGHTS . . .
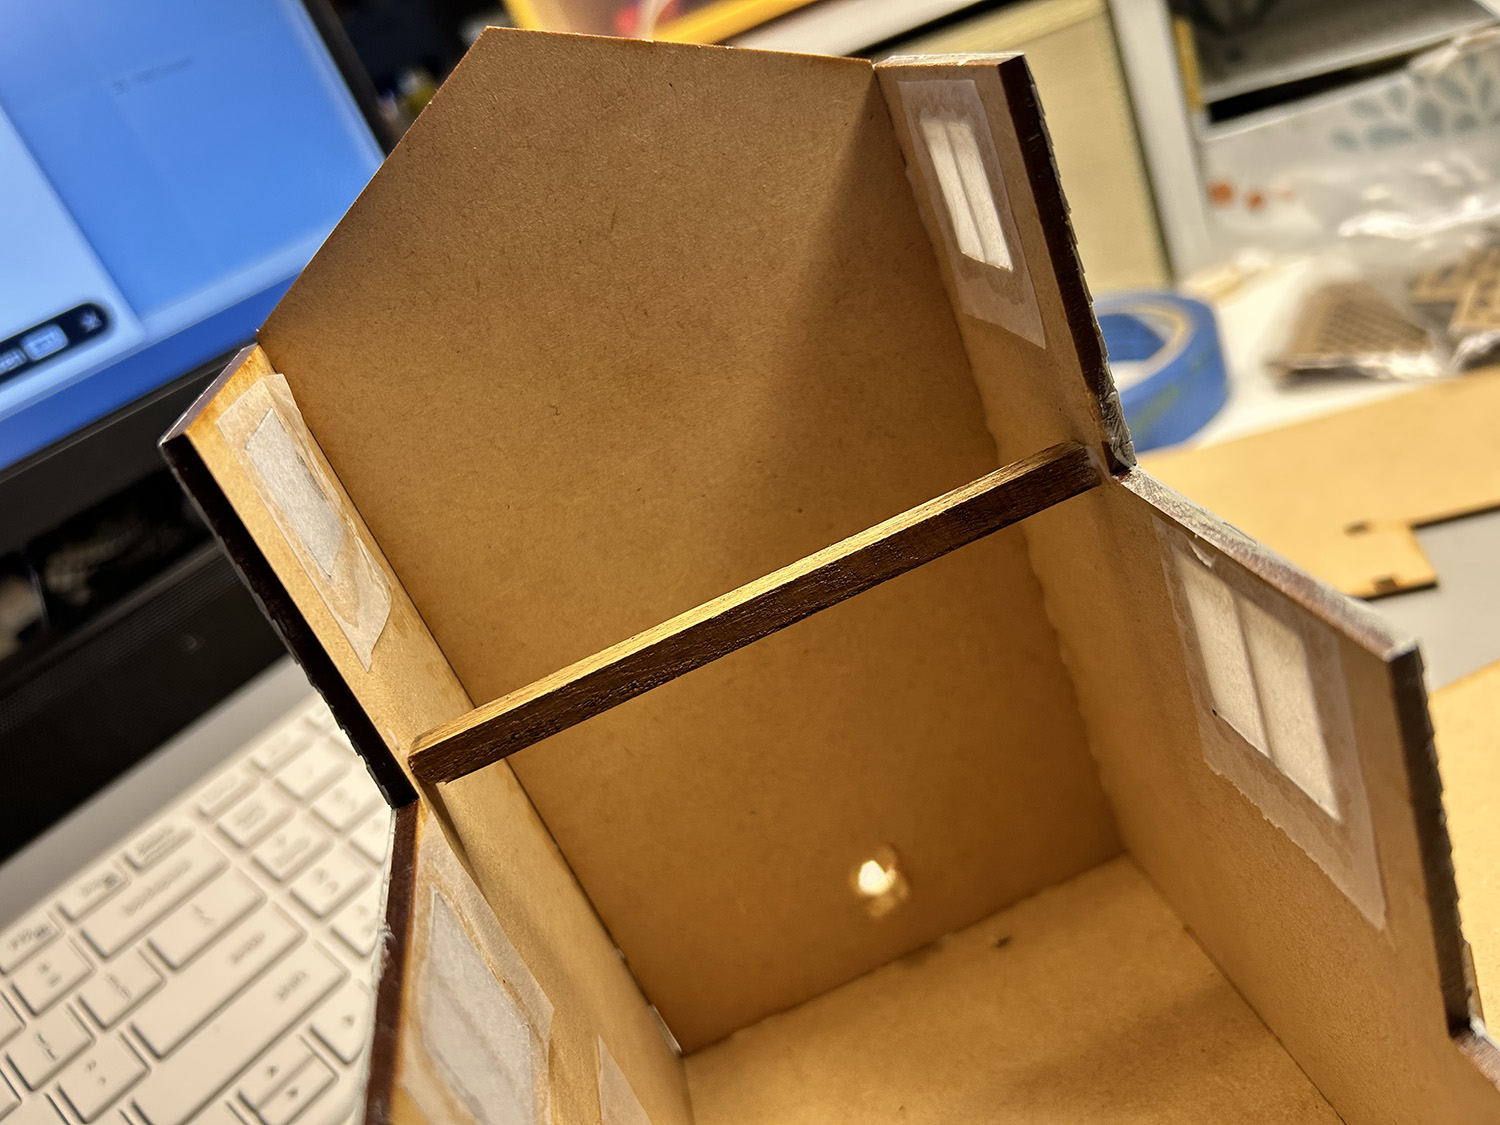
- First, I glued the left and right side walls in place.
- I drilled a hole in the bottom area of the back piece so that a string of lights can be fed inside the structure. To keep the lights running the height of the structure, I glued a 1/4″ piece of square dowel to wrap the lights around. Lights can be fed into the right side of the structure through an opening
- I will need to drill another hole in the right side wall to run the lights into the right section of the structure.
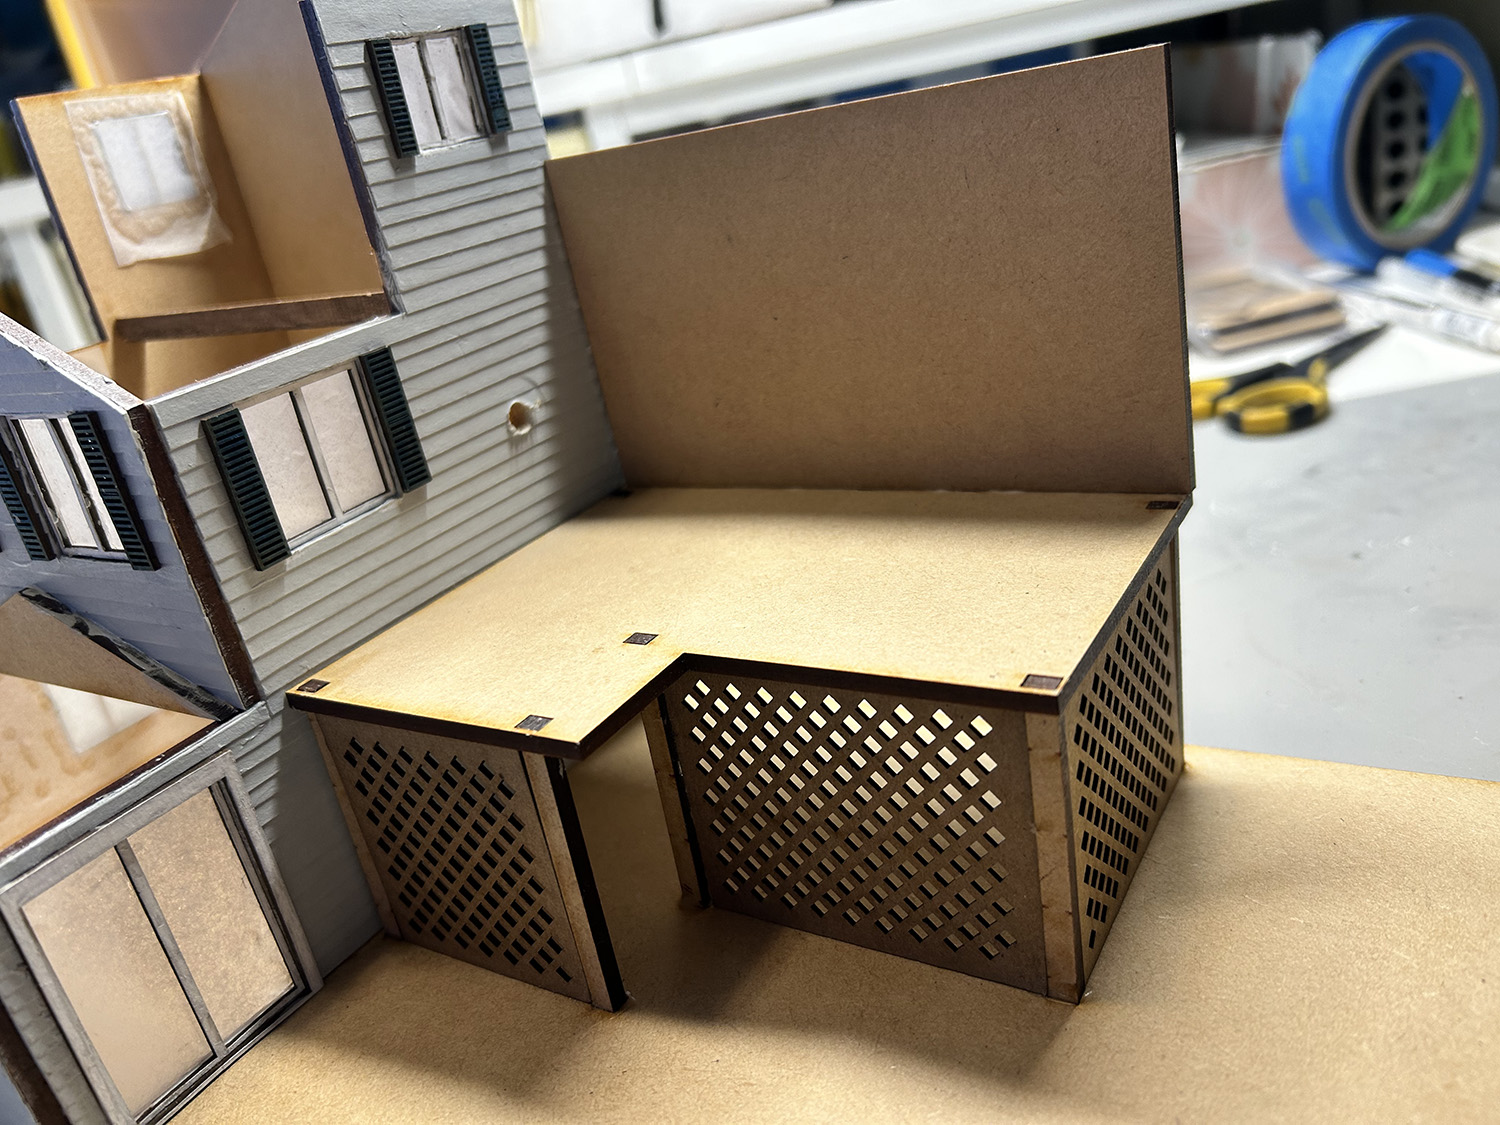
- Next, I had to construct the platform and back wall for the right side section. This includes the lattice panels as seen in the photo.
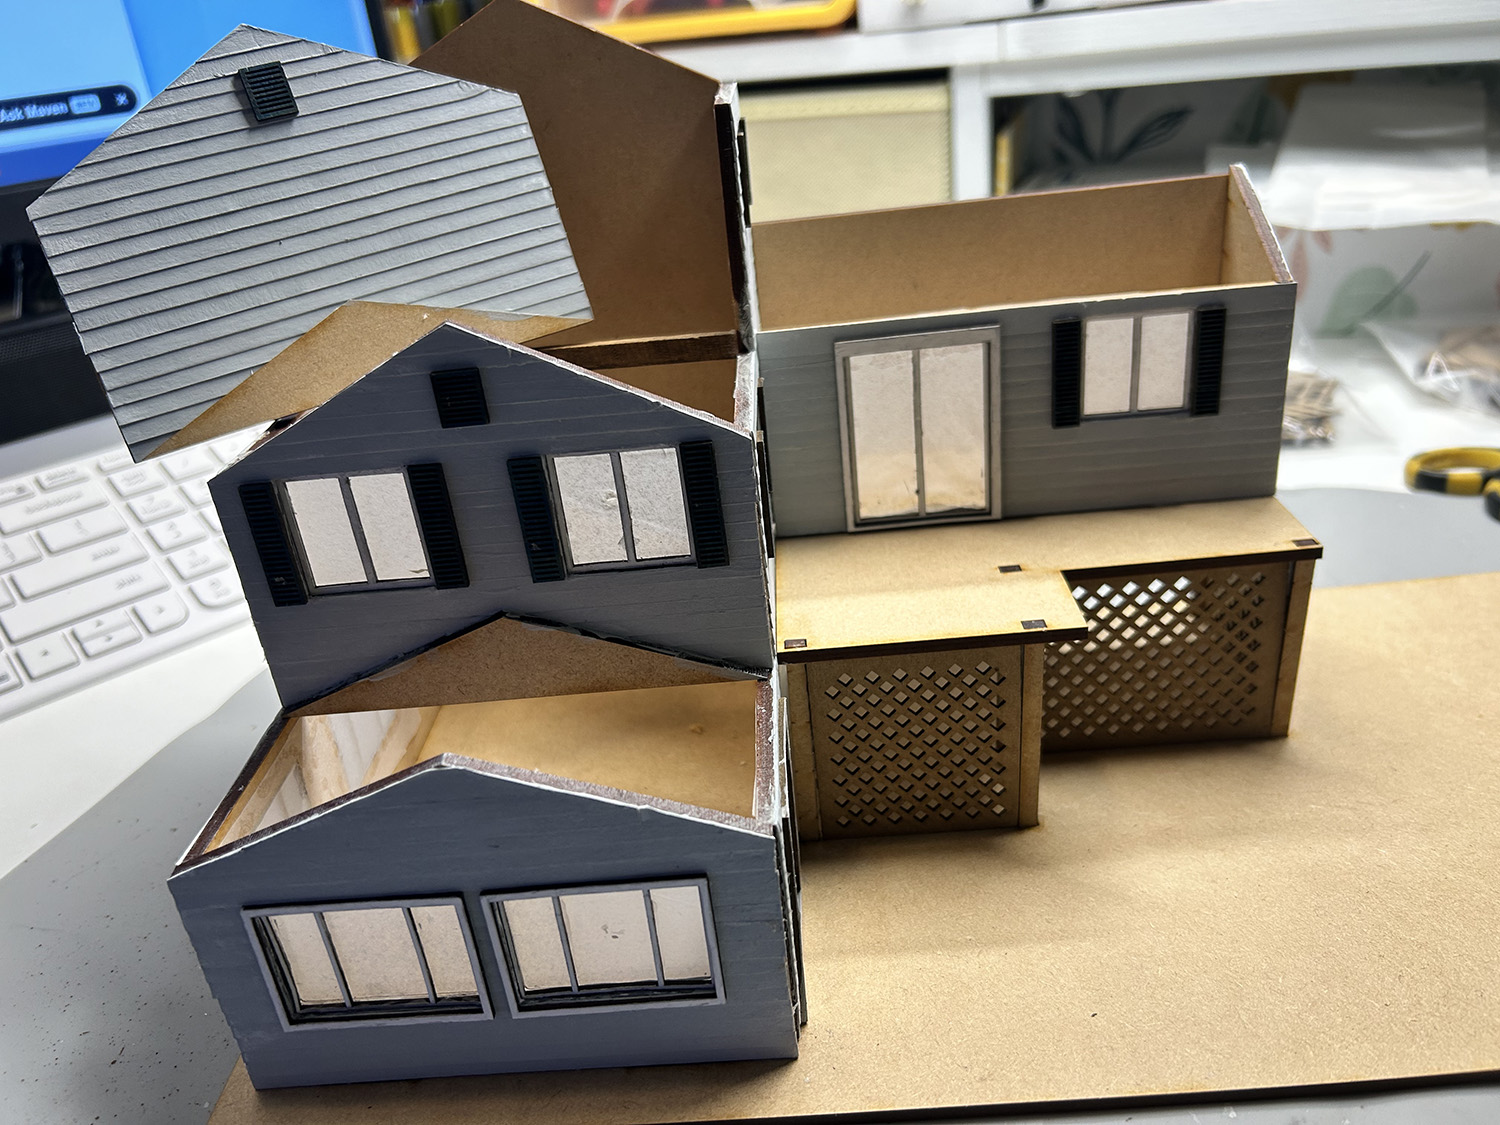
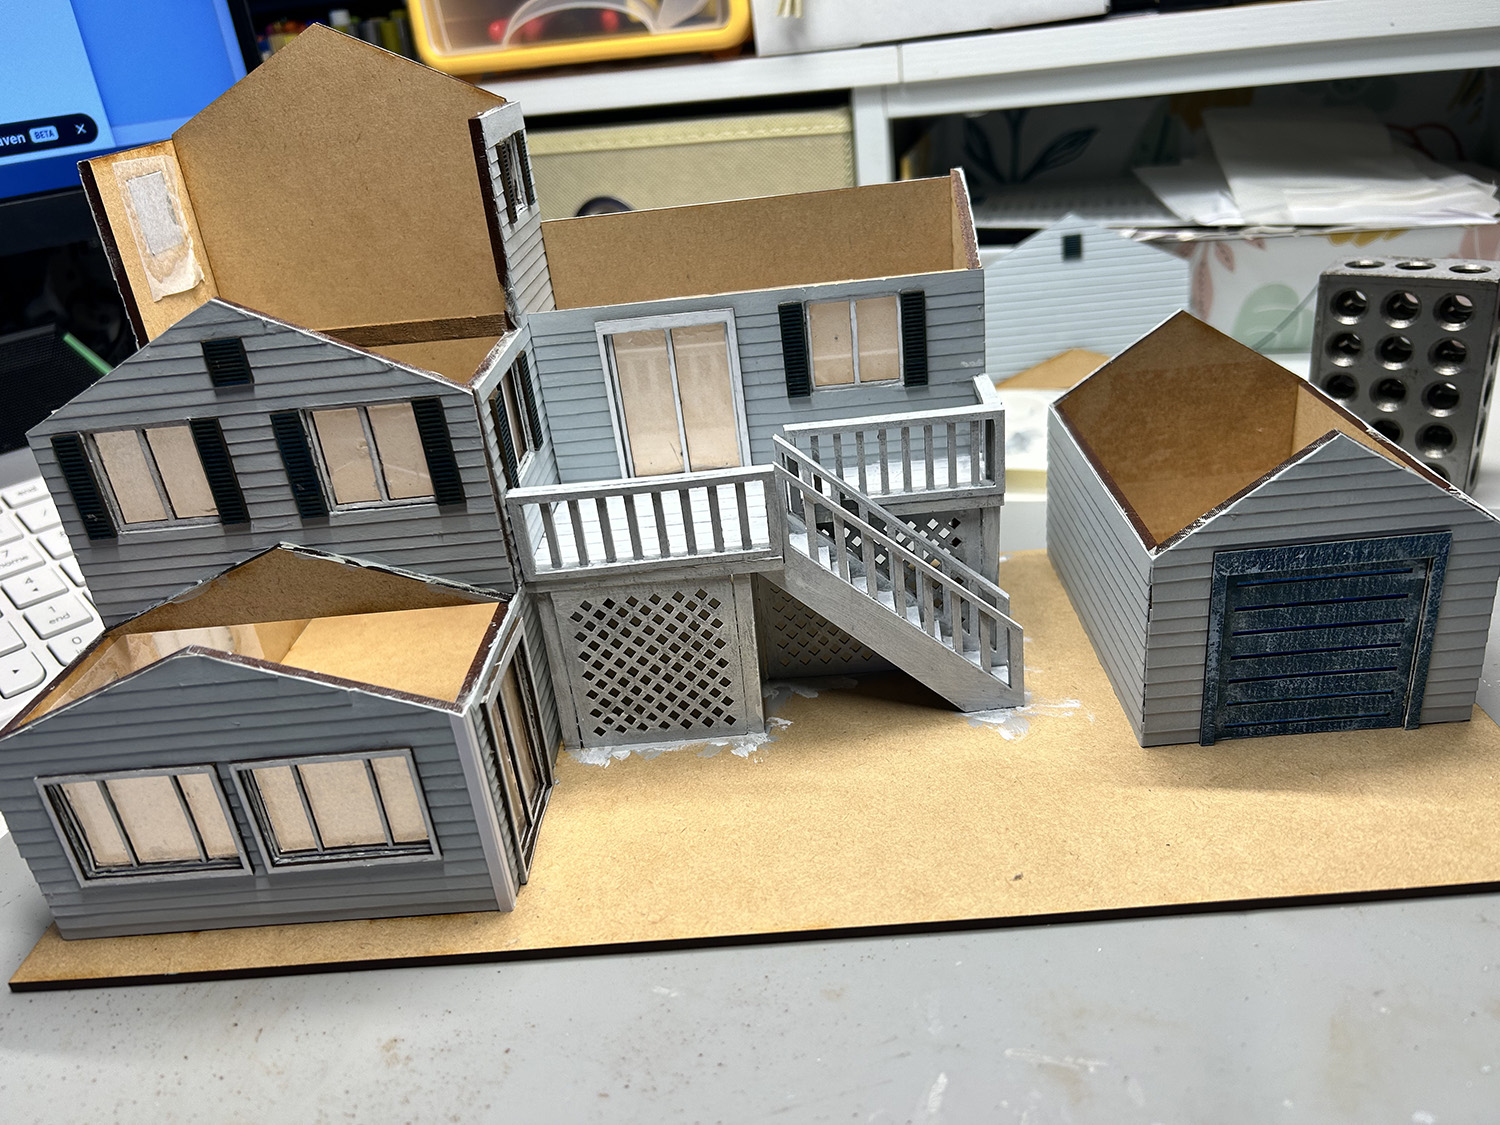
- Lastly, I glued the right section walls in place as well as the first and second left side front walls in place. I am leaving the roof parts and the top left front walls off until I add the lights inside.
- Next, I have built the garage and glued it in place. I also built and glued the stairs and railings in place.
- I used 1/4″ wide strips of white cardstock on the deck area to create the look of wooden boards. All were painted a pale grey, then heavily dry-brushed with white paint.
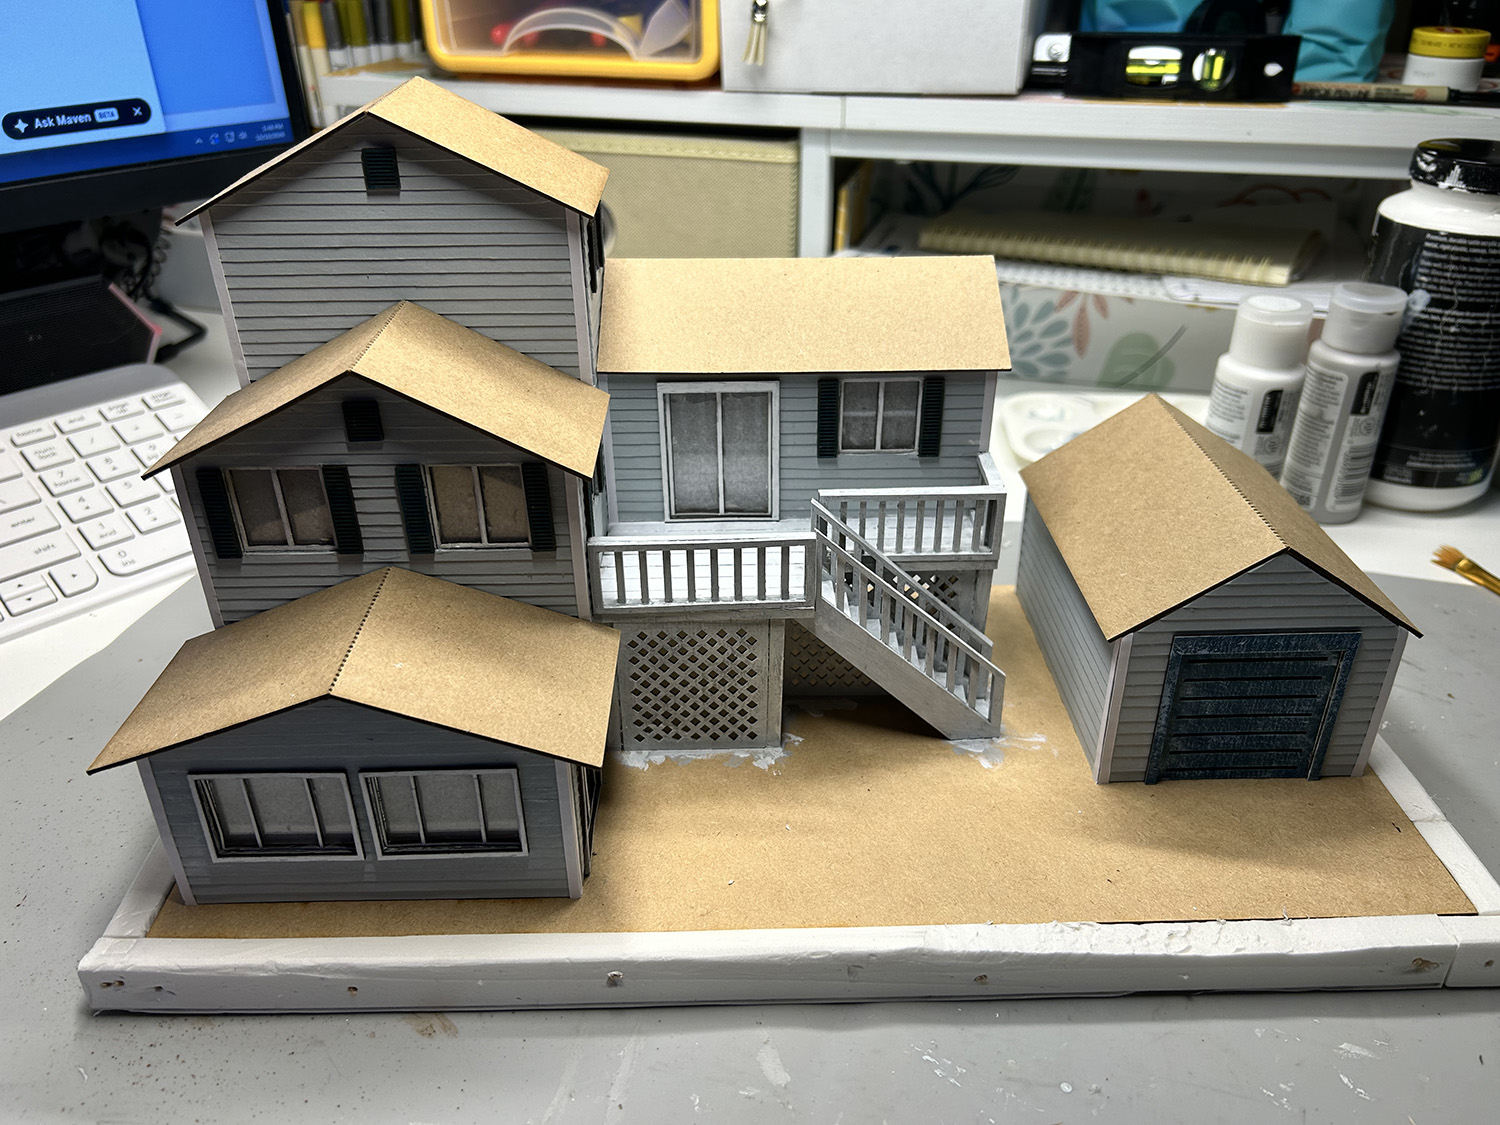
- Here is what the house looks like with all of the roofs attached.
- To add depth to the base without adding weight, I’ve used a 1/2″ thick foam board under the entire thinner wood base. I have also added some extra pieces around the edges that are flush with the top of the wood base. These will be covered with the Folk Art Terra Cotta paint to resemble concrete.
LANDSCAPING . . .
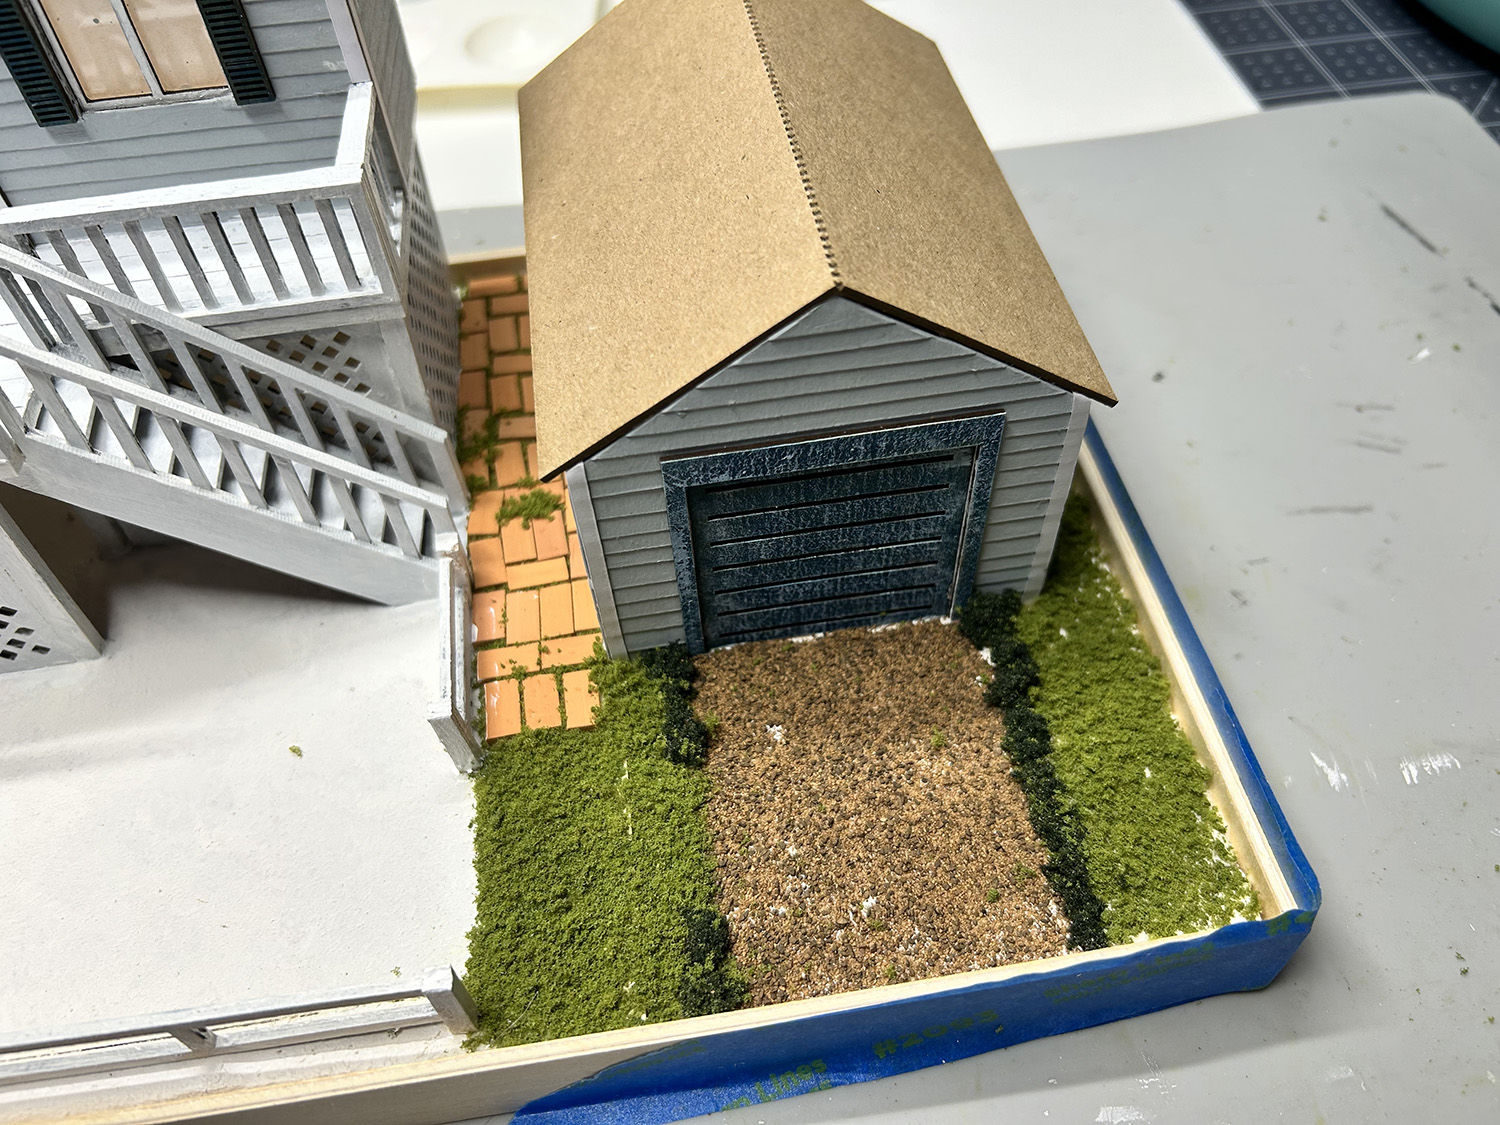
- I have had these little bricks in my stash for years and decided to add them to this build. I love how they create a walkway between the house and garage.
- Course turf was used to create grass. Course earth was added for a dirt driveway, and tufts of greenery were used for bushes. All materials were from Woodland Scenics.
- You can see a bit of the fence that I added here, as well as the wood frame around the entire base.
FINISHING UP . . .
- I added the wood strips around the edges of the base and painted them white. I think this finishes off the build nicely when you have a set size base.
- I’ve taken some liberties here with the build and used corrugated paper in place of shingles simply because I like the look of it.
- Lastly, all of the ground-covered areas have been sprayed with a clear matte sealer several times. This will make the grass, bushes, and dirt hard and keep them in place for a long, long time without changing the colors.
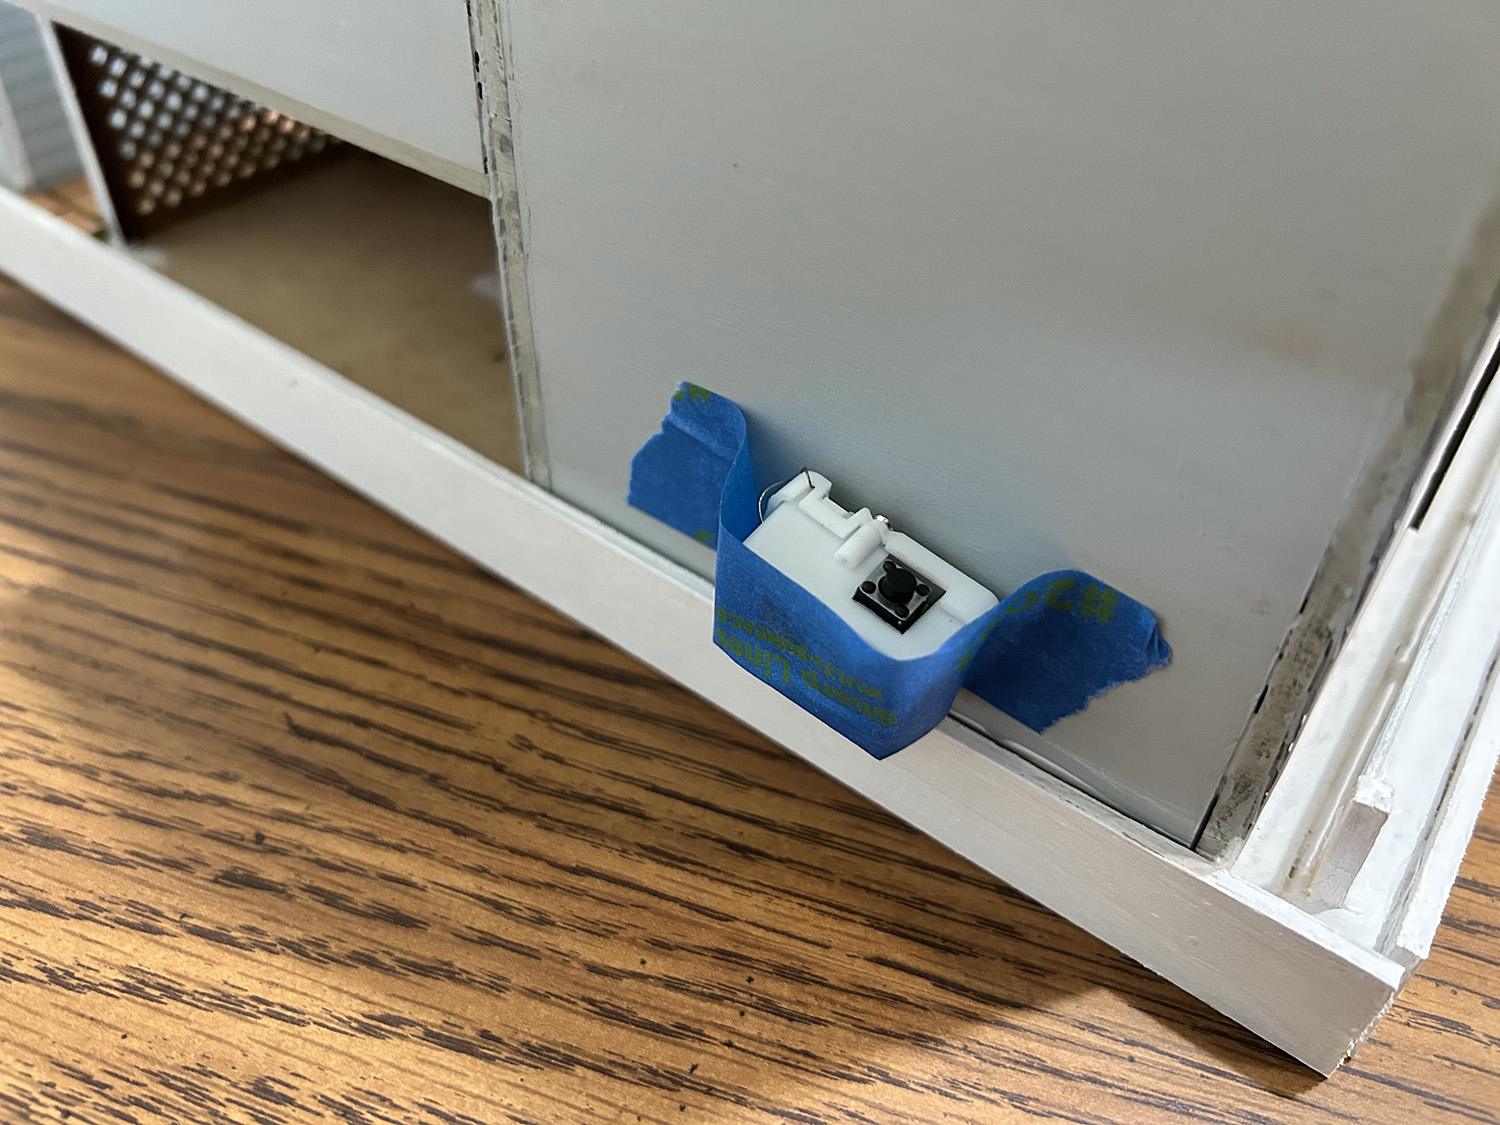
- The string of lights was slid through the holes with the battery pack left at the back. For now, the battery pack is taped in place, but I will use tacky wax to secure it . . . once I find that LOL.
And here she is all finished up!
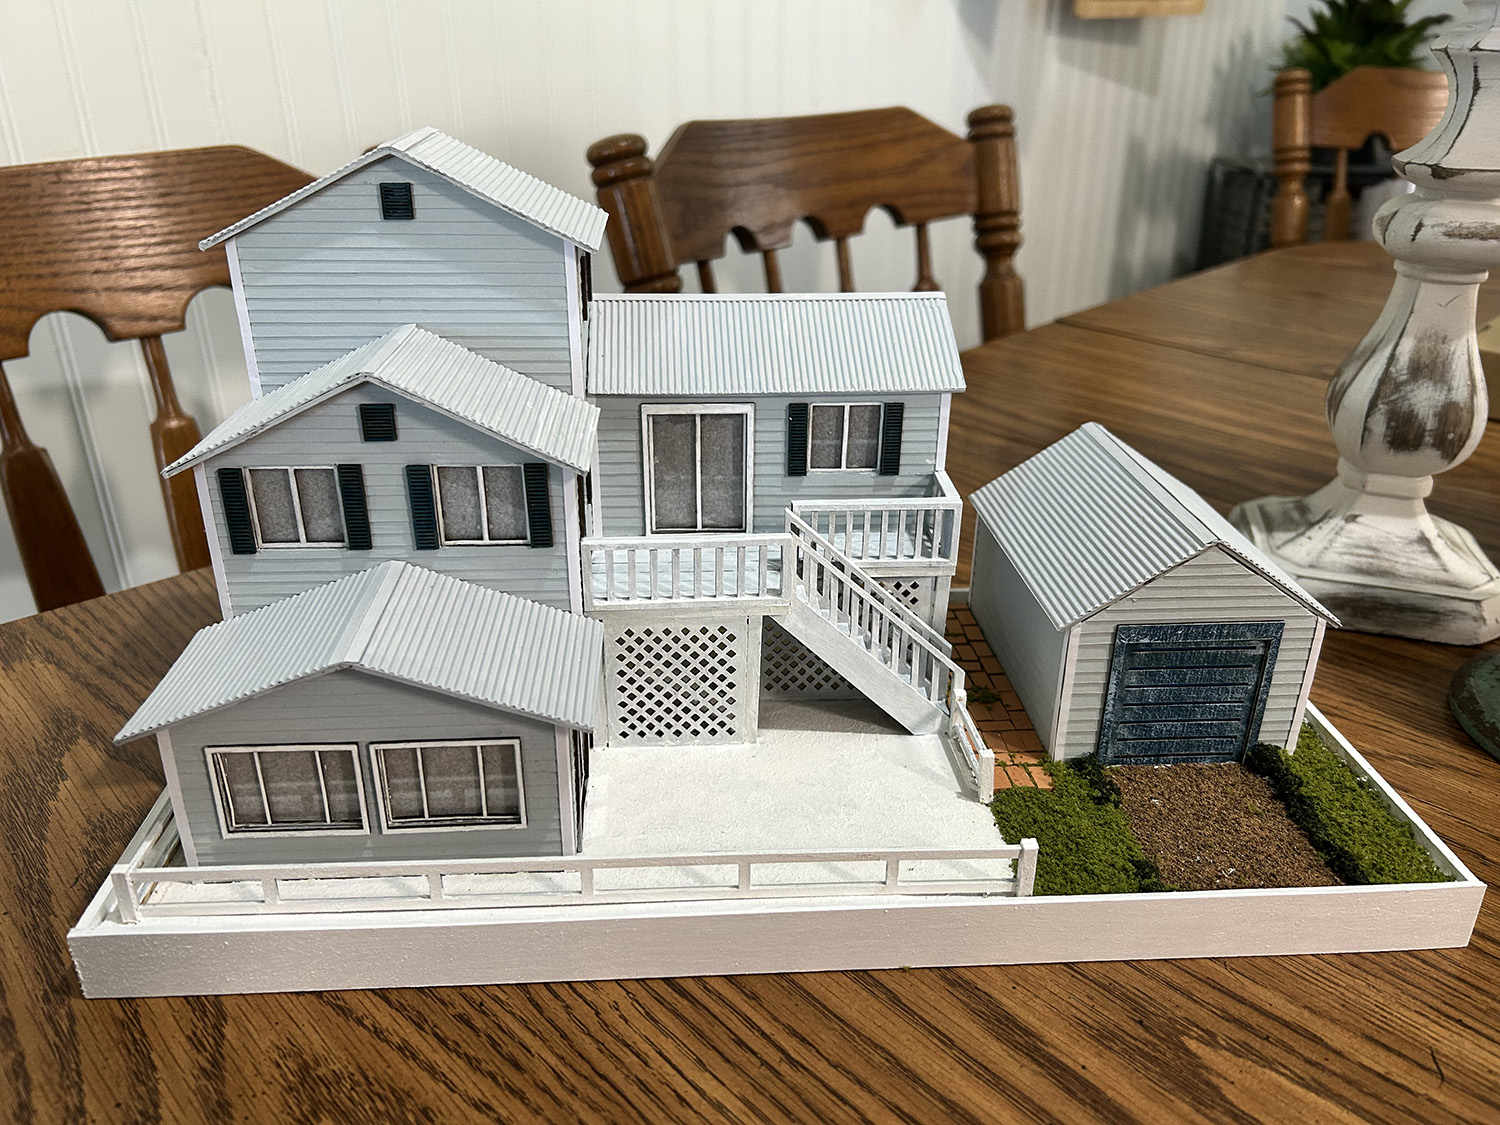
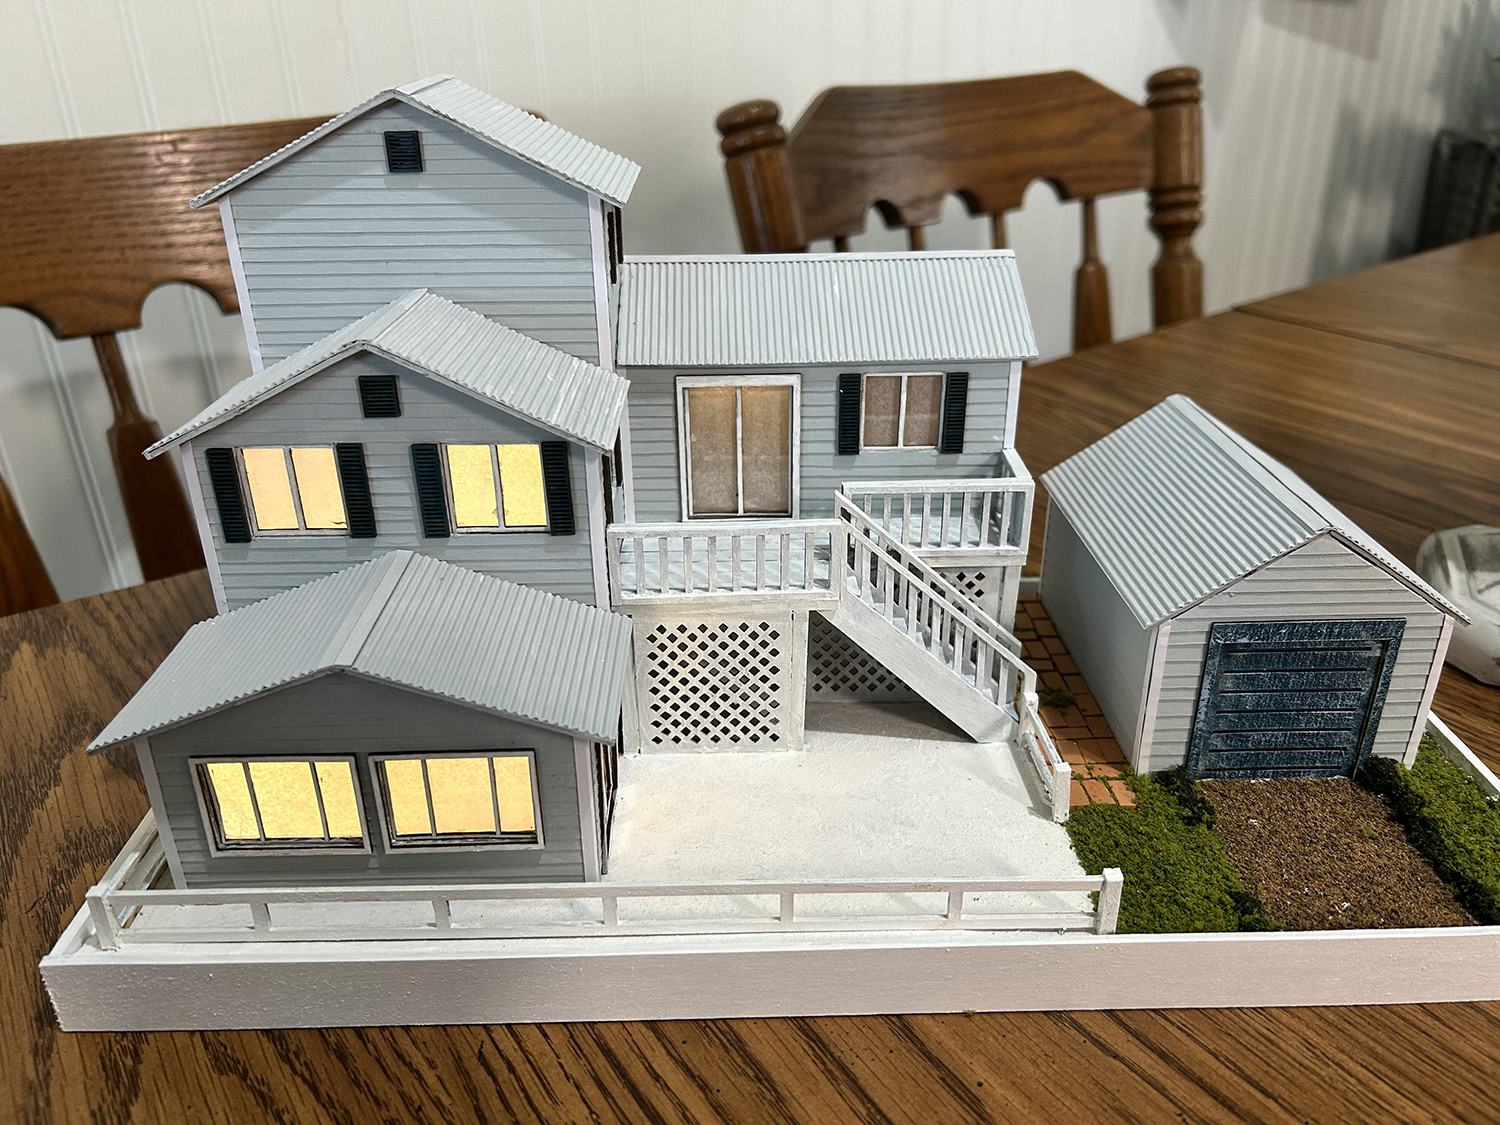
I hope you enjoyed the build and that something in it inspired you to be creative!
Till next time . . .